02-07-2014

Food Lion Frugal Cook-Off

originAL


UPDATE: I just found out that the cook-off is not open to the public due to space of the venue. So please just cheer me on virtually instead!

For the last month I have felt my world spinning faster than I would like and while I yearn for less matter to fill my brain, I realize that sometimes there are simply busy seasons in our lives.

Between a bathroom remodeling project that we are DIYing, launching a small business (yay! more details coming soon), and redesigning this blog (yay, again!) I feel that my somewhat orderly life is stretching me to the max. Life is a bit chaotic in its design but I try to keep things simple and focus on domestic and mom duties as my priorities. So these extra-curricular projects are throwing me for a loop.

What’s really kept me grounded though has been waking up around 5ish to have quiet time with Christ. I treasure those minutes, that hour, before my children wake. Time to have a mug of hot tea, envelope myself in scripture, and journal my prayers to Him. My time with Him renews me, encourages me, and reminds me to seek His guidance throughout the day.

So what’s a girl to do when a friend & fellow blogger sends her an email about a food cook-off? And not just any food cook-off but a FRUGAL food cook-off! She excitedly requests to be included! And then she prays about it. And then she feels bad that she didn’t seek God’s guidance first to see if she should be signing up. And then she realizes that, in all things, God can bring goodness…bring Him glory. So she tries to remind herself that God gave her passions and enthusiasms in life for a reason. It’s a really nice gift when you’re given the opportunity to do something you love…so perhaps she should just cherish this fun & exciting event!

So to the point of this post….

I am thrilled to be one of the contestants in Charleston’s Food Lion Frugal Cook-Off on 19 February. As any close friend of mine knows, I love food more than almost anything. Really. I have to work really hard on having conversations that do not revolve around food. And, I LOVE TO SAVE $. My favorite conversations sans food include me saying…”guess how much I just saved!” So this cook-off should be really neat. And challenging. And scary. I mean, do I really know how to cook good food without an arsenal of spices at the ready? What do I do if they hand me a pork tenderloin? (I don’t know that I’ve ever made a tender tenderloin…ever…not once!)

Oh, and did I mention that just by participating I will get a $100 gift certificate to share with one of you! And if I win, then the gift certificate becomes $250!

I’ll be back in touch after the event to let you know how it goes!

Jess

sig

01-23-2014

Stretching 1lb of meat over 3 meals

IMG_4869

Like most people, I am continually amazed at the cost of feeding my family. As the kids grow they seem to constantly be eating and I feel like I live at the grocery store.

Last week I was ecstatic when I was able to stretch 1 lb of stew meat over 2 dinners and 1 lunch for 2 adults & 2 kids.  Our first dinner was nachos, our lunch was tacos, and our second dinner was quesadillas served with Mexican potatoes. The key to doing this is to make your vegetables and starch be the featured ingredients instead of the meat. By loading the nachos and quesadillas with bell peppers, onions, lettuce, cheese, and avocado it was really easy to not use as much meat. 

For comparison purposes, I cooked another pound of stew meat this week but instead of stretching it, I made a typical meat, starch, and veggie meal. When I did that there was only enough meat for 1 meal.

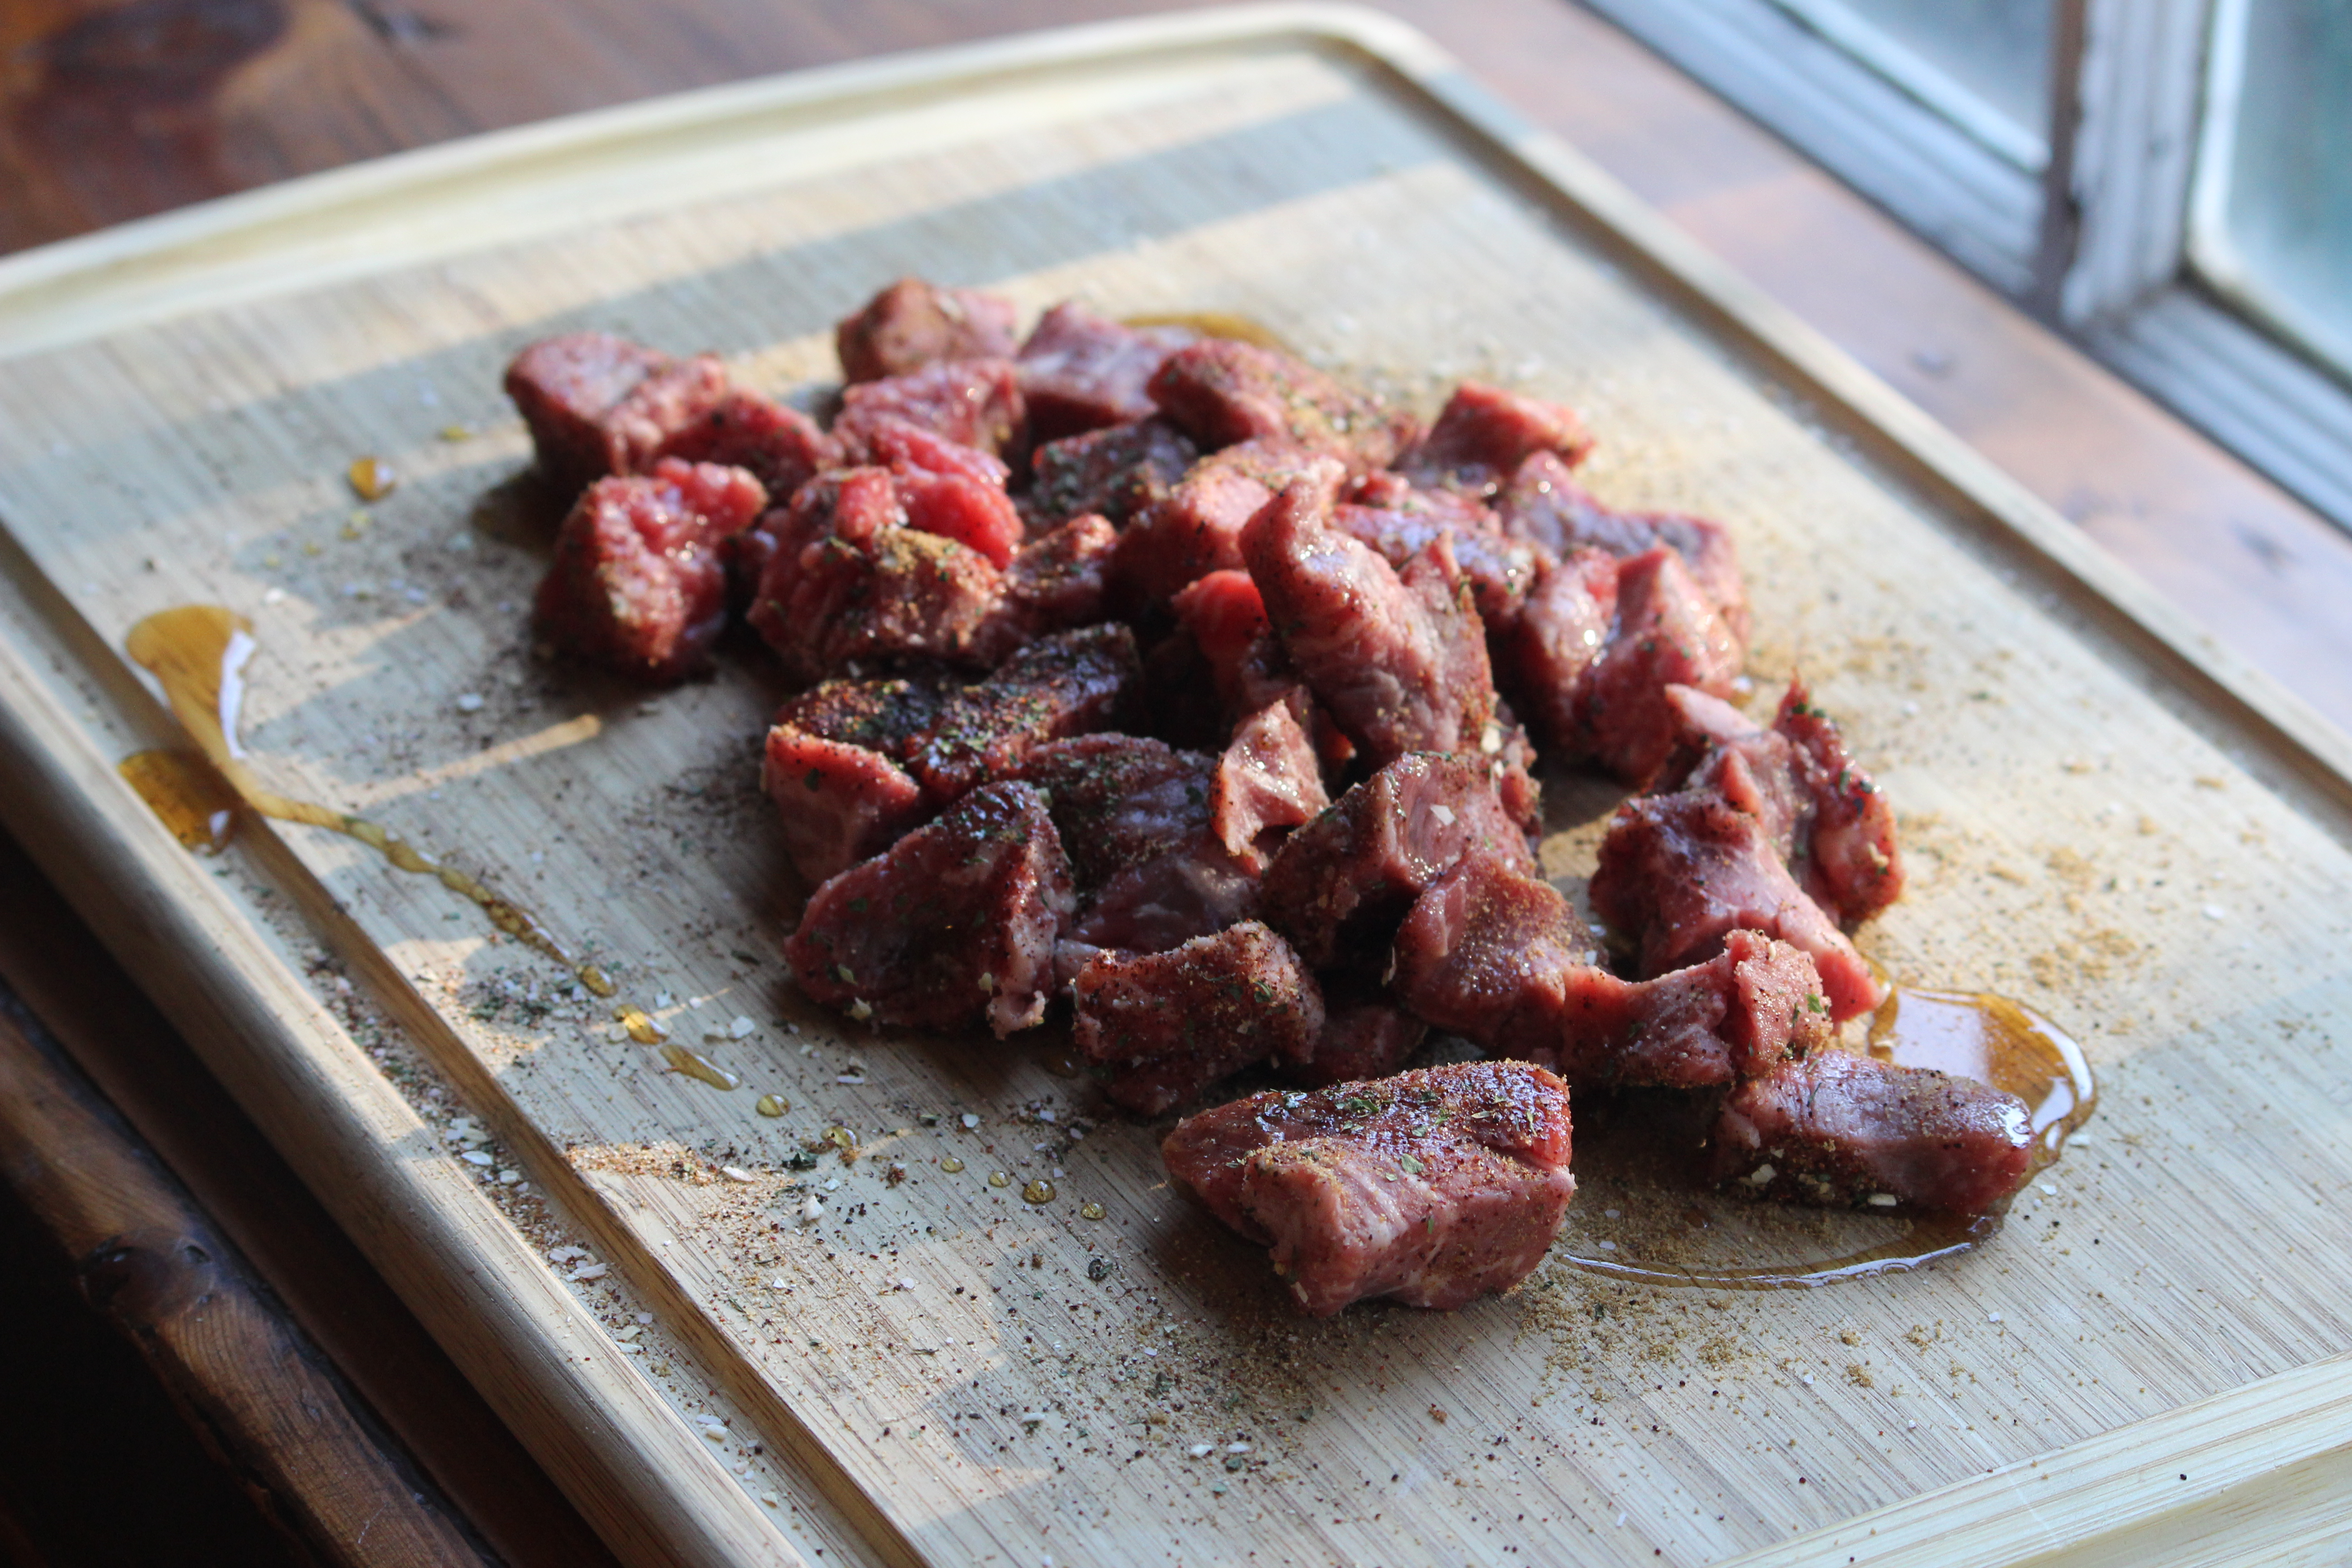
By cooking the stew meat in a crockpot, it was also super simple to make. I tossed the meat with Mexican spices, drizzed on some honey, and then when the meat was tender I added in a can of diced tomatoes with peppers to give it a little kick.

If you are thinking your children don’t want to eat spicy food then, cook the meat with the spicy spices but before adding the tomatoes, pull out the meat for your children and rinse very well with water. My kids refuse to eat anything that isn’t plain tasting but they loved this meat after the spices had been rinsed off. If you try to cook the meat without the seasoning spices, the meat won’t taste anywhere near the same as having cooked for hours with spices rubbed on them initially.

IMG_4874

IMG_4887

CrockPot Mexican Stew Meat

1 lb of stew meat
2 tsp each:
-dried oregano
-dried cilantro
-adobo seasoning
-chili powder
-garlic powder
-ground cumin
1tsp ground cinnamon
1/2 tsp ground nutmeg
1/4 cup honey
1 15.5 oz can of diced tomatoes with chili’s

Toss stew meat with all herbs, spices, and honey. Place in crock pot and cook on low for 4-6 hours. Test meat at 4 hours to determine how much more time is needed to avoid it drying out. Once meat is tender, add diced tomatoes and cook for another 30 minutes, until mixture is warmed through.

*These spices are all optional/customizable. If you don’t like one of them or don’t have something on hand, such as adobo seasoning, don’t worry about it. This is a very make as you like recipe.

IMG_4885

Enjoy!

Jessica

01-07-2014

Homemade Popcorn & Hot Cocoa

There’s a blustery frigid wind outside our house today. Makes me thankful for a snug home, warm mittens, and coats for my kids.

But I must tell the truth…my definition of cold is anything below 40 degrees. So waking up to a whopping 19 degrees…that’s cold for me! I should feel bad thinking this is cold when so many of you are dealing with subzero temps right now. But I’m just a warm weather girl, and apparently so are the school district officials here. We are on a 2 hour delay right now because it feels like 6 degrees outside. Seems pretty chilly to me if I were sending my 5 year old out to wait for the bus. But I’m sure if you woke to 0 degree temps, you’d gladly take 19 right now!

During the last cold snap, the kids and I spent a perfect afternoon indoors making homemade popcorn and hot cocoa. Is there anything more enjoyable on a cold winter day?

IMG_4166

Alton Brown makes perfect homemade popcorn. His secret is making a tinfoil lid with slits for the steam to escape. After numerous attempts that failed every time, I was thrilled when I came across his recipe.

Hot cocoa is so easy to make at home and once you try it, you’ll wonder why you’ve ever used the instant stuff. There really is no comparison for homemade hot chocolate. And all you need to do is follow the directions on the back of the cocoa box.

Trick of the trade…if you are making an individual serving in the microwave…mix the cocoa & sugar in bottom of mug and then pour just a tad (a few tbsp) of milk into the mug. Stir this mixture really well so that it’s completely mixed prior to pouring the remaining milk in. It isn’t pretty when you try to mix the cocoa & sugar in with a full glass of milk…trust me!

I hope you & yours stay warm and dry! And if you have snow…lucky you! With weather this cold it should be white outside.

~ Jess

10-16-2013

A Canning Party

IMG_2455

IMG_3782

Tomatoes, Tomatoes, Tomatoes…Is there anything as glorious as homegrown tomatoes?

Back in August when the tomato vines were so heavily laden with ripening fruit I hosted a canning party. It was fun, glorious, and wonderful. And I passed on canning knowledge to 3 more people. I think my grandma’s would have been proud.

IMG_2595

IMG_2602

IMG_2621

I enjoy the process of canning and producing a tangible something. There is nothing like making spaghetti sauce, taco dip, or some shrimp scampi with your very own canned tomatoes. And I want to pass this enjoyment on to others. I want people to realize that canning and preserving isn’t as hard as you think it is. That it IS doable.

Take Lindsey (on the right) for example…I taught her how to pickle okra last summer and then last month she had a party and showed her daughter’s teacher how to pickle okra. I think that is so cool! We have to spread the wealth of knowledge that we have in our heads. My grandmothers, mom, sister-in-law…they shared it with me and now I’m simply passing it on.

SO GO CAN!!! And if you ever have a canning question or just need canning encouragement…let me know. I’m here to help.

Love,

Jessica

IMG_2594

07-15-2013

Chocolate Icecream Shell

IMG_2281

I have always assumed it would be near impossible to replicate the shell magic you get at your local grocery store. However, when Dale Esau came home from IceCream Sundae Day at school and announced “Mom, we had the coolest MAPLE SYRUP on our icecream…it hardens when you put it on the icecream!” I knew I had to find a way to make this. (And, yes, I knew I had to fess up that it wasn’t maple syrup he’d been eating!)

What I couldn’t believe was how incredibly simple it was to replicate!

Melt chocolate with coconut oil and you have one of the easiest syrups you’ll ever make. The secret is coconut oil solidifies once its temperature drops below 76 degrees F. So you temper the chocolate and oil in the microwave and once the ‘syrup’ touches the icecream it solidifies. And it tastes sinfully delicious, just like the stuff in the grocery store, minus all the artificial and unwanted ingredients!

Chocolate Icecream Shell
2-3 servings

2 Tbsp chocolate chips
1 Tbsp coconut oil

Combine ingredients in small glass bowl and microwave for 20 seconds. Stir and then microwave another 15 seconds. Stir well and then drizzle all over your icecream!

NOTES: This recipe does not double well, so stick with the quantities listed. Luckily, it is very simple to make should you need to eat more icecream! Also, depending upon your microwave, you may need to use less cooking time. You do not want your chocolate chips to be completely melted from the microwave. This is why you stir the final time. It all has to do with tempering the chocolate, etc. etc.

IMG_2284

Enjoy!!!

Jessica

P.S. I’m now attempting a syrup to make chocolate milk. The shell obviously wouldn’t work in milk, but as evidenced below, we had fun experimenting!

IMG_2294

06-04-2013

Strawberry Rhubarb Crumb

IMG_1846 IMG_1863

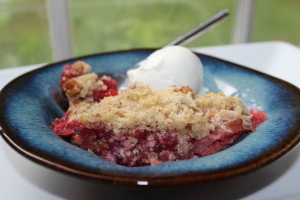
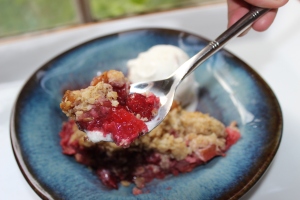
Hello! I know its been forever since I’ve posted. And again, my reason is time well spent with the kids. They are now 3 & 5 and so entertaining, endearing, and full of life. We went strawberry picking a few weeks ago and this recipe was a result.

The filling’s thick and gooey center has bites of sweetness and tartness and then you bite into the crumb and get the crunch of walnuts and a surprising hint of ginger that lingers softly. Be sure to make this when you are able to feed a crowd. Otherwise, its you & the pie and trust me, you aren’t going to be throwing it out. So for your summer ready beach body, I advise only making this when there are lots of people to consume it!

I suggest using spelt flour as it seems to be a suitable flour for those of us with wheat allergies but not celiac disease. If you need to avoid gluten all together, I would suggest a sorghum based gf flour mix. And if you don’t have stomach issues (lucky you!) then all-purpose flour would work fine here.

IMG_1956 IMG_1925 IMG_1929

Strawberry Rhubarb Crumb

10 servings

Crumb Topping
1 c GF oats
3/4 c white spelt flour
2/3 c white sugar
1/2 c chopped walnuts
6 tbsp chilled unsalted butter, cut into 1/2″ chunks
1 oz square crystalized candied ginger, finely chopped
large pinch of salt

Filling
3 c quartered strawberries
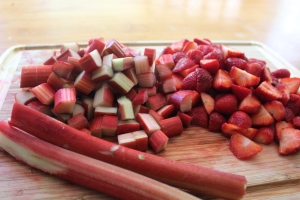
1 lb rhubarb, chopped into 1″ pieces
1/4 cup agave nectar
1/4 cup white sugar
1/4 cup brown sugar
1/4 cup cornstarch
3 tbsp minute tapioca pearls
2 tbsp triple sec
smigen salt
1 tbsp chilled unsalted butter, cut in tiny pieces

Crumb Instructions

Preheat oven to 375 degrees. Lightly butter a 9″ glass pie pan.

Combine flour, sugar and salt in medium bowl. Using fingers to incorporate, add in butter until it is crumbly. Mix in remaining ingredients. Chill in fridge as you prepare filling.

Filling Instructions

In large bowl mix together all filling ingredients except for butter. Toss ingredients well and allow to sit for ten minutes.

Place filling ingredients in buttered pie pan, then dot the top of filling with the tiny cubed pieces of butter. Next, pour chilled crumb topping all over pie filling.

Bake in preheated oven for 45-50 minutes until bubbling and golden brown on top.

NOTES: The butter, both in topping and filling, needs to stay chilled in fridge until added to recipe. Orange juice should be a good non-alcoholic replacement for triple sec. The oven broiler may be needed to reach golden brown all over. Don’t forget to watch broiler closely so it doesn’t burn!

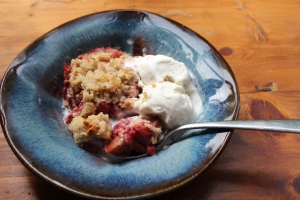
Enjoi with some vanilla icecream!

Jess
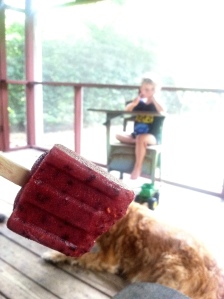
p.s…I now have a huge appreciation for food stylist and photographers. Producing a good photo from a crumbling pie with melting icecream is NOT an easy feat!

09-11-2012

Cranberry & Almond Granola Bars

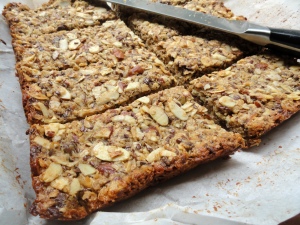
I thought you might be tiring of the same ‘ol descriptive words…amazing or yummy or delicious! So I thought I’d go all crazy and call these granola bars…Most Delicious!

These are SOoooo good that the hardest part is to stop eating the granola mix before you bake it. You know, so you could actually end up eating the finished product!

This recipe is inspired from Smitten Kitchen Thick & Chewy Granola Bars. I really liked how flexible her recipe was but I wanted to try making these without any corn syrup. I also lowered the sugar and omitted the salt so we could be justified when we eat half the granola bars in one sitting! And I require the peanut butter as it really helps the granola bar stay uncrumbly and contributes to the chewiness factor. Plus, I threw in coconut to counteract the lowered sugar.

And oh yeah, these are gluten free!

The list of characters….

Makes 16 granola squares

Ingredients

2 cups quick cooking oats, gluten free if necessary
1/2 – 2/3 cup organic sugar
2 cups nuts (I think slivered almonds are best and very kid friendly…but feel free to shake it up!)
1/2 cup dried fruit (myself, I’m a big cranberry fan)
1/2 cup shredded coconut
1/3 cup ground flax seed (optional)
1/4 cup peanut butter
5 tbsp unsalted butter, melted
1 tbsp H2O (I do not remember much from chemistry but I love using this abbreviation for water)
a little less than 1 oz of each: honey, maple syrup, and molasses (1/3 cup in total when all three are combined…just fill 1/3 measuring cup up with some of each)
Instructions

Preheat oven to 350 degrees. Butter a piece of parchment paper large enough to extend over a 9″x9″ baking pan. You want to be able to use the sides of the parchment paper to lift the baked granola out of the pan prior to cutting.

Place 1/3 cup of the oats into a food processor and chop until the oats reach flour like consistency. You are basically making oat flour. If desired, you could just use store bought oat flour but I like the do-it-yourself method.

In a large mixing bowl, combine the oat flour with remaining 1 and 2/3 cups oats and all other dry ingredients. In a separate bowl, stir together the melted butter, peanut butter, water, and the 1/3 cup mixture of honey, maple syrup, and molasses. (I hope the 1/3 cup makes sense…basically just put a tad of each into a 1/3 measuring cup).

Now comes the fun part! Pour the moist ingredients into the dry ingredients and mix together until well combined. You can use a plastic spatula, wooden spoon, or your hand for this part. I use my hand…easier to eat the stuff as I go along!

Now, STOP eating the granola and leave some for the granola bars!!!

Spread into the buttered parchment paper/baking pan.  And then press down the granola with your hands or a large spatula as much as possible. This is really important to help the granola bars stick together. Bake for 20 minutes, until slightly darkened on top. Remove from oven and once again, with a spatula, press the mixture down to help with the adhesiveness.

Do not remove the parchment paper from the pan for at least 30 minutes. This also helps the bars to  seal together. And if it’s really humid out, after letting the bars reach room temperature, place them into the fridge and allow to cool further for an hour or so more.

I’m telling you this so Kashi & Nature Valley will be jealous of how well your home made granola bars stay together!

Now, once you are ready to eat these bad boys, use a serrated knife to cut these in a sawing motion. Oh wait, you’ve already stolen a little bite…don’t worry…I have too when they come right out of the oven, but it’ll just be our secret!

Store bars in the refrigerator or freezer in a resealable bag. If frozen, simply allow the granola bar to sit out at room temperature for about 5 minutes. They’ll be cool, calm, and so satisfying!

Also, you can substitute chocolate chips for the dried fruit or drizzle chocolate on top if desired. I’ve found that cranberries and slivered almonds are my favorite way to go. When I’ve tried adding chocolate, the bars were still good but almost a little too rich or intense. So you may want to reduce the peanut butter a little if you add chocolate. Also, if you aren’t into dried fruit or chocolate then feel free to use all nuts. The basic amount is 2 to 3 cups total of nuts and dried fruit.

I’m really not kidding about how addictive these are. It is so hard to eat just one, so hard to put that spoon down once all the ingredients are combined…you just CAN’T STOP! Or, at least I can’t!

I hope ya’ll like these as much as my family does!

Love,

Jessica

09-06-2012

Wheat, oh wheat, what have you done to me?

Good morning! I am writing this at 6:07am. Wow, such a bright start to the morning. Many of you may be on the computer this early on a regular basis, but trust me….I am not. But my little Stella likes to wake at 5:45 just about every morning. Normally, I fight this for about 30 minutes. But this morning, I just went ahead and got up at the crack of dawn. If anyone has some magic tricks up their sleeves of how to get her to sleep in, I’d love to know!

But I digress, already! Kiddos’ wake up times is not what I am trying to write about.

So if you’ve known me for longer than 5 minutes there is a very good chance that you’ve heard about my “delicate stomach” and if you are unfortunately a close friend or a family member, then you’ve probably been tortured by listening to me try to diagnose my problem myself. And if you’re one of my sisters or my husband…well, let’s just say they are probably beyond THRILLED that I’ve finally found what is making my stomach not a very happy camper.

It’s wheat ya’ll. Or to actually be much more specific, it’s gluten that is found in wheat, barley, and rye. So drumroll here….I am going Gluten Free!

I’ve been GF for a week now (how awesome is it, that we gluten intolerance people have a cool abbreviation to stick to our name!) and I’ve already seen a big improvement, and I’m hoping I will continue to see more improvements…like maybe the mild acne that drives me crazy will clear up too?

Now, to why I thought YOU wanted to know all about my stomach issues… I am hoping that there are some readers out there who can help point me in the direction of tried & true, trusted & knowledgeable books, blogs, and cookbooks that’ll help me get creative when cooking & baking.

I’ve already checked a gozillan GF cookbooks out at the library, THANK GOD for libraries. And I’ve been looking at quite a few blogs. But I’m not kidding myself…I’m not the first person out there with this….so I know there are plenty of you who know which books are the most helpful and which blogs have the best tasting GF recipes.

Thanks for taking the time to help a ‘new to GF’ girl out! I really appreciate it!!!

Jess

09-04-2012

Au revoir summer 2012

Today’s the first day of pre-school and our oldest one, Dale Esau, is starting 4K!

And, I’ve learned some VERY shocking news…Next year, we’ll have to be at elementary school by 7:25AM! Are you serious? I guess that means my half sleeping on the couch from 6:30-8:30ishhh is probably not going to be happening so much in 2013. Therefore, I need to really appreciate these lazy morning hours, while I have ’em!

This summer we’ve had our share of lazy morning (okay, okay….all day) hours! We’ve been busy enjoying all the things summer brings… like popsicles, icecream, kettle corn at the farmer’s market, jaunts to the beach and pool, and playing tourists in our town.

So I wanted to share some photos with ya’ll of what we’ve been up to. I know I’ve posted extremely little and I’ve missed it. But there was just so much fun to be had with the computer turned off, that sometimes it was too hard to turn the computer on. This business of summer is winding down with our re-entrance into school and schedules, so here’s to hoping I’ll be blogging more often.

Sharing…is there anything more precious between siblings?

Road trip enthusiasm!

Inspecting dirt for worms, seriously…what we spent every single day doing this summer!

Catching fish together…the crazy outfit on DE is a make-shift trash bag poncho!

I’ve pickled probably 16 pints of okra so far and am hoping to put some more up this week. I LOVE pickled okra!

Berry Licious Lime Yogurt Popsicles

For the first time ever, I was able to can tomatoes from our garden!

Dale Esau planted these, unbeknownst to me, when I was working on another part of the garden. It was a pretty cool surprise to see them sprout and flourish. Since he planted them, they were his favorite veggie to eat all summer!

Chocolate Toffee Cupcakes for my birthday!!!

I cannot wait!!! to share with ya’ll this granola bar recipe. It is so delish, so addictive, and so gluten free!!!

Is there anything else that says summer better?

I hope you & yours had a fantastic summer!!! Here’s to being thankful for football season, falling leaves, pumpkins, and relishing this last year of sleepy mornings on the couch!

Love,

Jess

08-02-2012

Pesto Pesto Pesto

Let’s see if this equation is correct…

French fries and pizza sauce can count as a serving of vegetables, rightttttttt?

So then, pesto can count as a veggie too? I hope so, because right about now (with the heat & the humidity) there isn’t a whole lot of cooking being done in the Paulsen house.

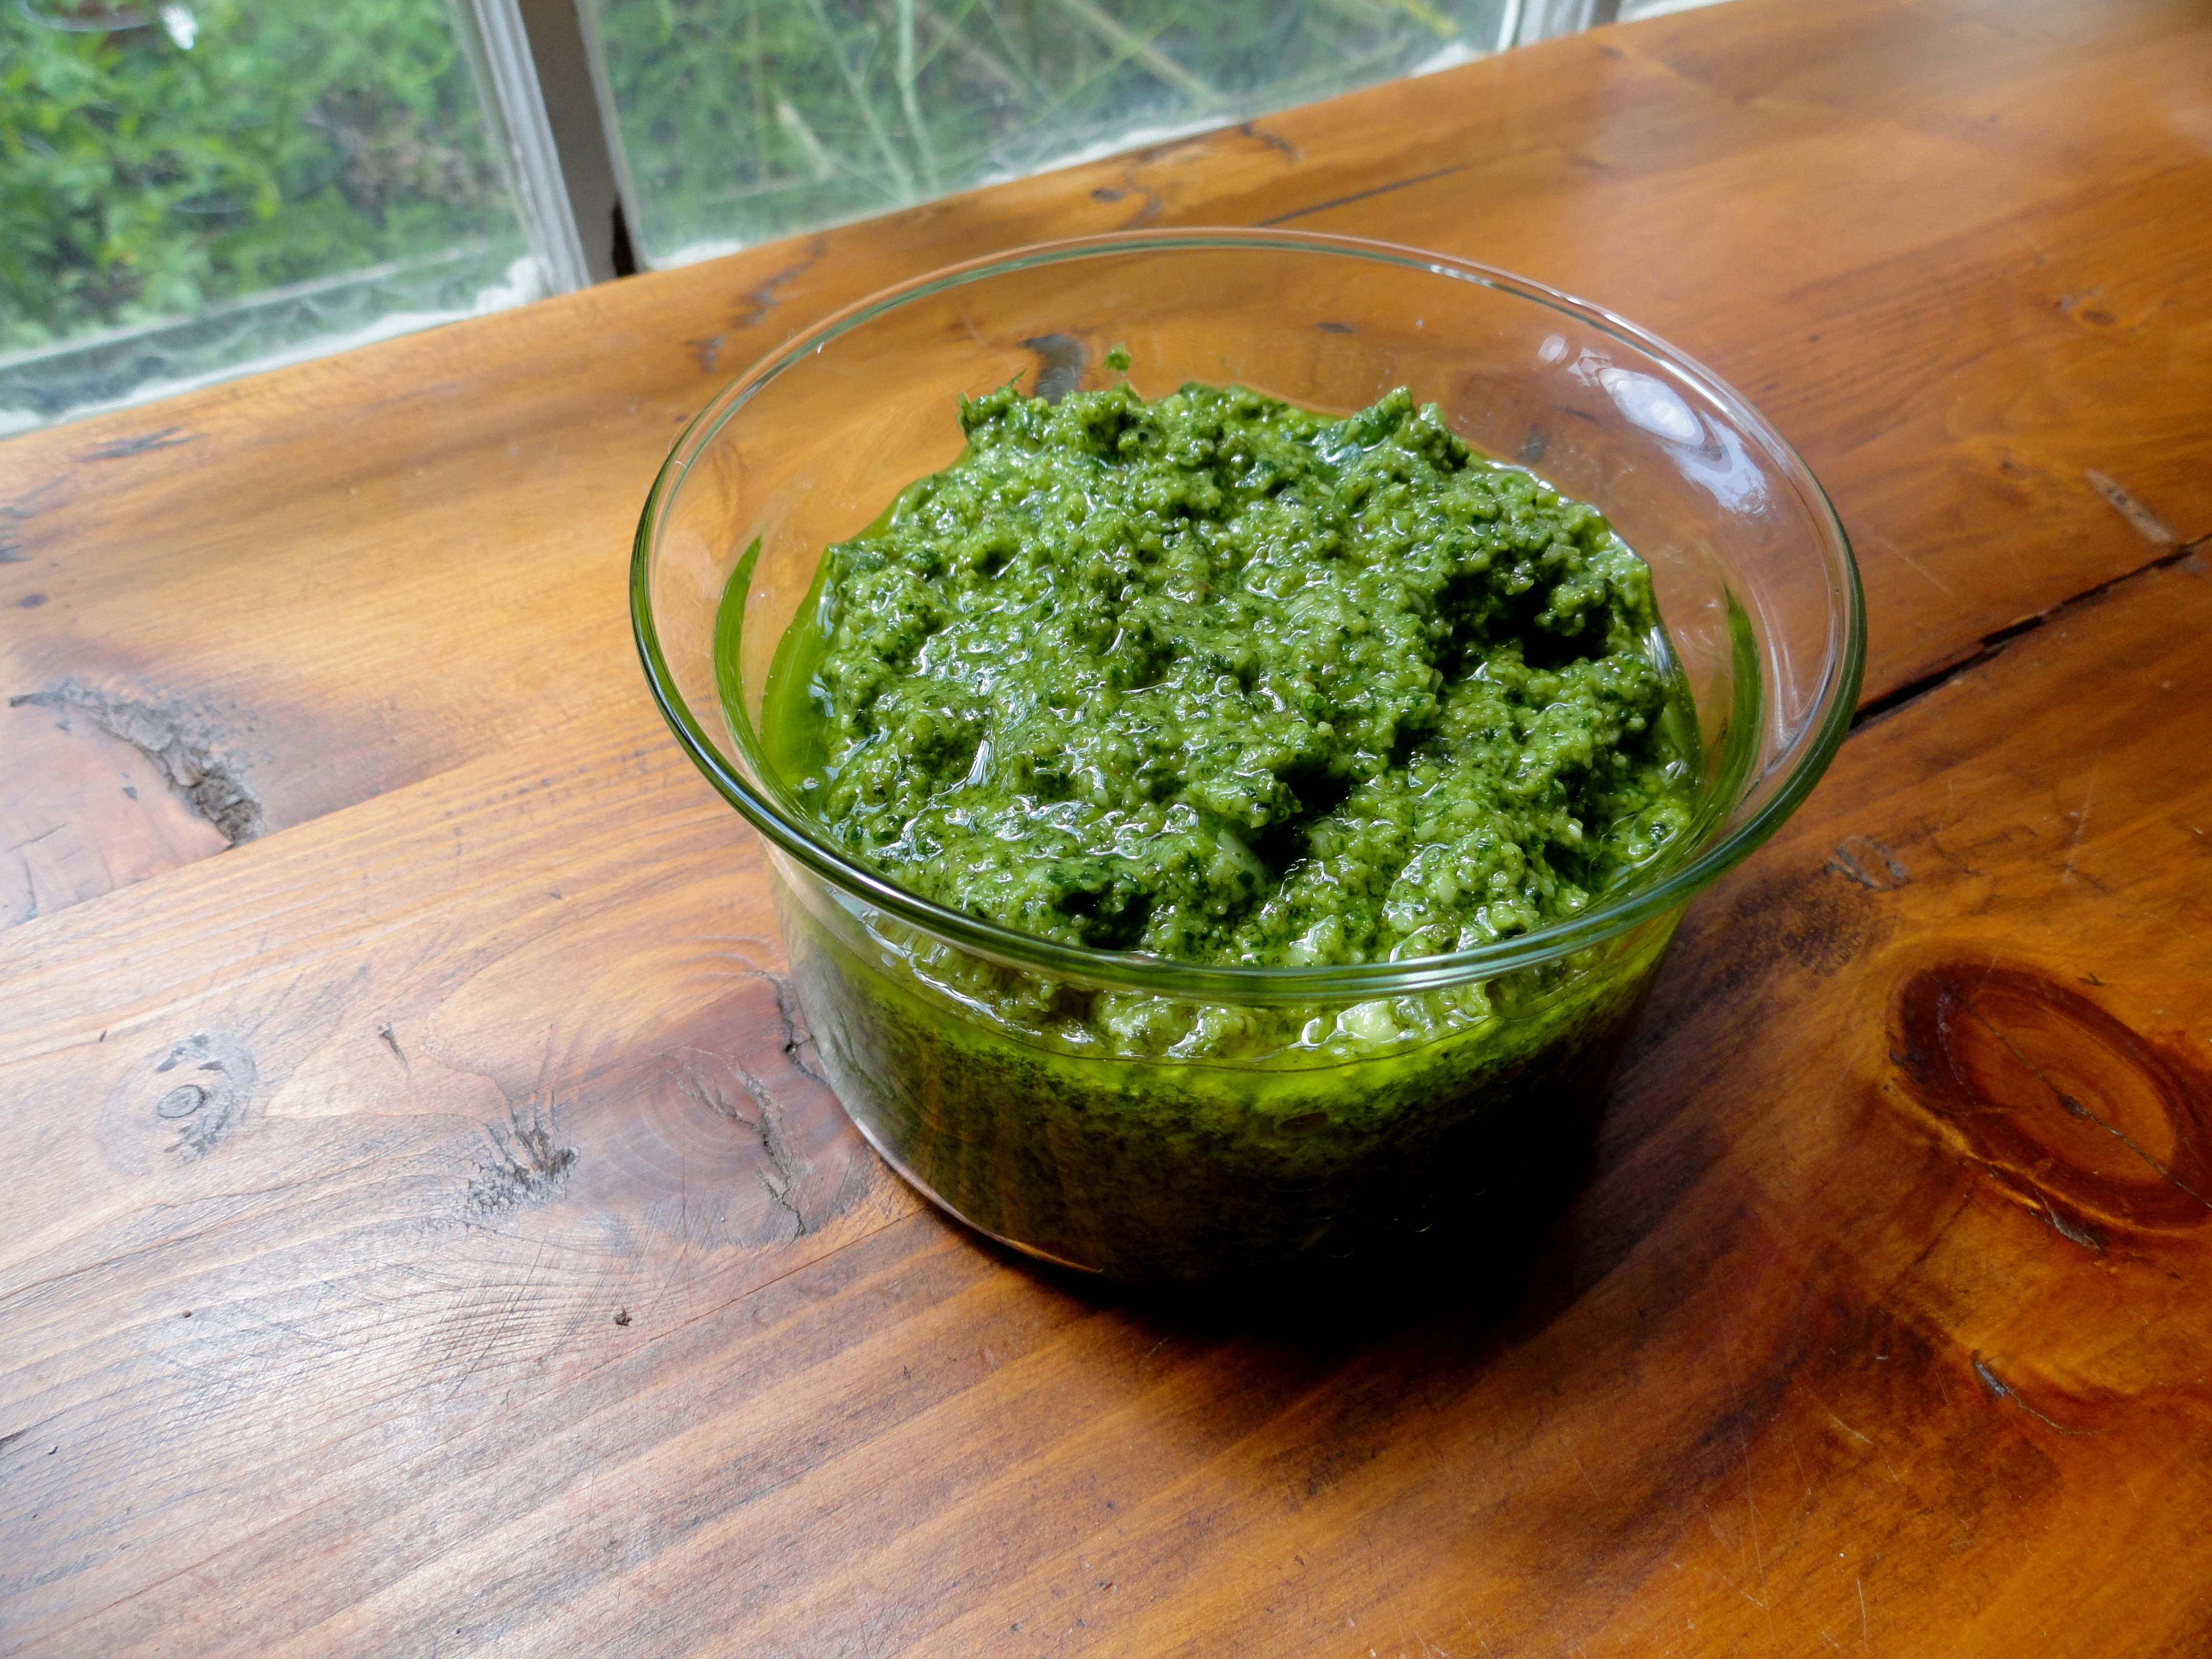
We’ve been eating our way through such massive amounts of pesto that I need to find a way to get my basil to grow faster. Even with 8 basil plants, I have to supplement the recipe with other herbs besides the most common ingredient. Luckily, the kids don’t care…so we’ve added arugula, mint, oregano, and even rosemary. My most favorite addition is the arugula. Probably because I can get a huge bag of it at the Farmer’s Market and produce a lot of pesto that way.


Here is my favorite way to make pesto. It is super flexible, so feel free to add more herbs, skip the nuts to watch calories, or play around with the olive oil portion until you get a consistency you like. The biggest difference in my pesto recipe is that I recommend sauteing the garlic for a few minutes to reduce the heartburn/acid reflux (getting old, aren’t I?) that raw garlic seems to bring about.

Ingredients

5 cups green herbs, arugula, and/or spinach
1/2 cup hard nuts (be adventuresome, try something besides pine nuts)
6 garlic cloves
1 cup olive oil
3/4 cup freshly grated top quality Parmesan cheese (but guess what…any ‘hard’ cheese will work. I tried cheddar (make sure you use real white cheddar) the other day and it was pretty good)
kosher salt & fresh ground black pepper

Preparation

Place peeled garlic cloves in a food processor and chop slightly. (Or chop by hand. I use my processor to chop so that I don’t have to dirty up a cutting board. Oh, lazy me.) On medium heat, saute the minced garlic for 2 to 3 minutes. Place garlic back into food processor.

Add nuts to the garlic, and chop/blend/puree in your processor until finely chopped. Add herbs, a teaspoon or so of kosher salt, and grind the pepper until you get tired of grinding. Next, start your food processor, and add the olive oil through the side spout. Or, you can do as I sometimes lazily do, and just dump the olive oil on top of the herbs and puree/blend. But if you want to watch how much olive oil you are adding, the side spout should do the trick nicely.

Now, add in the cheese and blend/puree again until you reach your desired consistency. Hmmm…at this point you taste and  think, God…how thankful I am that you made basil or arugula or anything green. (On another note, what do you think God’s favorite color is? I think green for sure. But blue is a top contender with all that sky above the basil plants!) Okay, so back to pesto!!!

You can totally make this in a blender, but I have to say, the blender I used to own was crap. Crap with a capital C. I couldn’t do anything with that blender. But some people say they love their blender. I happen to have a NINJA that I adore. It works extremely hard all summer longer blending together pesto for my family. Thank God for NINJAs and basil!

Oh, this recipe makes about 2 to 3 cups of pesto…so half the recipe if you aren’t into eating pesto as much as we are! You can freeze extra pesto in ice cube trays and just place in a resealable bag once the ‘pesto cubes’ are frozen.

Our favorite pesto dishes are obviously over pasta, but its even pretty tasty over a nice juicy steak.

Have a great Friday and stay cool!

Jess