04-02-2014

Spelt Cornbread Muffins

When it comes to gluten free & egg yolk less baking, there are lots more failures than successes, it seems. At least in my kitchen there are! This past weekend I managed to glue the waffle maker stuck, no joke, when I tried to make yolk-less waffles!

But recently, I have had lots of luck replacing whole wheat pastry flour with a mixture of spelt & tapioca flours.

IMG_5747


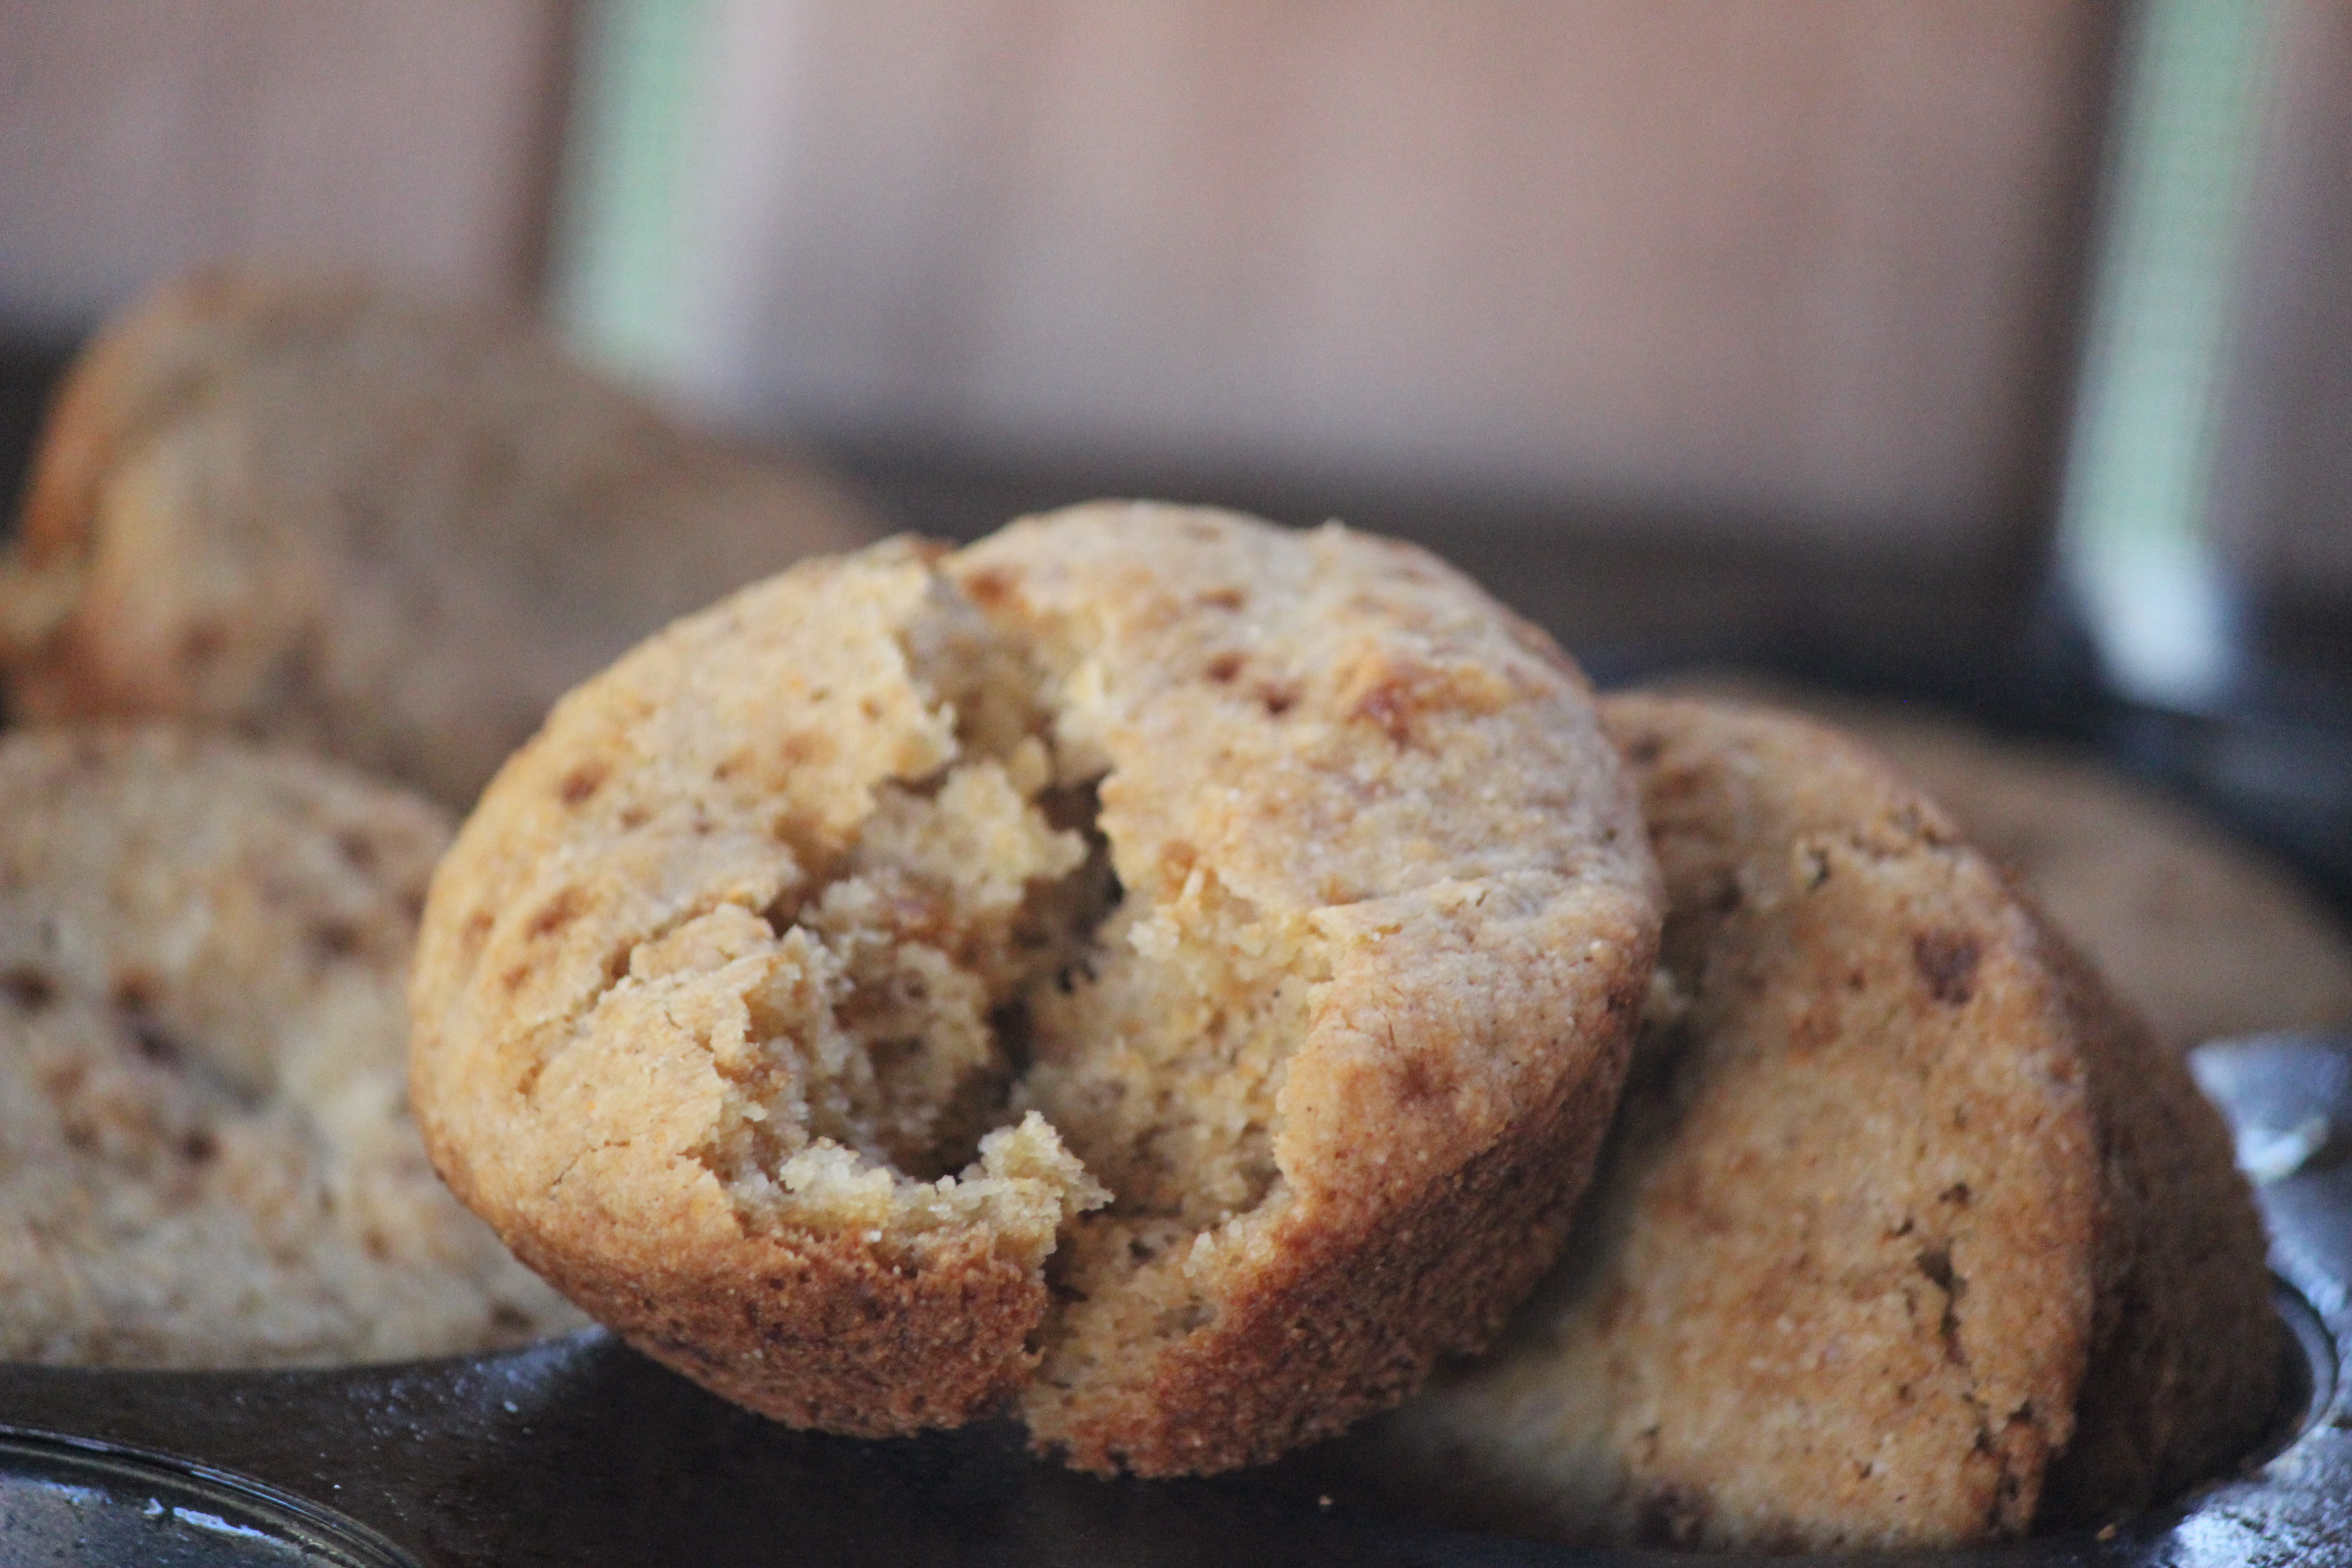
These cornbread muffins were so delightful after numerous failures in the kitchen. They have a tender crumb, are moist, and have great corn flavor. I found the recipe in a vegan cookbook, as I’ve decided baking egg-yolk-less would be easiest if I simply followed vegan recipes. This is from Isa Does It and will be a recipe I use frequently. The only difference I made was substituting spelt & tapioca flour for the whole wheat pastry flour she calls for.

Tips & Tricks ~
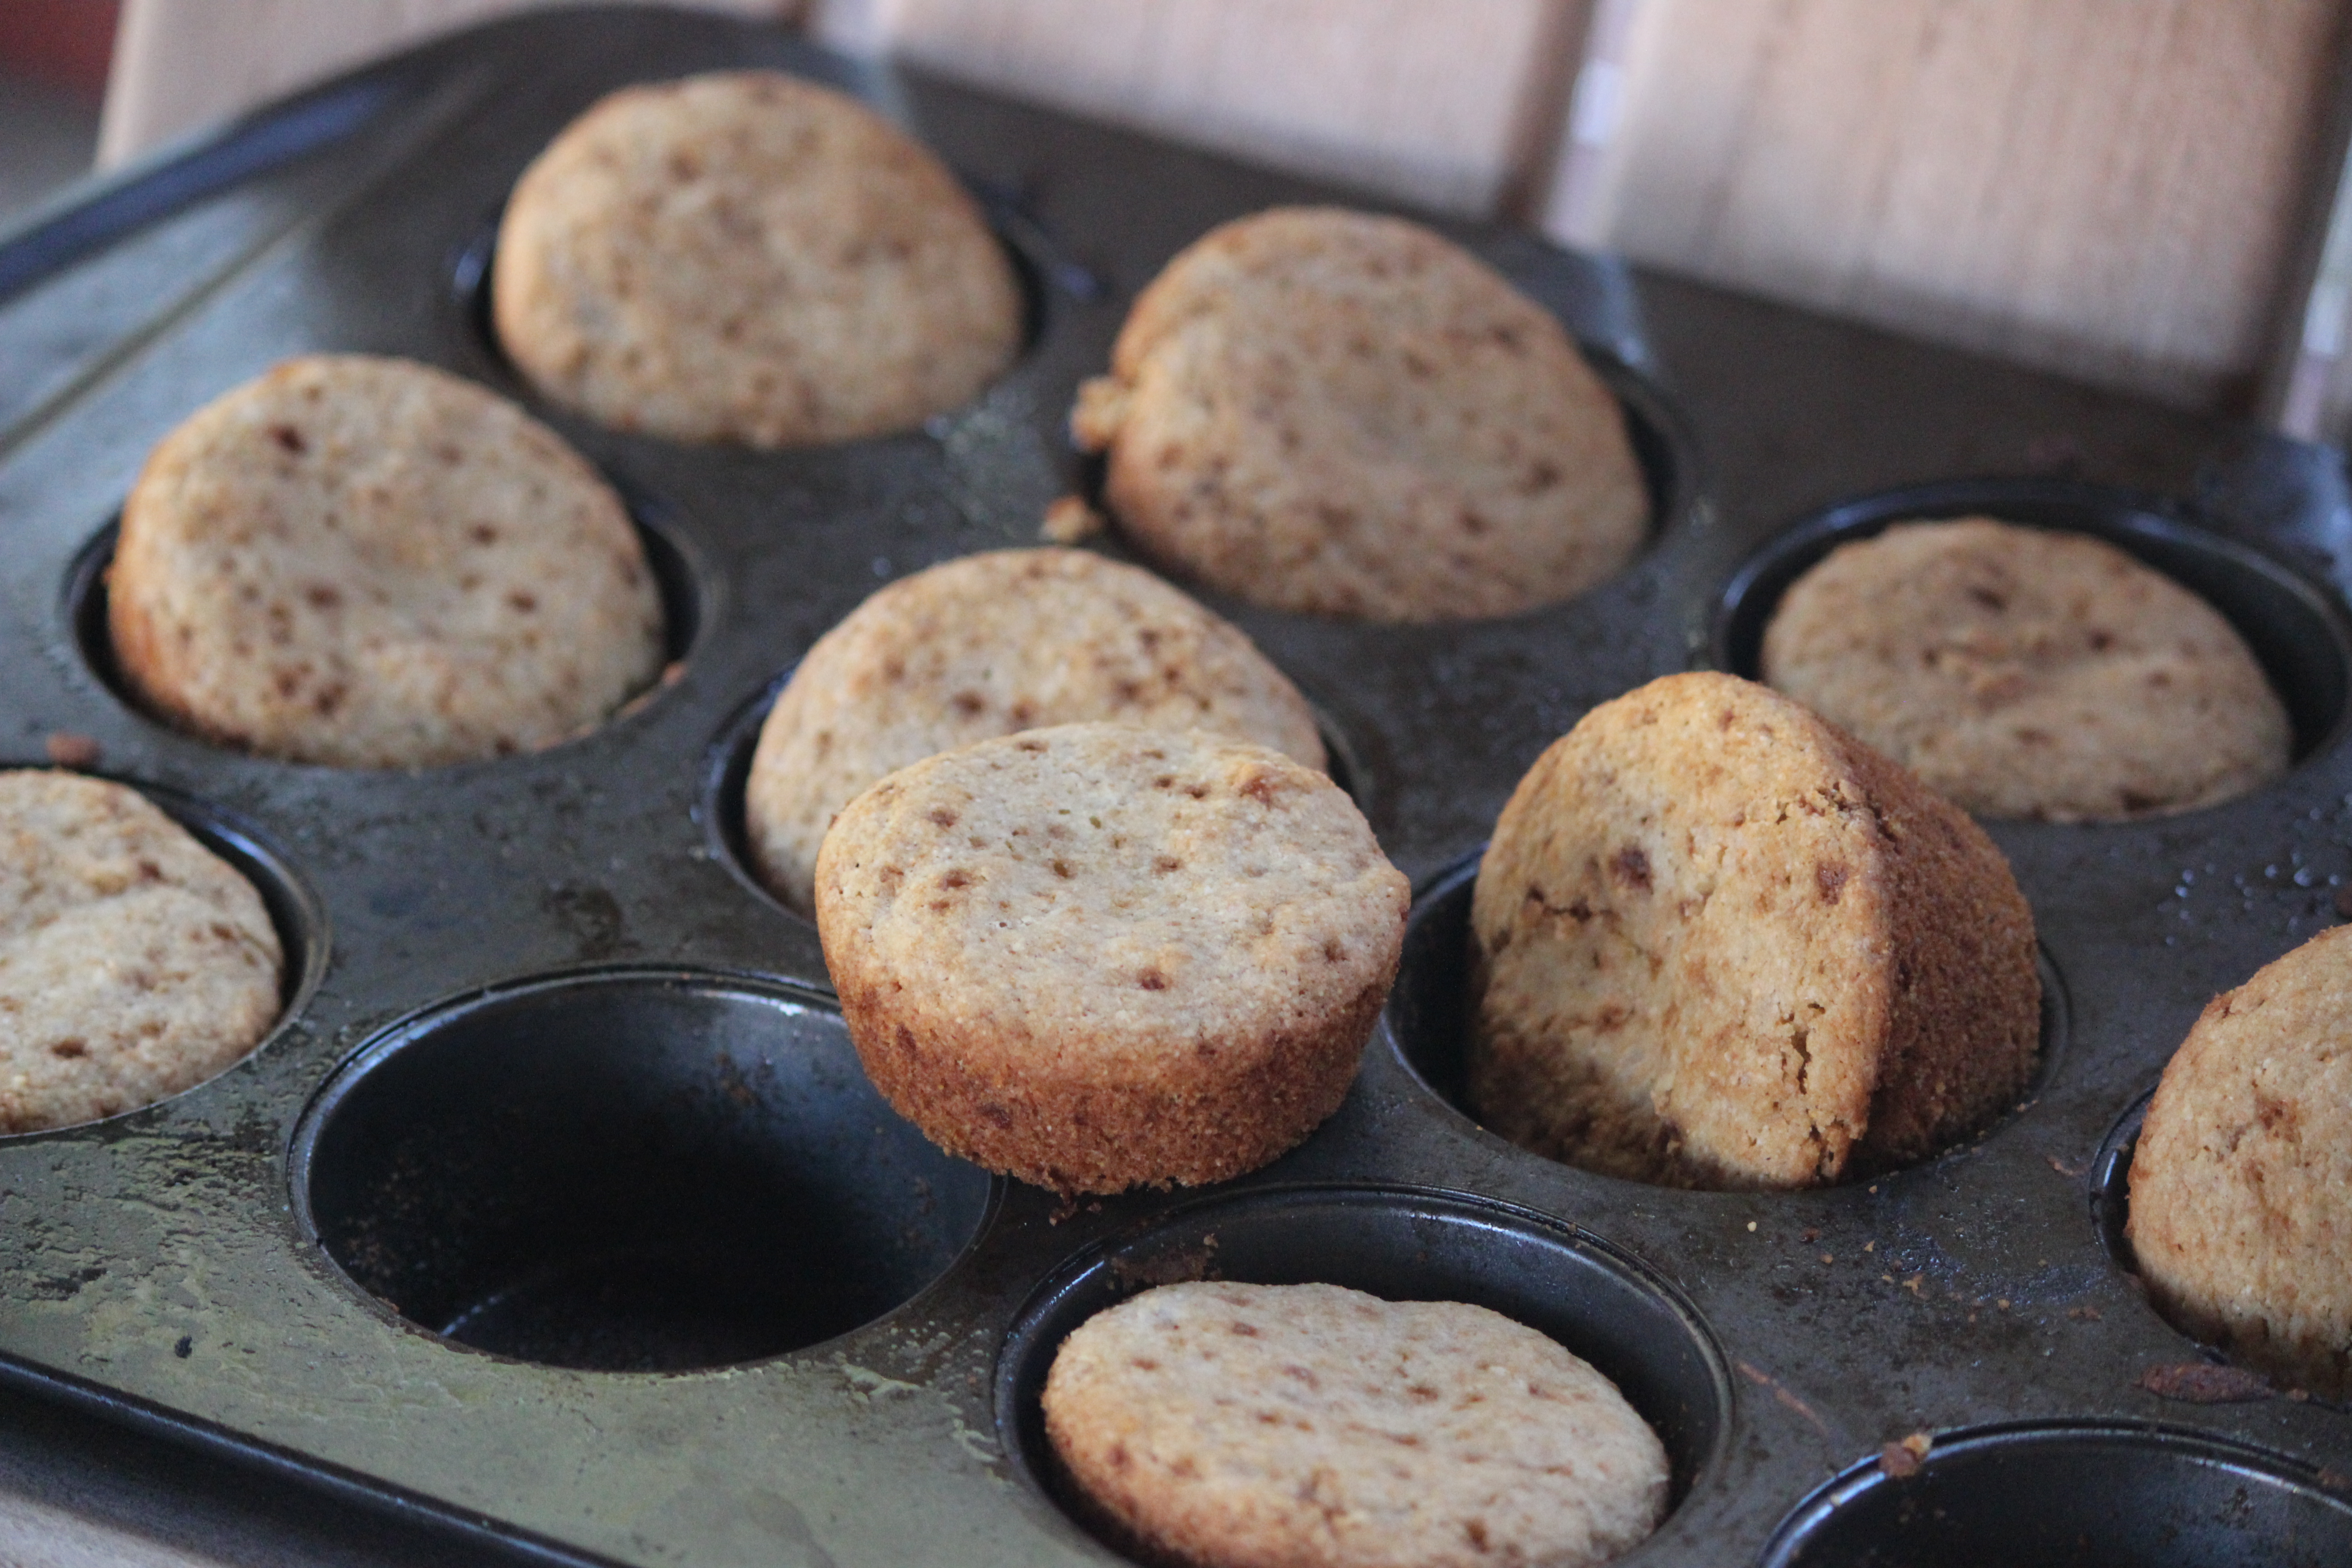
I am just guessing here…but I think baking these directly in the muffin pans sans muffin liners is what creates the crust you are seeking in corn muffins. If you oil the pan well, you should have no problem in the clean-up! Use white (or sometimes called light) spelt flour to have a less dense muffin.

Spelt Cornbread Muffins
1 cup almond milk
2 teaspoons apple cider vinegar
3/4 cup + 2 tsp white spelt flour
2 Tbsp tapioca flour
1 cup self rising corn meal
1/3 cup coconut sugar
2 tsp baking powder
1/2 tsp baking soda
1/2 tsp kosher salt
2 Tbsp refined coconut oil, melted
2 Tbsp unsweetened applesauce
1 cup corn kernels (optional & if using frozen, thaw first)

Preheat the oven to 350degrees. Lightly coat a 12 cup muffin pan with canola oil or cooking spray.

In a small bowl, combine the milk and vinegar, setting aside for atleast 2 minutes to curdle.

In a medium bowl, mix together the flours, cornmeal, sugar, baking powder, baking soda, and salt. In the small bowl of milk, stir in the melted coconut oil and applesauce. Make a well in the bottom of the dry ingredients. Pour liquid ingredients into the well of dry ingredients. Mix together the dry & wet ingredients just until the dry ingredients are incorporated. Be careful to not overmix as this minimizes how much muffins rise.

Fill muffin pans with batter and bake in preheated oven for approximately 18 minutes. Remove from oven and insert a spoon around the edges to help muffins be easily removed.

IMG_5746

Enjoy! And may we all have more successes in the kitchen this week than failures!

sig


09-11-2012

Cranberry & Almond Granola Bars

I thought you might be tiring of the same ‘ol descriptive words…amazing or yummy or delicious! So I thought I’d go all crazy and call these granola bars…Most Delicious!

These are SOoooo good that the hardest part is to stop eating the granola mix before you bake it. You know, so you could actually end up eating the finished product!

This recipe is inspired from Smitten Kitchen Thick & Chewy Granola Bars. I really liked how flexible her recipe was but I wanted to try making these without any corn syrup. I also lowered the sugar and omitted the salt so we could be justified when we eat half the granola bars in one sitting! And I require the peanut butter as it really helps the granola bar stay uncrumbly and contributes to the chewiness factor. Plus, I threw in coconut to counteract the lowered sugar.

And oh yeah, these are gluten free!

The list of characters….

Makes 16 granola squares

Ingredients

2 cups quick cooking oats, gluten free if necessary
1/2 – 2/3 cup organic sugar
2 cups nuts (I think slivered almonds are best and very kid friendly…but feel free to shake it up!)
1/2 cup dried fruit (myself, I’m a big cranberry fan)
1/2 cup shredded coconut
1/3 cup ground flax seed (optional)
1/4 cup peanut butter
5 tbsp unsalted butter, melted
1 tbsp H2O (I do not remember much from chemistry but I love using this abbreviation for water)
a little less than 1 oz of each: honey, maple syrup, and molasses (1/3 cup in total when all three are combined…just fill 1/3 measuring cup up with some of each)
Instructions

Preheat oven to 350 degrees. Butter a piece of parchment paper large enough to extend over a 9″x9″ baking pan. You want to be able to use the sides of the parchment paper to lift the baked granola out of the pan prior to cutting.

Place 1/3 cup of the oats into a food processor and chop until the oats reach flour like consistency. You are basically making oat flour. If desired, you could just use store bought oat flour but I like the do-it-yourself method.

In a large mixing bowl, combine the oat flour with remaining 1 and 2/3 cups oats and all other dry ingredients. In a separate bowl, stir together the melted butter, peanut butter, water, and the 1/3 cup mixture of honey, maple syrup, and molasses. (I hope the 1/3 cup makes sense…basically just put a tad of each into a 1/3 measuring cup).

Now comes the fun part! Pour the moist ingredients into the dry ingredients and mix together until well combined. You can use a plastic spatula, wooden spoon, or your hand for this part. I use my hand…easier to eat the stuff as I go along!

Now, STOP eating the granola and leave some for the granola bars!!!

Spread into the buttered parchment paper/baking pan.  And then press down the granola with your hands or a large spatula as much as possible. This is really important to help the granola bars stick together. Bake for 20 minutes, until slightly darkened on top. Remove from oven and once again, with a spatula, press the mixture down to help with the adhesiveness.

Do not remove the parchment paper from the pan for at least 30 minutes. This also helps the bars to  seal together. And if it’s really humid out, after letting the bars reach room temperature, place them into the fridge and allow to cool further for an hour or so more.

I’m telling you this so Kashi & Nature Valley will be jealous of how well your home made granola bars stay together!

Now, once you are ready to eat these bad boys, use a serrated knife to cut these in a sawing motion. Oh wait, you’ve already stolen a little bite…don’t worry…I have too when they come right out of the oven, but it’ll just be our secret!

Store bars in the refrigerator or freezer in a resealable bag. If frozen, simply allow the granola bar to sit out at room temperature for about 5 minutes. They’ll be cool, calm, and so satisfying!

Also, you can substitute chocolate chips for the dried fruit or drizzle chocolate on top if desired. I’ve found that cranberries and slivered almonds are my favorite way to go. When I’ve tried adding chocolate, the bars were still good but almost a little too rich or intense. So you may want to reduce the peanut butter a little if you add chocolate. Also, if you aren’t into dried fruit or chocolate then feel free to use all nuts. The basic amount is 2 to 3 cups total of nuts and dried fruit.

I’m really not kidding about how addictive these are. It is so hard to eat just one, so hard to put that spoon down once all the ingredients are combined…you just CAN’T STOP! Or, at least I can’t!

I hope ya’ll like these as much as my family does!

Love,

Jessica