01-27-2014

What a garden in January really looks like!

IMG_4810

I often have friends ask me to help them start a small backyard garden. Which excites me to no end, because I think everyone should be digging in their dirt more often. But sometimes I wonder…do people have the correct expectations of what a garden looks like in their yard. Sure, in mid summer that space is going to look gorgeous with vibrant green foliage, yellow blossoms of squash, and red tommytoes (there really are tiny tomatoes called this!) on the vine… all just ready to be picked.

But come January, that luscious garden is another story. There is a good chance (if you are anything like me) that back in September you left the garden to take care of itself. And it certainly has! The lettuce box is falling apart, showing signs that it really is on its last leg and will not produce any more bumper crops of greens.

IMG_4803

And there are the not so small amount of weeds that have overtaken one garden plot.

IMG_4812

So if you have your heart set on starting a garden this year….GO YOU!!!! Just be prepared that it does take work in the fall to avoid a garden that looks like mine currently does!

But despite the work required to maintain a garden, everyone should do it. Whether it’s growing herbs in containers to tackling an acre or more of just potatoes….you can do it! There are few things as rewarding as taking one tiny seed and turning that into the crop you feed your family.

And once you catch the gardening bug, no matter how bad your other garden plots look, you’ll probably keep adding more garden beds to grow even more tomatoes in! I am so excited we had room to add these two garden plots this year. And because we cut down a ton of trees they will receive great sunlight (hopefully, fingers crossed)!

IMG_4816

I hope your garden looks more beautiful than mine right now!

Jess

08-02-2012

Pesto Pesto Pesto

Let’s see if this equation is correct…

French fries and pizza sauce can count as a serving of vegetables, rightttttttt?

So then, pesto can count as a veggie too? I hope so, because right about now (with the heat & the humidity) there isn’t a whole lot of cooking being done in the Paulsen house.

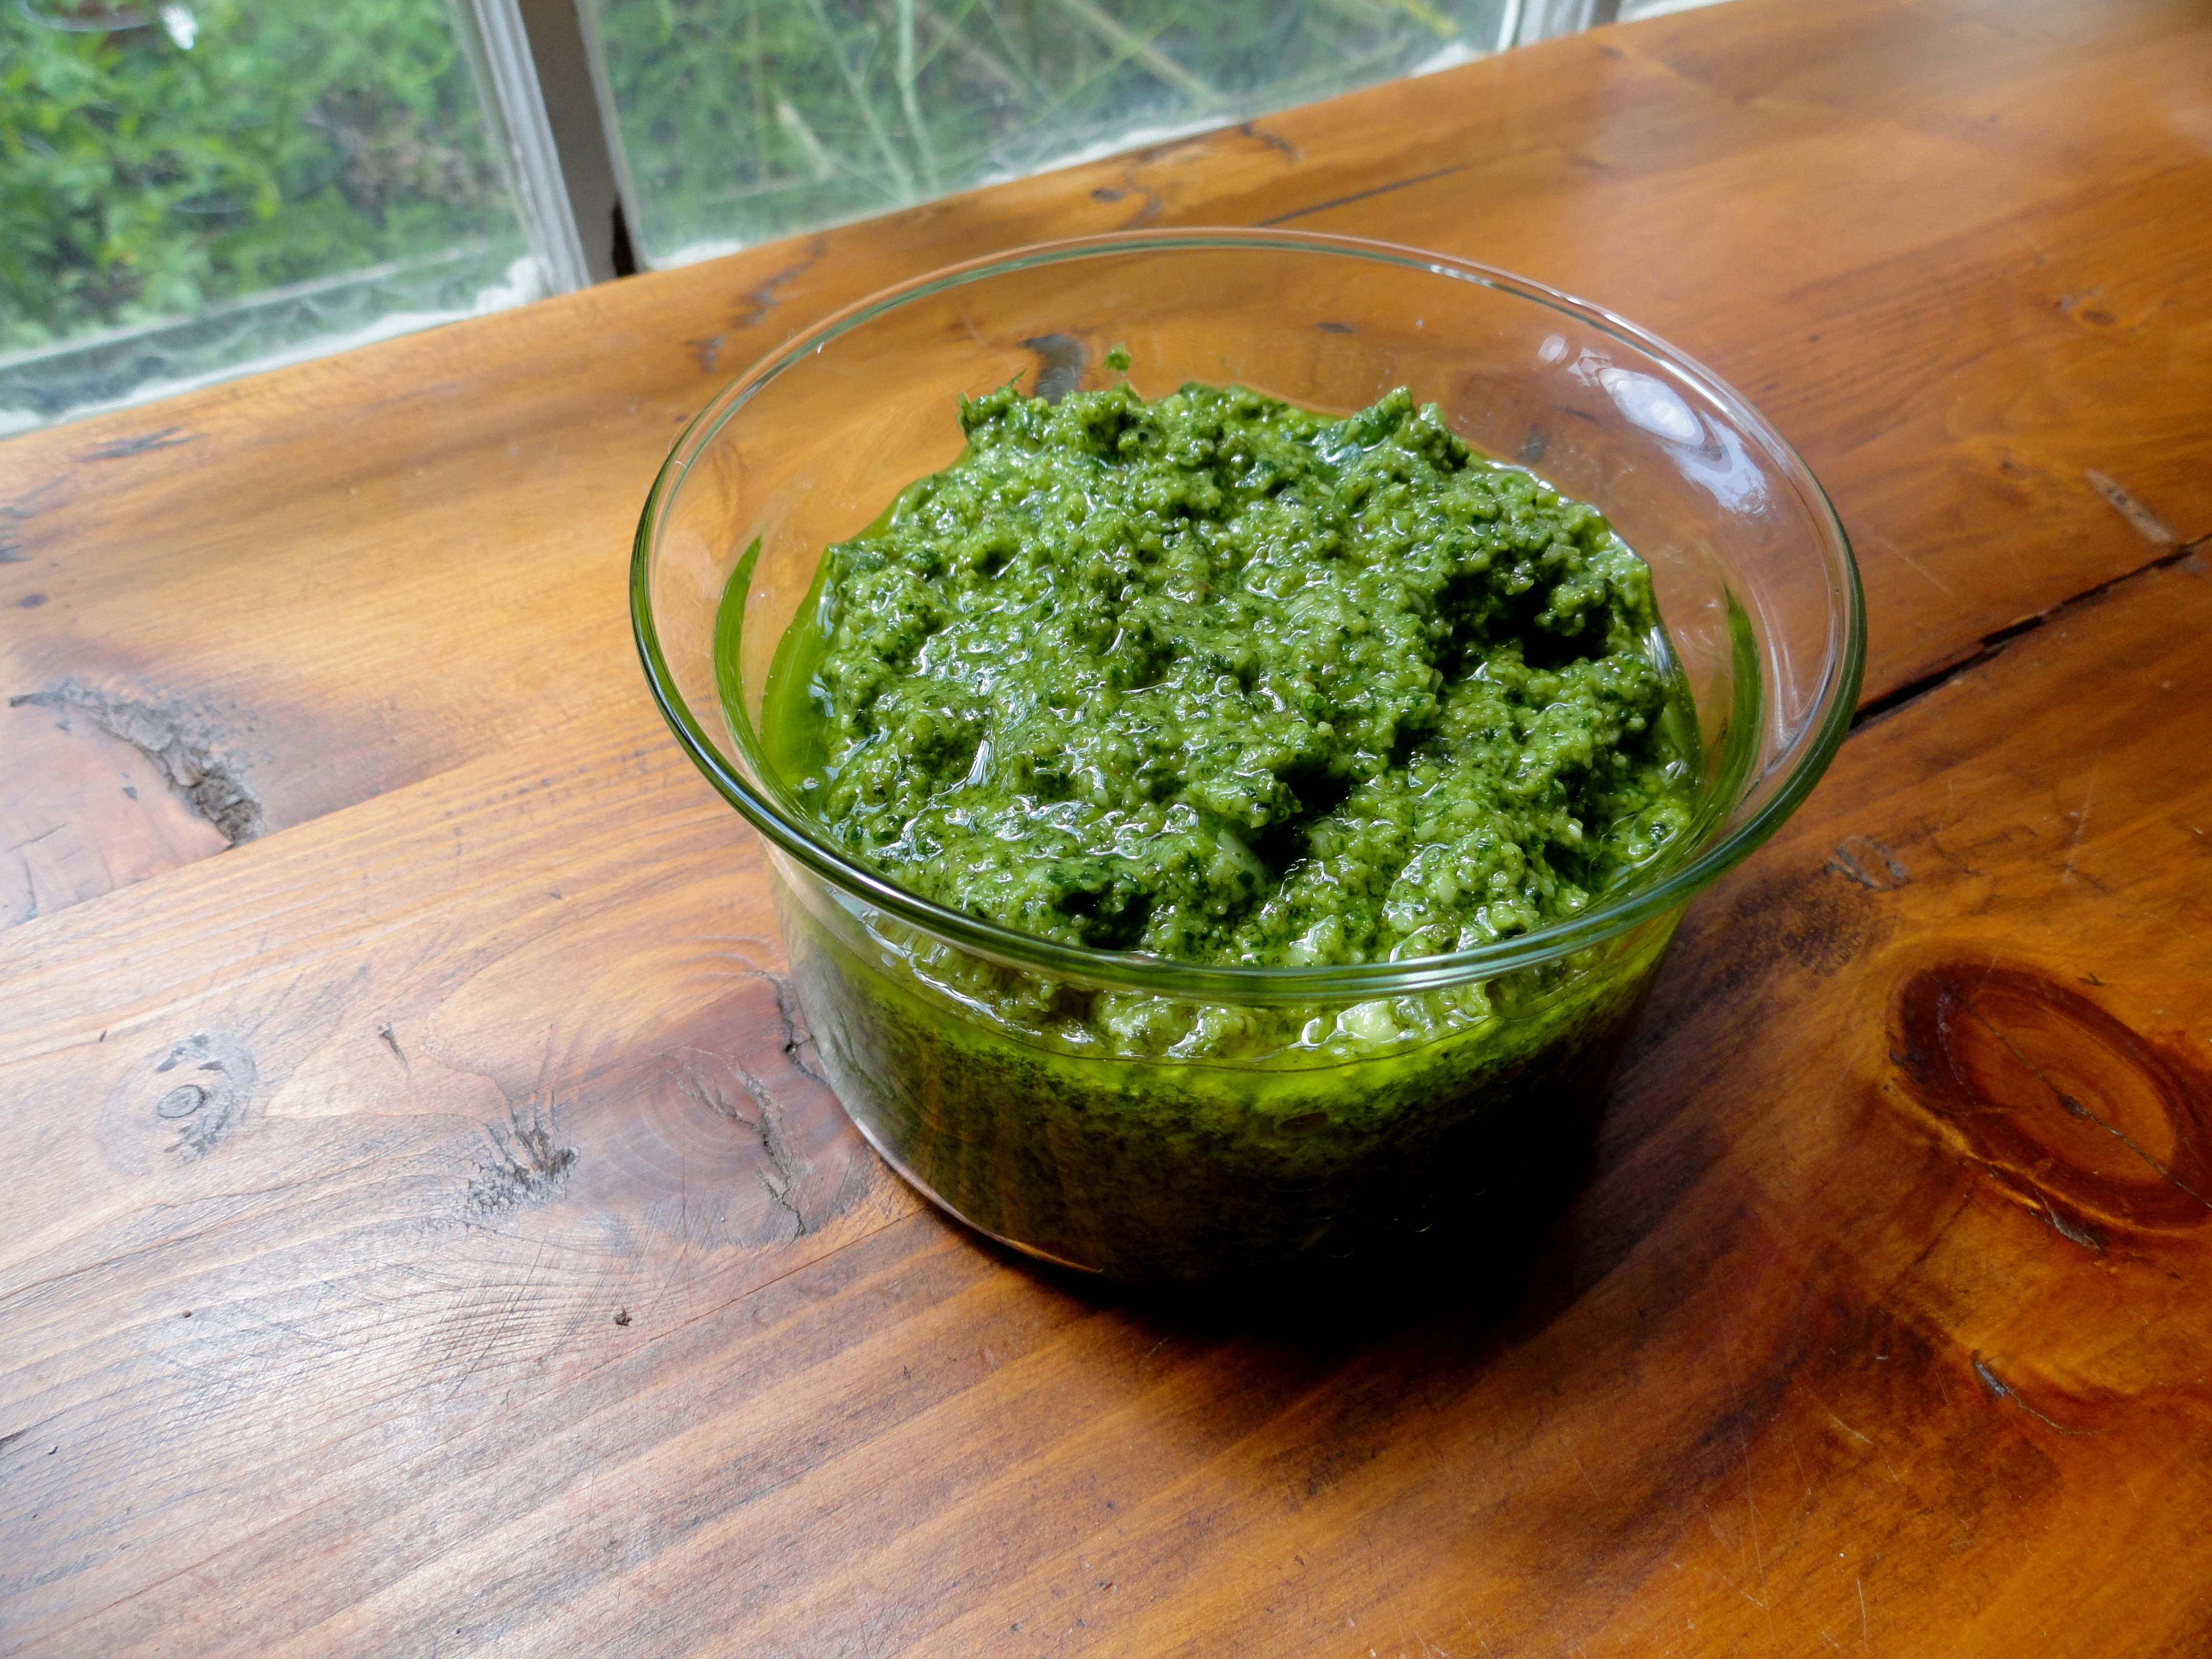
We’ve been eating our way through such massive amounts of pesto that I need to find a way to get my basil to grow faster. Even with 8 basil plants, I have to supplement the recipe with other herbs besides the most common ingredient. Luckily, the kids don’t care…so we’ve added arugula, mint, oregano, and even rosemary. My most favorite addition is the arugula. Probably because I can get a huge bag of it at the Farmer’s Market and produce a lot of pesto that way.


Here is my favorite way to make pesto. It is super flexible, so feel free to add more herbs, skip the nuts to watch calories, or play around with the olive oil portion until you get a consistency you like. The biggest difference in my pesto recipe is that I recommend sauteing the garlic for a few minutes to reduce the heartburn/acid reflux (getting old, aren’t I?) that raw garlic seems to bring about.

Ingredients

5 cups green herbs, arugula, and/or spinach
1/2 cup hard nuts (be adventuresome, try something besides pine nuts)
6 garlic cloves
1 cup olive oil
3/4 cup freshly grated top quality Parmesan cheese (but guess what…any ‘hard’ cheese will work. I tried cheddar (make sure you use real white cheddar) the other day and it was pretty good)
kosher salt & fresh ground black pepper

Preparation

Place peeled garlic cloves in a food processor and chop slightly. (Or chop by hand. I use my processor to chop so that I don’t have to dirty up a cutting board. Oh, lazy me.) On medium heat, saute the minced garlic for 2 to 3 minutes. Place garlic back into food processor.

Add nuts to the garlic, and chop/blend/puree in your processor until finely chopped. Add herbs, a teaspoon or so of kosher salt, and grind the pepper until you get tired of grinding. Next, start your food processor, and add the olive oil through the side spout. Or, you can do as I sometimes lazily do, and just dump the olive oil on top of the herbs and puree/blend. But if you want to watch how much olive oil you are adding, the side spout should do the trick nicely.

Now, add in the cheese and blend/puree again until you reach your desired consistency. Hmmm…at this point you taste and  think, God…how thankful I am that you made basil or arugula or anything green. (On another note, what do you think God’s favorite color is? I think green for sure. But blue is a top contender with all that sky above the basil plants!) Okay, so back to pesto!!!

You can totally make this in a blender, but I have to say, the blender I used to own was crap. Crap with a capital C. I couldn’t do anything with that blender. But some people say they love their blender. I happen to have a NINJA that I adore. It works extremely hard all summer longer blending together pesto for my family. Thank God for NINJAs and basil!

Oh, this recipe makes about 2 to 3 cups of pesto…so half the recipe if you aren’t into eating pesto as much as we are! You can freeze extra pesto in ice cube trays and just place in a resealable bag once the ‘pesto cubes’ are frozen.

Our favorite pesto dishes are obviously over pasta, but its even pretty tasty over a nice juicy steak.

Have a great Friday and stay cool!

Jess
07-20-2012

Peach Jam (no pectin)

It’s Canning Week at Simple Bites, so I’m linking up there and sharing a recent canning experience…

Having two young kids in our house = A LOT of jam & preserves consumption…

And while we could keep Smucker’s in business for the next eighteen years, I figure they’ll do just fine without us, and so, I make our own jam.  I much rather prefer the taste of my homemade preserves, and this way, I get to control what goes into them.

So a few weeks ago, I had a 1/2 bushel of organic peaches show up at the front door from our local grocer, love KTC!, and they were so yummy and delish, juicy and fresh!

But, I had no fruit pectin in the house and to be honest, I was bound & determined to not buy any. The first ingredient is typically maltdextrin or dextrose. Now granted, those are not the worst types of sugars to put into your body. But sometimes, a girl just wants it au natural! My grandma didn’t have artificial pectin to put in her peach jam, so I was pretty sure I could find a way to make do without. And girl, did I ever! You simply need time. Not something we always have on our side these days, but its pretty neat to make something the same way your grandparents did.

(And, I simply KNOW you are wondering…pectin is a naturally occurring substance found in fruit which is what makes the jam ‘set’ or reach the desired gelling consistency. Foregoing artificial pectin (for fruits with very low natural pectin) requires more cooking time prior to canning, but it also reduce the amount of sugar called for. So really, a plus plus scenario! No artificial crapness & less sugar!)

Okay, now back to reality and a simple recipe you can make at home yourself!

Peach Jam

Ingredients
1/2 bushel ripe peaches
3 cups organic sugar
1 cup honey

Yields ~ 9 half pints

First off, you’ll need to peel the peaches first and I promise, its not as hard as you may think. Simply score an ‘x’ on the underside of each knife and place into a roiling boil of water. After 30-60 seconds you’ll see the skin start to peel away from this ‘x’. Plunge peaches into ice cold water and the peel will be super easy to remove.

I need a video here to show you how easy it is, but just trust me!

Place quartered peaches into a food processor and blend until slightly pureed.

This is where I begin to fall in love, all over again, with my NINJA processor. Oh wait, I never fell out of love with it! It is my go-to kitchen appliance. I LOVE IT!!!

Now add your sugar & honey. And then pour yourself a glass of chilled white wine.

You’ll need the wine, since this next process takes an hour plus, but once again, worth it to not have to use store bought pectin. When you begin the process the consistency looks pretty soupy and runny.

Foam will begin to appear but after 15-20 minutes the foam will begin to disappear. You can also skim off if desired. That is too much work for me, so I just leave it!

In about an hour and fifteen minutes, you will have a thick and gelled consistency. Notice, it’s so thick that it has a hard time getting through the slots in the spoon. This is the consistency you are looking for.

Ladle into hot jars, leaving 1/4″ headspace. Cover with lids & rings. And then process for 10 minutes in a hot water bath.

For complete canning process tips, I recommend Ball’s online guide.

Thanks for humoring my no pectin kick! I definitely use pectin at times but sometimes it’s neat to do something the oooolllllld school way.

So what’s been your favorite canning recipe this summer?

Happy Canning!

Jess

~~~

Peach Jam
Yields ~ 9 half pints

Ingredients

1/2 bushel peaches
3 cups organic sugar
1 cup honey

Preparation

Fill a heavy stockpot with water and bring to a roiling boil. Nearby, place a large bowl filled half full with very cold ice water. Score an ‘x’ on the bottom of each peach.

Blanche peaches for 30-60 seconds in boiling water and then plunge into the ice water. Once slightly cooled, remove skin from peach, pull apart from the stone pit, and place into a food processor or blender. Once all peaches have been peeled, chop the peaches, in processor, until chunky or slightly pureed.

Place chopped peaches into a heavy stockpot, adding sugar and honey. Bring to a slow boil over medium heat. Reduce heat to medium low and simmer for approximately one hour and fifteen minutes; until jam has reach desired gelling ‘set’ consistency. Stir every few minutes while it cooks. Also, approximately ten to fifteen minutes into the simmering process, you can (optional) remove foam from the top of mixture with a metal slotted spoon.

Once desired consistency is reached, ladle hot jam into hot, sterilized half-pint canning jars, leaving a 1/4 inch headspace.  Wipe jar rims and cover with lids & rings. Process filled jars in a boiling water bath for 10 minutes.

*Note* I was extremely exhausted when I began this recipe and ended up only getting 1/2 of the peaches peeled and chopped before calling it a night. To retain the bright peach color overnight, I put a few teaspoons of asorbic acid (vitamin C powder) in with the pureed mix and refrigerated until I could begin again the next morning. I am happy to report, the color stayed beautiful and the taste was unaltered. 

06-13-2012

The Tomato Sandwich

Today, I pay homage to my most favorite food. One day, hopefully long away in the future, when I breathe my last breath, I pray I have just finished A TOMATO SANDWICH, made by Southern hands.

I simply think there is no better creation than some fine mayo slathered on some thick bread loaded down with too many to count slices of tomatoes; and of course, lets not forget….way too much salt & pepper on those things. Hmmm….

Fisherman looks on in disbelief as I eat my piece of heaven and cannot believe there are two tomatoes worth of slices on that bad boy, or that there is no bacon or lettuce anywhere to be found. OF COURSE THERE ISN’T. BLT’s are good – but they aren’t a tomato sandwich. There is a vast difference. And in my mind, to be truly Southern – 1. You need to be born in the south and 2. You need to relish a pure & simple tomato sandwich.  (I can’t wait to hear your thoughts on my Southern comments!!!) 😉

So how do I create such a delectable sandwich?

First, you must start with the proper ingredients….good, real Mayo….not Miracle Whip…the real deal.

Second, thick crusty bread…think day old bread to sop up all that juice.

Third, so many tomato slices that they are falling out of the sandwich.

And lastly, a VERY generous helping of kosher salt & fresh ground pepper. (Yes, I will probably pass from too high blood pressure, but life without some salt would be very sad indeed.)

You’ve got to sprinkle the salt & pepper two times on each side to reach the desired amount. And getting the spice all over the bread adds some special umpf!

Now eat that summer goodness and wash it all down with some Southern style sweet tea.

Love ya’ll,

Jessica

P.S….don’t even think about trying this in the winter or any other time when fresh off the vine tomatoes aren’t available!

04-30-2012

Do you CSA? Part 2

In case you missed my post, Do you CSA, click here, so the following will make more sense!

So I’ve finally made my decision…shopping at the Farmer’s Market from a plethora of vendors is just too much fun to pass up!

I know I could still buy from other vendors even if I have a CSA, but I’m on a budget here. If I spend my $20 with one farmer, then I’ll not have any MULA for the golden beets from Owl’s Nest or no fresh berries from Maple Ridge Farms. And it’s so much fun, each week, to speak with the different farmers, buy some baby crookedneck squash here and a fresh off the vine tomato there. (No, its not tomato season here at all, I am just anxiously awaiting the day!)

Thank you to EVERYONE that shared your comments, your thoughts, and feedback. I thought everyone would push me to the CSA so it was great to see all the varied opinions.

I’ve been working on recipes a lot lately so hopefully I can get some up soon. Think…swiss chard and ground pork stew, chicken & pork bolognese, quiche, pesto….hmmm…I love me some food.

Have a great day!

Jessica

04-20-2012

Plant a lettuce box for Earth Day

Want to celebrate Earth Day (Sunday) with your kids? What about…

Growing lettuce is so easy & simple and you get rewarded fresh food pretty quickly! Instant gratification seems to be a need of the kids I know.

You can either keep your lettuce small (above), which would then be called microgreens. Cut them at the very bottom every few days. You get more intense flavor this way.

Or allow to grow larger, as we’ve done with our romaine (Cinnamaron variety) below.

This is the first year I’ve tried micro-greens and they are tasty! You start these from regular seed but are just harvesting a lot more early & frequently.

And perhaps throw in an extra veggie besides the lettuce? I’m trying to grow cucumber (Green Apple variety) upside down this year – and it appears to be working!

ENJOY your weekend outside with family, friends, and nature!

Love,

Jess
04-19-2012

Do you CSA?

Hello Father,

I have a confession. I love gardening, I love farmers, I love dirt. But I just can’t imagine joining a CSA. I want freedom of choice, to pick my veggies just the way I want, when I want. You see, God, signing up for a CSA requires commitment. And, I have come to realize that I don’t necessarily enjoy commitments. (I can’t even keep up with once a week pilates.) I do go to the Farmer’s Market faithfully and I shop at the local grocer each week. But I still feel unfaithful to the farmer by not participating in a CSA. Does my selfishness of wanting to choose my veggies each week mean I’m not really supporting the farmer? That rain or shine, drought or flood, he’ll have money to keep his farm afloat no matter how the produce turns out?
Help me out,

Jessica

****

I really am serious. Even though I encourage all my friends to participate in one, I have a huge commitment issue with CSA’s (Community Supported Agriculture). And until this past Tuesday I kept telling myself that if there was a farm that had a pick-your-own veggie CSA that I would participate. But then you find that ‘answer’ and realize, you’re still hesitant.

You see, I love going to the different vendors at the market and choosing a tomato here, a carrot bunch there, and a pile of lettuce greens at the next one. And my worry is this, if I commit to spending my $20/week with only one vendor – will I regret it? I definitely won’t regret the quality – its the best there is, but will I regret not getting to spend my $ with lots of vendors in lieu of spending it with one?

What do you think? Do you like your CSA? Do you have one where you choose your veggies or do you get an exciting surprise bag each week? Should I just go for it and try it out? And if you are a farmer…I’d love to know your thoughts on CSA participants versus farmer’s market buyers? Do you get as much $ from going to the Farmer’s Market or would you rather have it all in CSA participants?

Thanks for helping me with my dilemma! Jessica

04-18-2012

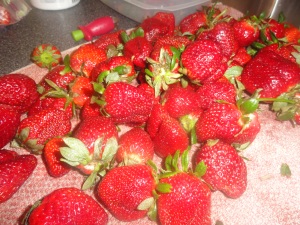
What to do with all these strawberries???

(You’ll probably think I’m crazy after you read the following first sentence, or maybe you already think I am!, but I promise….there are many uses for strawberries!)

I just got back from picking 35 pounds of strawberries!!!!!! Yes, I’m sure you are thinking….what in the world would make someone pick that many and how in the world will she eat them all???

Well, here goes… Last summer we picked about 20 pounds of strawberries and they lasted us about 8 months. So this year, I’m trying to get enough to last us the whole year through. Think I have enough??

The reason I do this, is because U-Pick farms have strawberries at a much lower price, you get more nutrients from the fruit because there is minimal time from farm to table, you get dirt in your toes (have you figured out yet that I really like dirt?), and it provides a great outdoor activity for the kids!

So how much lower is the price?? Maple Ridge Farms, the U-pick farm I LOVE, has their strawberries at $1.50/pound and if you buy more than 20 pounds, the price is $1.25/pound! So its’ a no-brainer for me! Pick away!!

But what to do with all of these strawberries? By the time we get home I am seeing red, red, and more red, and I begin to ponder…maybe I really am crazy?

#1. Berry Jam…the best part about making jam is that the berries do not have to be fresh, you can use frozen. So just freeze, see below for notes on that, and then save making jam for a day when you have more time.

#2. Fruit Smoothies…we make fruit smoothies all the time. We just throw in whatever berries and fruit we have on hand, add some yogurt, and 100% juice, and puree away.

#3. Eat them frozen, straight from the bag…(blaming a little sister for going through the strawberries so fast last year – she  probably ate 2 gallon size bags by herself in the 6 weeks she lived with us!)

#4. Let defrost and eat with a fork….yes, they will be mushy and your kids might protest but why not start early teaching kids about the seasonality of eating local produce and if they want to eat strawberries in December, then there has to be a compromise….they’ll still get that same flavor but the consistency will be different.

#5. Berry Muffins

#6.  Top homemade Belgium waffles with them and icecream

#7. Cobbler, Pies, Scones, the dessert list could go on & on

#8. Strawberry soup perhaps??? Not really sure of any other ideas at this point!

To preserve the fruit, you first rinse off in a cold water bath in your sink, then you hull them with a magic strawberry huller and then slice to desired size and place in a gallon sized ziploc freezer bag.

And yes, we do have a stand alone freezer in our garage that we use for storage.

If you live in the Lowcountry and have a strawberry craving, I suggest Maple Ridge Farms in Canadys, SC…they have the perfect soil for growing sweet fruit and their strawberries are not dusty & dirty because they do not have the sandy soil you find on the islands around Charleston. The farm is in Colleton County, about an hour drive from Charleston, but I think its well worth it. Fritz and his wife are so down to earth and enjoy talking to you about how they farm the land.

The strawberries should be around for another month and at this point, near the end of the season, they are sweeter!

Other U-Pick Farms in the Charleston area…Ambrose Farms and Boone Hall Plantation.

For U-Pick Farms throughout the US, check out the Pick Your Own website.

You may have decided I’m crazy for picking 35 pounds, but hopefully this post will inspire you to pick some berries this summer!

And if you have any suggestions of how I can use up all these strawberries, I’d love to hear!!!

Happy Fruit Eating Season!

Jessica

03-15-2012

Coldframing It

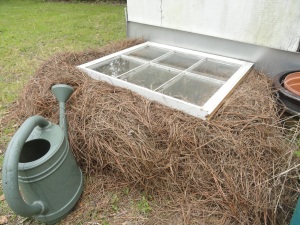
So as you now know, I am (just a tad) obsessed with germinating seeds. For years now I’ve turned my kitchen into a mini greenhouse every January – March but I’ve always wanted to have a Cold Frame so I could grow additional seedlings outside. There are many benefits to having a Cold Frame such as the plants get lots of sunshine directly from the source and it allows you to extend your outdoor growing season. But my main reasons are more self-centered…it looks really neat to me and it gives me more space to grow MORE seedlings! Also, I would give anything for a real walk-in cedar sided greenhouse but on this stay at home mom budget, that is not happening. So, in the mean time…here is my version of that fancy.

Happy Gardening!

Jess

03-13-2012

Gardening Update

One of my greatest loves in life is planting seeds and watching them germinate. Wait, its not yours too? You don’t love the feel of dirt in your hands or feel immense awe at watching something sprout to life? My dream job would be to do this every day! I actually have grand plans to plant heirloom seeds for plant sales when I retire…but shhh, its my secret!

A few weeks ago we got our seeds in the mail and I cannot explain the joy, the elation, the pure delight in seeing them. I also get extremely excited when the seed catalogs appear. If you’ve never seen a seed catalog, you are missing out! The pictures are a delight, as are all the descriptions about each plant….the taste, the texture, the flavor….oh, and don’t forget all the great gardening advice they give out. As you can see, I could go on & on.

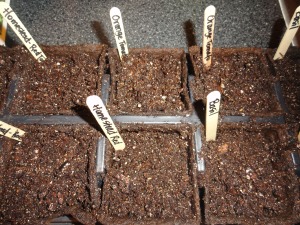
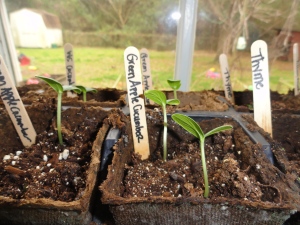
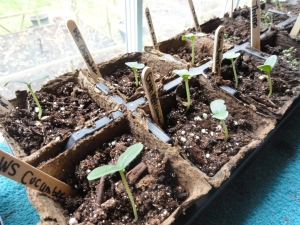
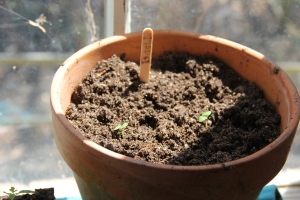
Many of our plants will be seeded directly into the garden but we start our cucumbers, tomatoes, and for the first time – some of our herbs indoors. This is the part I LOVE most. You get to plant the seeds in little containers and watch them come alive. And they start from nothing but this small seed. It blows my mind each and every year, each and every planting.

Then once they sprout, you have to thin some out. This part seriously makes me so sad and I can barely stand it. So I try to plant as few seeds as possible, praying for a good germination rate. (Germination rate is how many seeds actually sprout versus how many you planted…I just know you couldn’t make it through the day without this knowledge!)

So without further adieu, here is a photologue of how our seedlings are coming along!

Yes, I am aware we have a mold issue in some of the tomato plants…we’ll talk about that in a later post…for now, just focus on the joy of watching things grow!

So dirt beneath your nails really isn’t your thing? Turning your kitchen window into a mini greenhouse isn’t your idea of decor? Luckily for you, there are a few local options for buying plants already germinated and ready for the garden…

Adaptive Gardens of the Lowcountry…a really neat non-profit in McClellanville where you can get veggie plants in March and April.

Plantasia…a wonderful plant sale by Charleston Horticultural Society for those of you with a flower gardening thumb.

No room for a backyard garden? As long as you have a sunny window or porch stoop then you should give some herbs a try. Basil, thyme, rosemary…just a few plants that grow well in potted containers and will generously supply all your culinary spice needs.

Happy Gardening!

Jess