01-27-2015

Buttermilk Belgian Waffles {Gluten Free & Eggless}

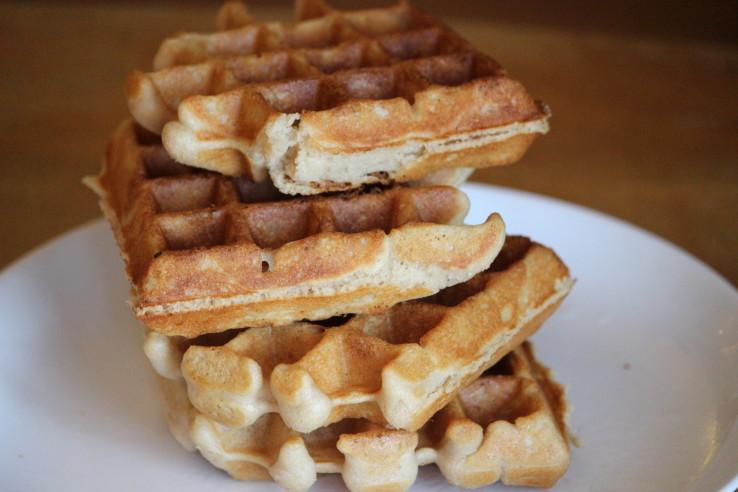
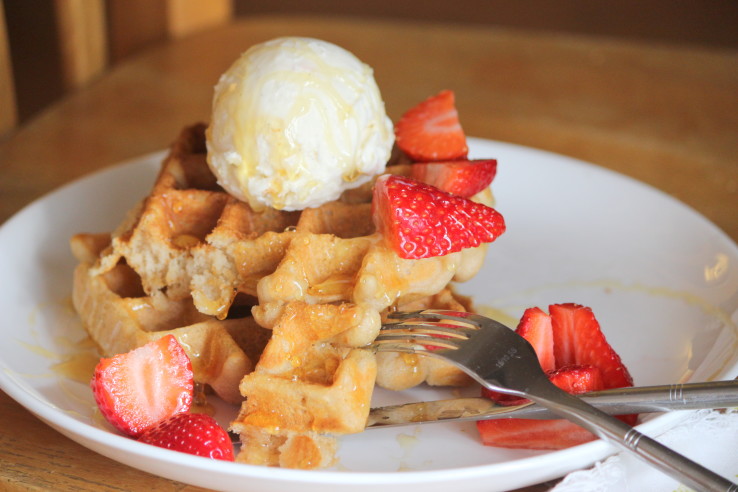
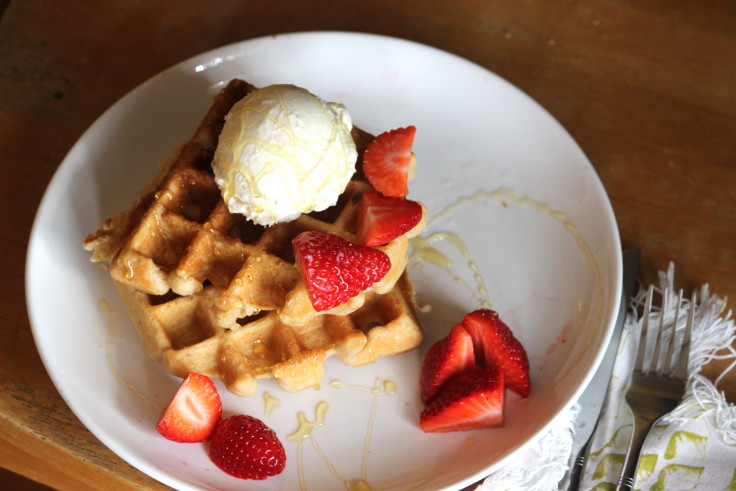
Regardless of winter’s blizzards or summer’s sunshine, my absolute favorite breakfast will always be Belgian waffles topped with vanilla bean ice cream and local honey.
IMG_9246
Seriously, isn’t that everyone’s favorite breakfast? How could anything else compete?

Unfortunately, going gluten free meant a hiatus from this way too often eaten delicacy. Every recipe I tried was missing something or had a very gritty aftertaste!

And then, it got worse…I realized I could no longer eat eggs!

And eggs are a  vital component to a light and crispy, deeply thick waffle. But there are plenty of vegan waffle recipes, so, I gave them a try.

What a disaster!!! Numerous times I had to use an air compressor to remove the waffle from the waffle iron!
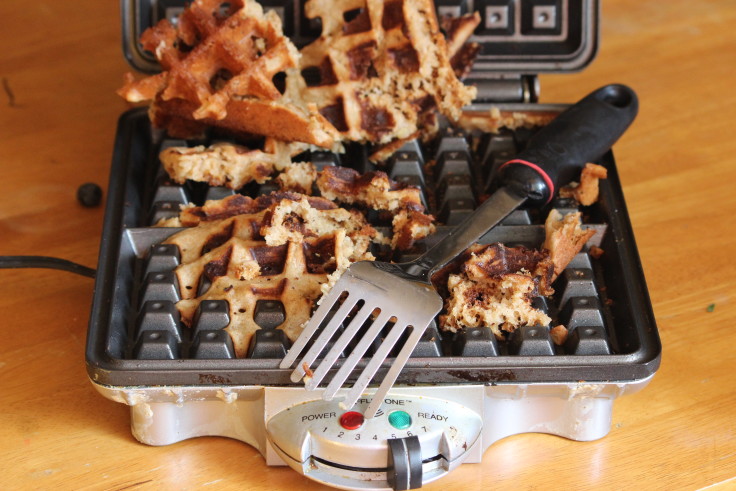
IMG_6534
Then a few months ago I came across America’s Test Kitchen How Can It Be Gluten Free Cookbook.

So glad I did! After months of using their  recipe as my base, I was able to perfect a waffles recipe that is eggless and doesn’t use refined sugar. Voila!

IMG_9238

{Recipe adapted from America’s Test Kitchen How Can It Be Gluten Free Cookbook}
Tips & Tricks ~

Substituting coconut sugar in lieu of granulated sugar helps produce an even browning throughout and is much healthier.
Using Ener-G Egg replacer has worked like a champ in this recipe. I did not have luck substituting flax or chia seed in waffles. You really need the extra leavening that the Ener-G Egg replacer provides. {Flax & chia substitutes work better in cookies versus bread & waffles where you are trying for a yeasty flavor.}
Most homeowner’s don’t have buttermilk readily on hand, but for this recipe, I suggest using the real deal. I tried using the cookbook’s alternate suggestion of mixing yogurt with milk and they turned out ok, just not perfect. If you try mixing milk with a tablespoon of vinegar {a normally good substitute for buttermilk} it produces a too thin batter that just doesn’t bake up correctly. 

Gluten Free Buttermilk Belgian Waffles

Yield: 4 Belgian Waffles

Ingredients

  • 6 ounces (1 1/3 cup + 1 TBSP) Gluten Free Flour Blend
  • 1 TBSP coconut sugar
  • 1/4 tsp kosher salt
  • 1/4 tsp baking soda
  • 3/4 cup + 2 TBSP buttermilk
  • 1 1/2 tsp Ener-G Egg Replacer
  • 2 TBSP almond milk unsweetened & unflavored or water
  • 2 TBSP melted butter + 1 tsp for waffle iron
  • 1 TBSP vanilla

Instructions

  1. Heat Belgian waffle iron on medium, brush iron with a tiny bit of butter as needed.
  2. In a small glass bowl, combine egg replacer with either almond milk or water. Combine well until no lumps remain and set aside.
  3. In a large mixing bowl, combine flour, sugar, salt and baking soda. Whisk to combine.
  4. Measure buttermilk in a glass measuring bowl and heat in microwave for 20 seconds, until room temperature.
  5. In a medium size bowl, combine egg replacement mixture, buttermilk, melted butter, and vanilla.
  6. Whisk liquid mixture into the dry mixture and continue to whisk for 1 minute. The batter will be thick and no lumps will remain.
  7. Once your waffle iron is preheated, spoon a 1/3 cup of batter onto each waffle iron square and cook until beeping occurs.

IMG_9251

Enjoy ~

sig

07-29-2014

Fluffy Light Spelt Biscuits

IMG_6695

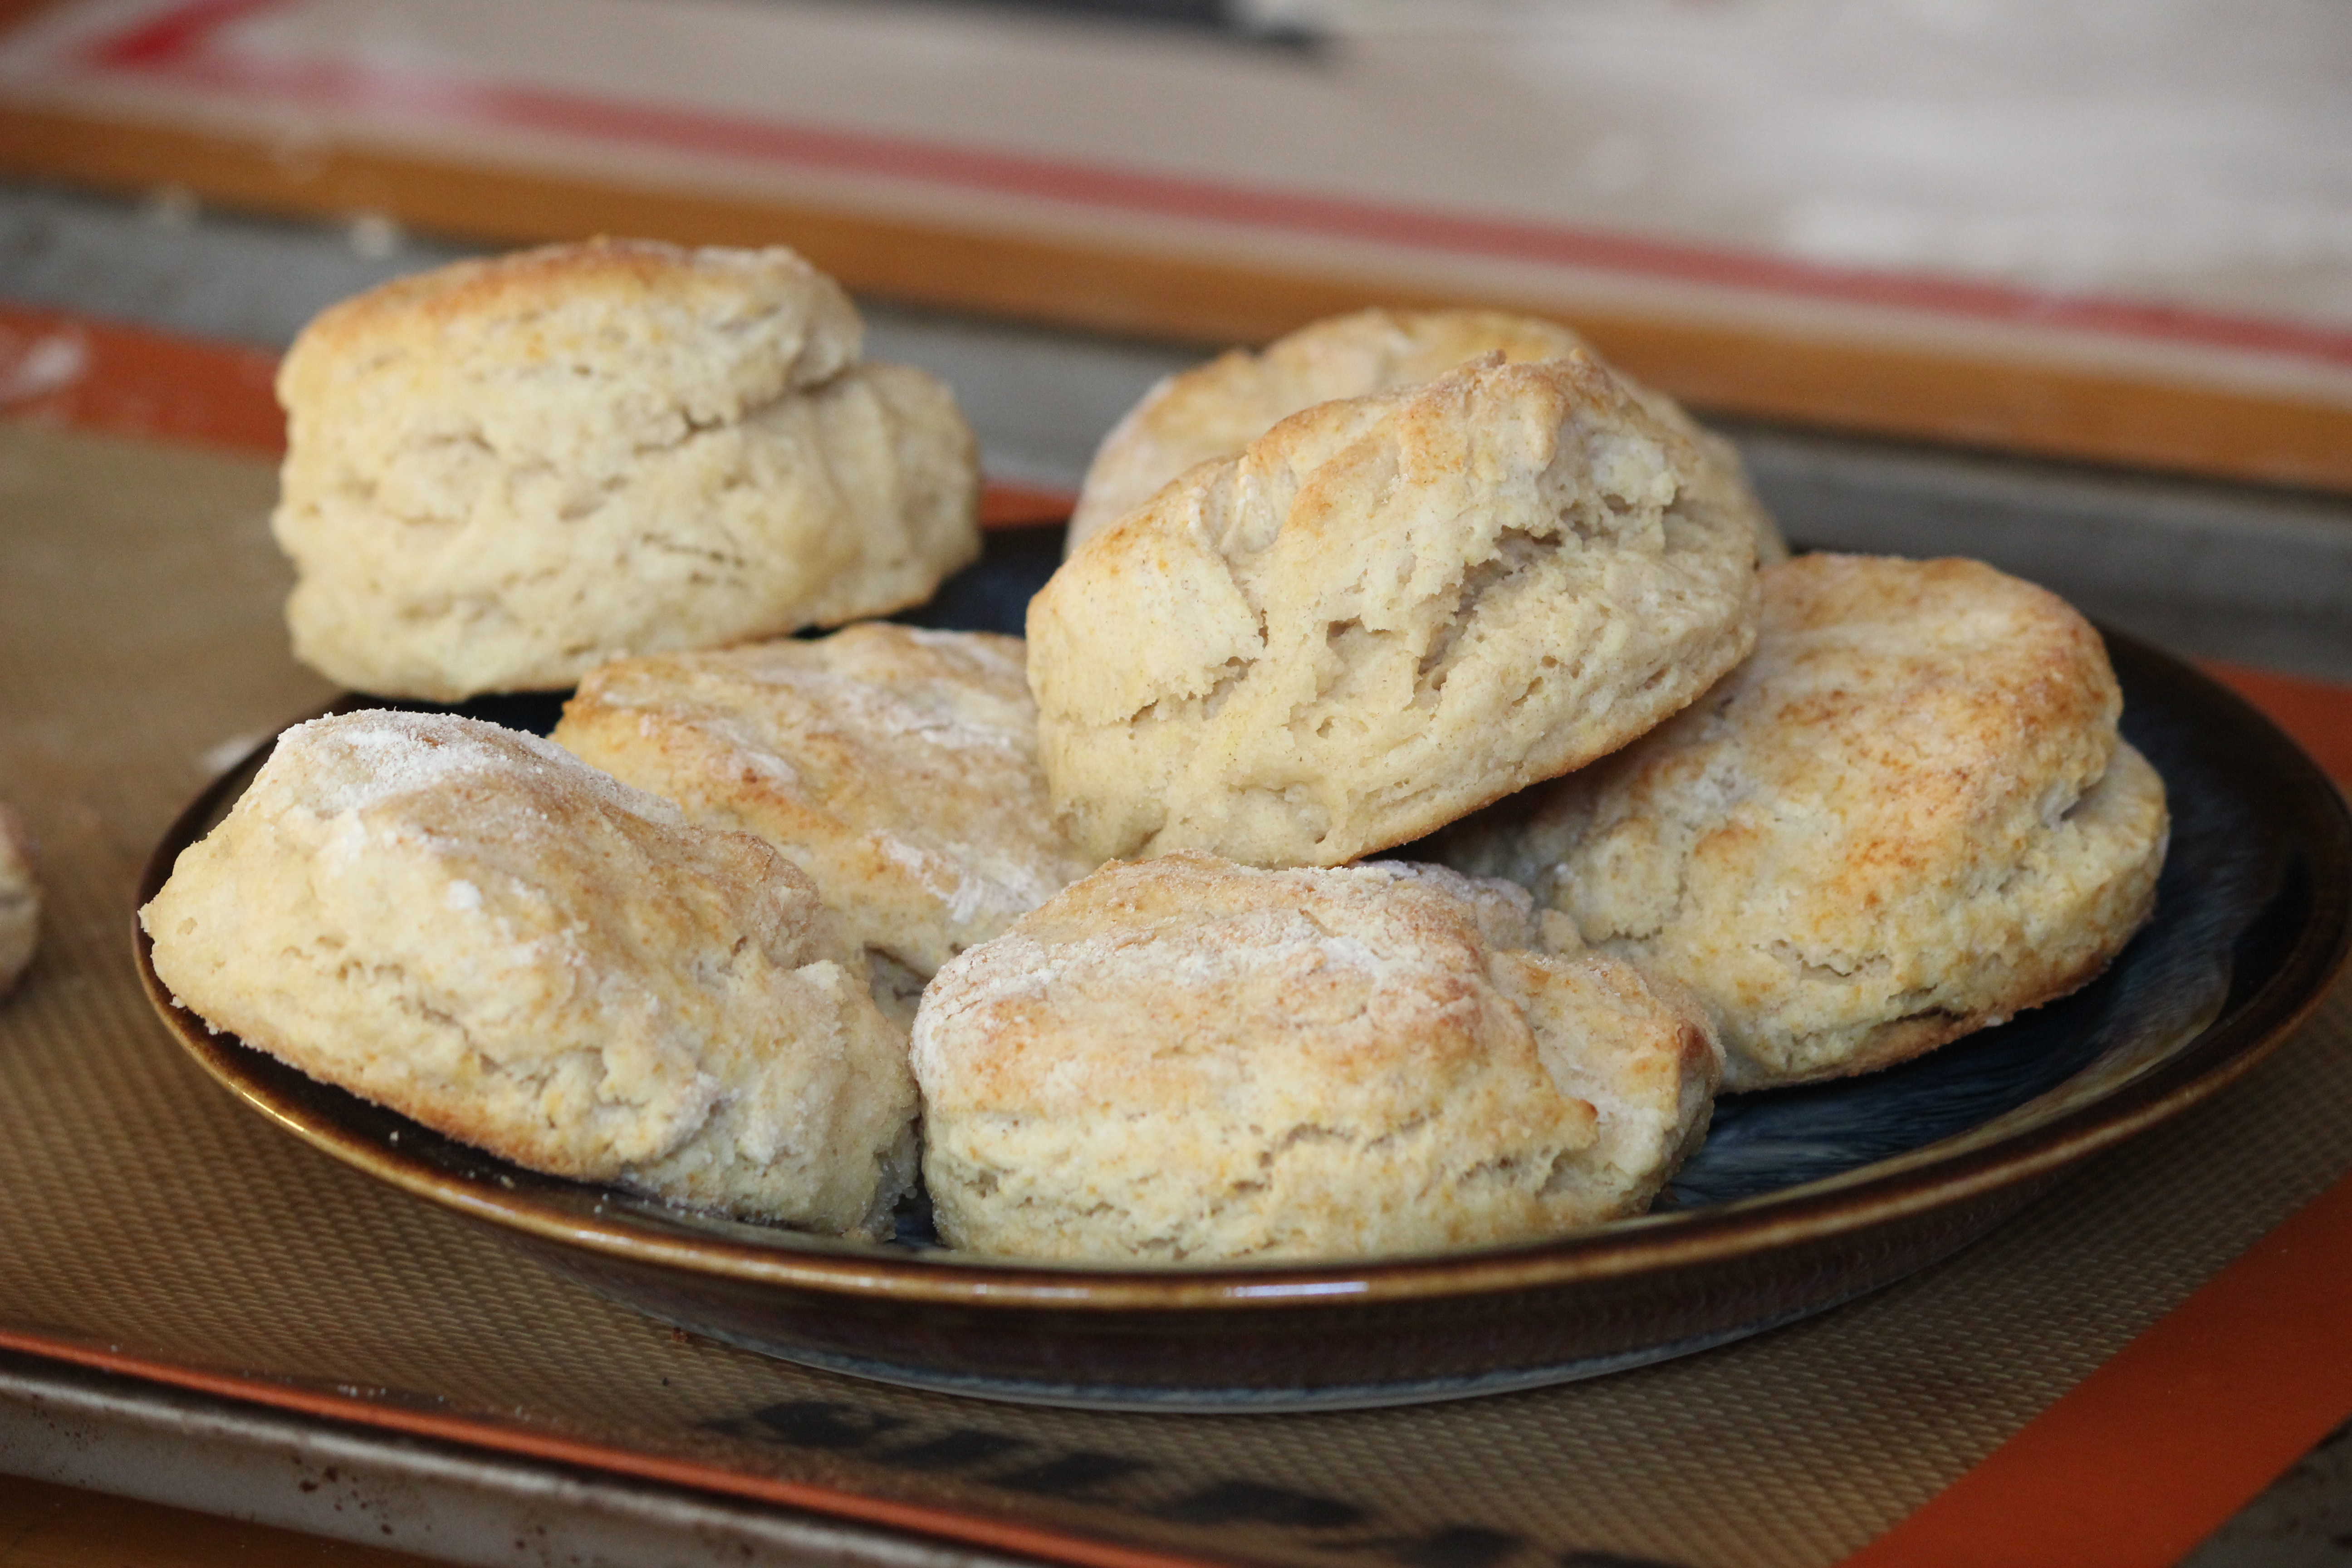
I wonder what it was like when the 49’ers struck gold…did they do air kicks while shrieking out “Eureka”? Because that’s what I did when I took my first bite of these delicious biscuits. They are that scrumptious!

Baking with spelt can be tricky. Sometimes it leads to hocky puck dense biscuits or the opposite end of the spectrum…cookies that  spread all over the baking sheet. But these turned out pretty close to perfect and I think a lot of that has to do with keeping the butter properly chilled and using the correct techniques to ensure as much steam as possible gets trapped inside the baking biscuits.

I’m pretty sure that my grandma’s would agree with me that making biscuits is an art form and these tips & tricks below will help you get it just right so you can do your own air kicks!

Enjoy ~

sig

Tips & Tricks

The chilled, almost frozen, butter leads to more steam being produced in the baking process which leads to more tender & fluffy biscuits. And folding the biscuits like a letter is what produces lots of different layers in your biscuits. Also, if you twist the cutter instead of going straight down your biscuits will not rise very well. And placing the biscuits so close together traps more steam as well.

Fluffy Light Spelt Biscuits

Prep Time: 35 minutes

Cook Time: 12 minutes

Total Time: 47 minutes

Yield: 6-8 biscuits

Ingredients

  • 2 cups white spelt flour (VitaSpelt recommended)
  • 1 TBSP baking powder
  • 1/2 tsp kosher salt
  • 5 TBSP chilled butter
  • 1/2 - 2/3 cup milk

Instructions

  1. Preheat oven to 450 degrees F. Line a baking sheet with parchment paper or silpat liner.
  2. Take chilled butter out of fridge and with a paring knife, cube into 1/2" pieces. Place cubed butter into freezer for at least 5 to 10 minutes.
  3. In a large bowl whisk together the flour, baking powder, and salt. Using a fork or pastry blender cut the butter cubes into the flour until it resembles coarse crumbs. Place bowl into the freezer and allow the flour & butter mixture to chill thoroughly for 15 minutes.
  4. Using a wooden spoon, mix the milk into the chilled flour, starting with just 1/2 cup of the milk. Stir gradually until the flour begins to pull together and dough is completely sticky, adding additional tablespoons of milk as needed. I used a full 2/3 cup of milk but it is always best to start with less milk and add more as you go.
  5. Sprinkle a generous amount of flour onto a pastry mat or wooden surface. Place dough onto floured surface and then sprinkle another generous amount all over the top of the dough. Using the palm of your hand, pat out the dough until it is approximately a 1" thick rectangle/letter shape.
  6. As you work with the dough, don't be afraid to sprinkle extra flour on top and sides as needed. You don't want to dry out the dough but at the same time, you don't want it so sticky that it sticks to your hand.
  7. Now fold the rectangular dough up the same way you would a letter. So the bottom third up onto the middle, then fold the top dough onto the middle portion. Pat down again to a 1" thick rectangle/letter shape. Repeat the fold process one more time. Pat the dough down to a final 1" thickness.
  8. Using a 3" round biscuit cutter, press biscuit cutter straight down without twisting it. Place biscuits directly onto the lined baking sheet, spacing only 1/2" apart.
  9. Bake for approximately 12 minutes, rotating halfway through, until golden brown.