05-05-2014

Gourmet Chocolate Peanut Butter Cups

It sure is hard being a food blogger’s kid!

I need to remind my kids constantly how lucky they are that baking and making unique eats is daily enjoyment in our house.

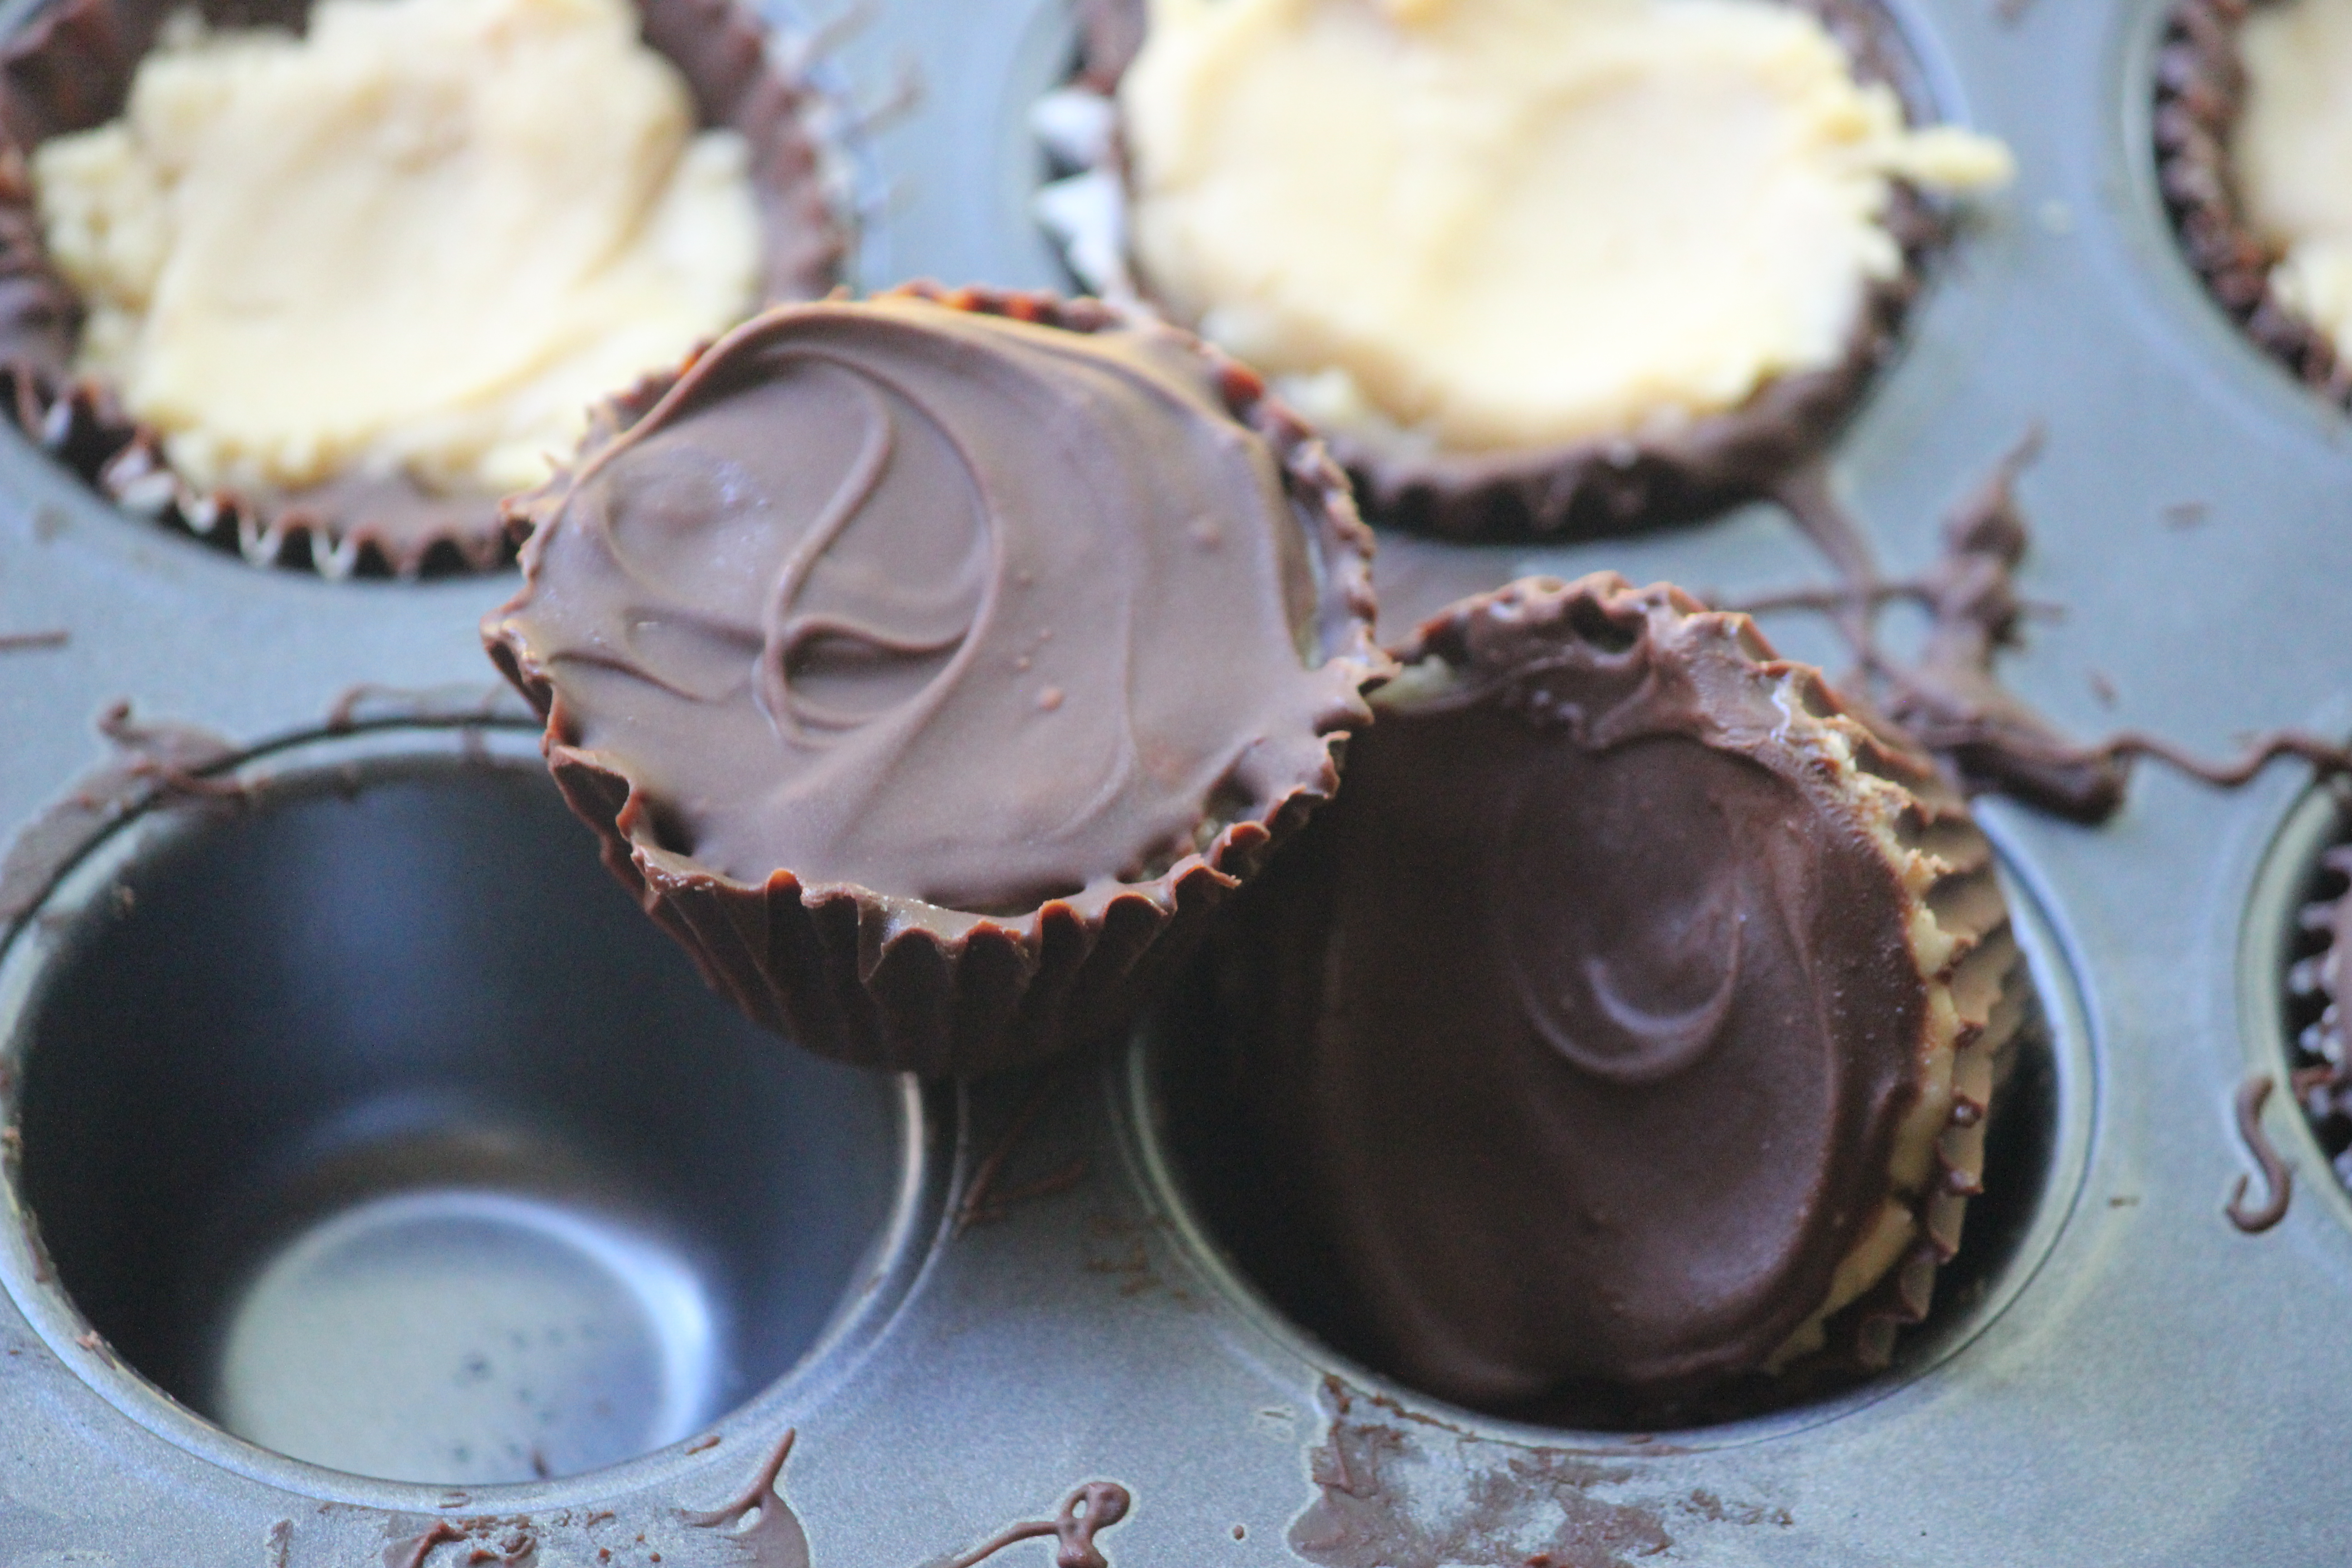
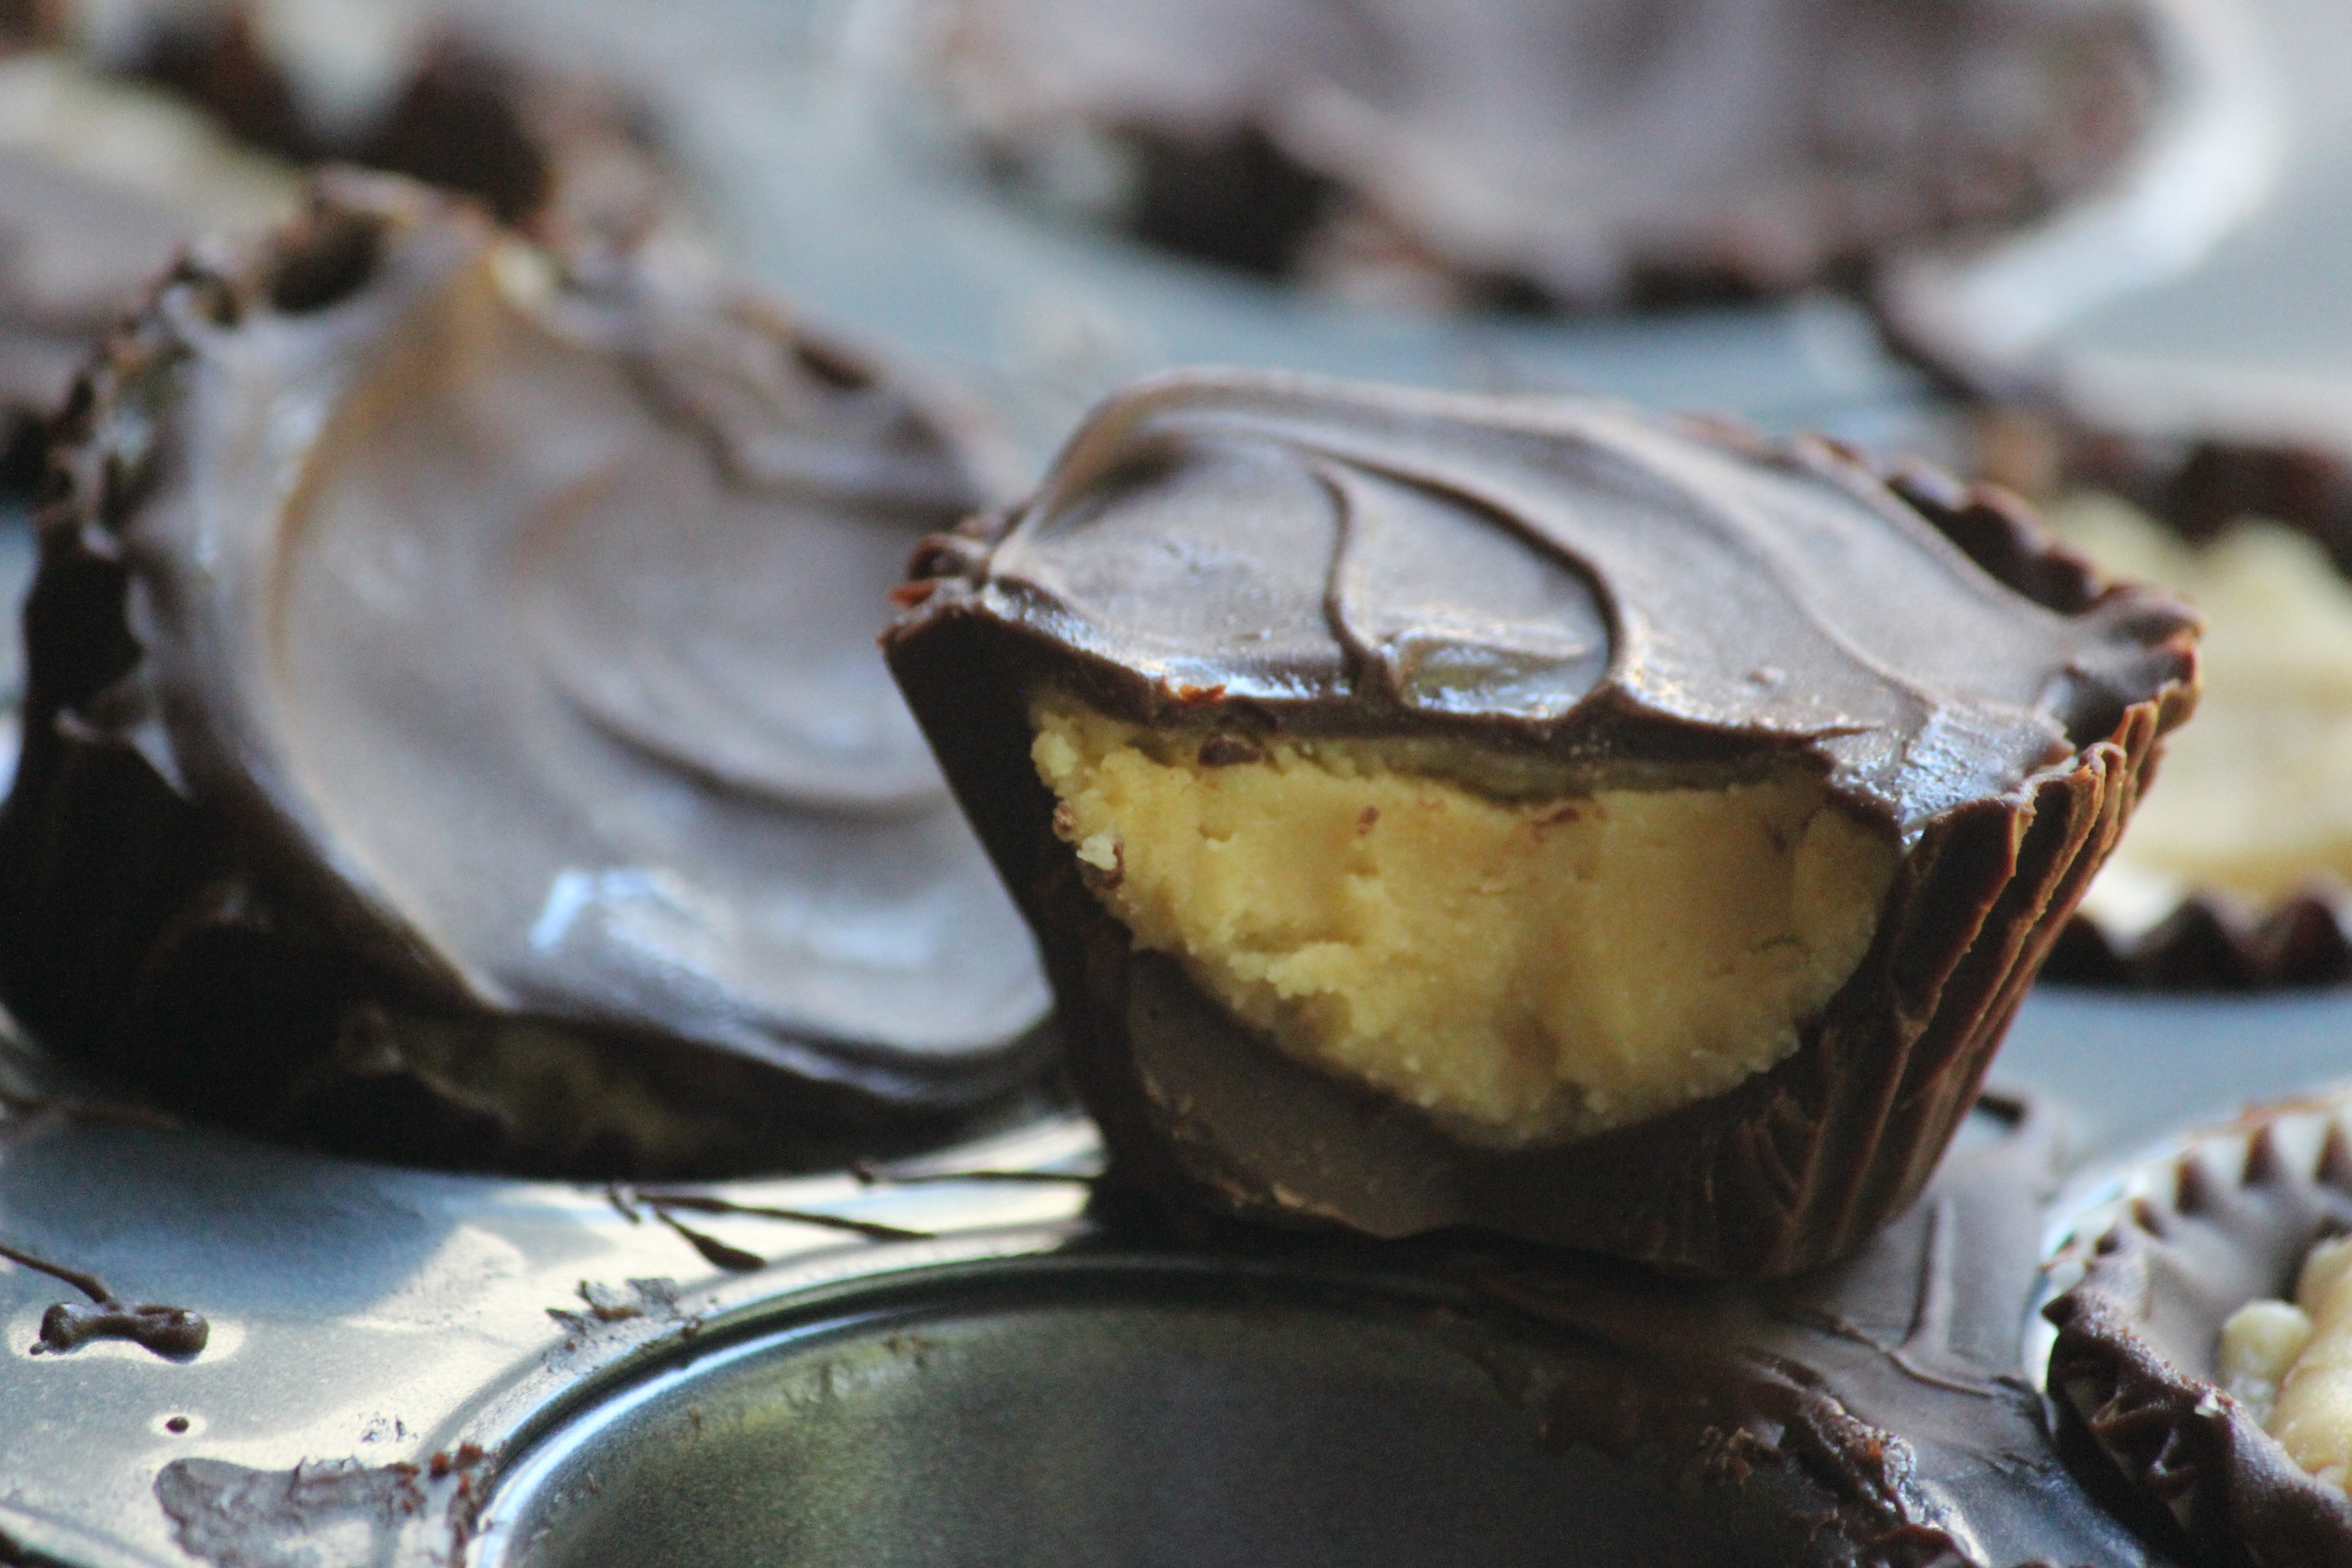
Yesterday we made these. If you aren’t salivating, you should be. So rich, so creamy, so delish!
IMG_6015
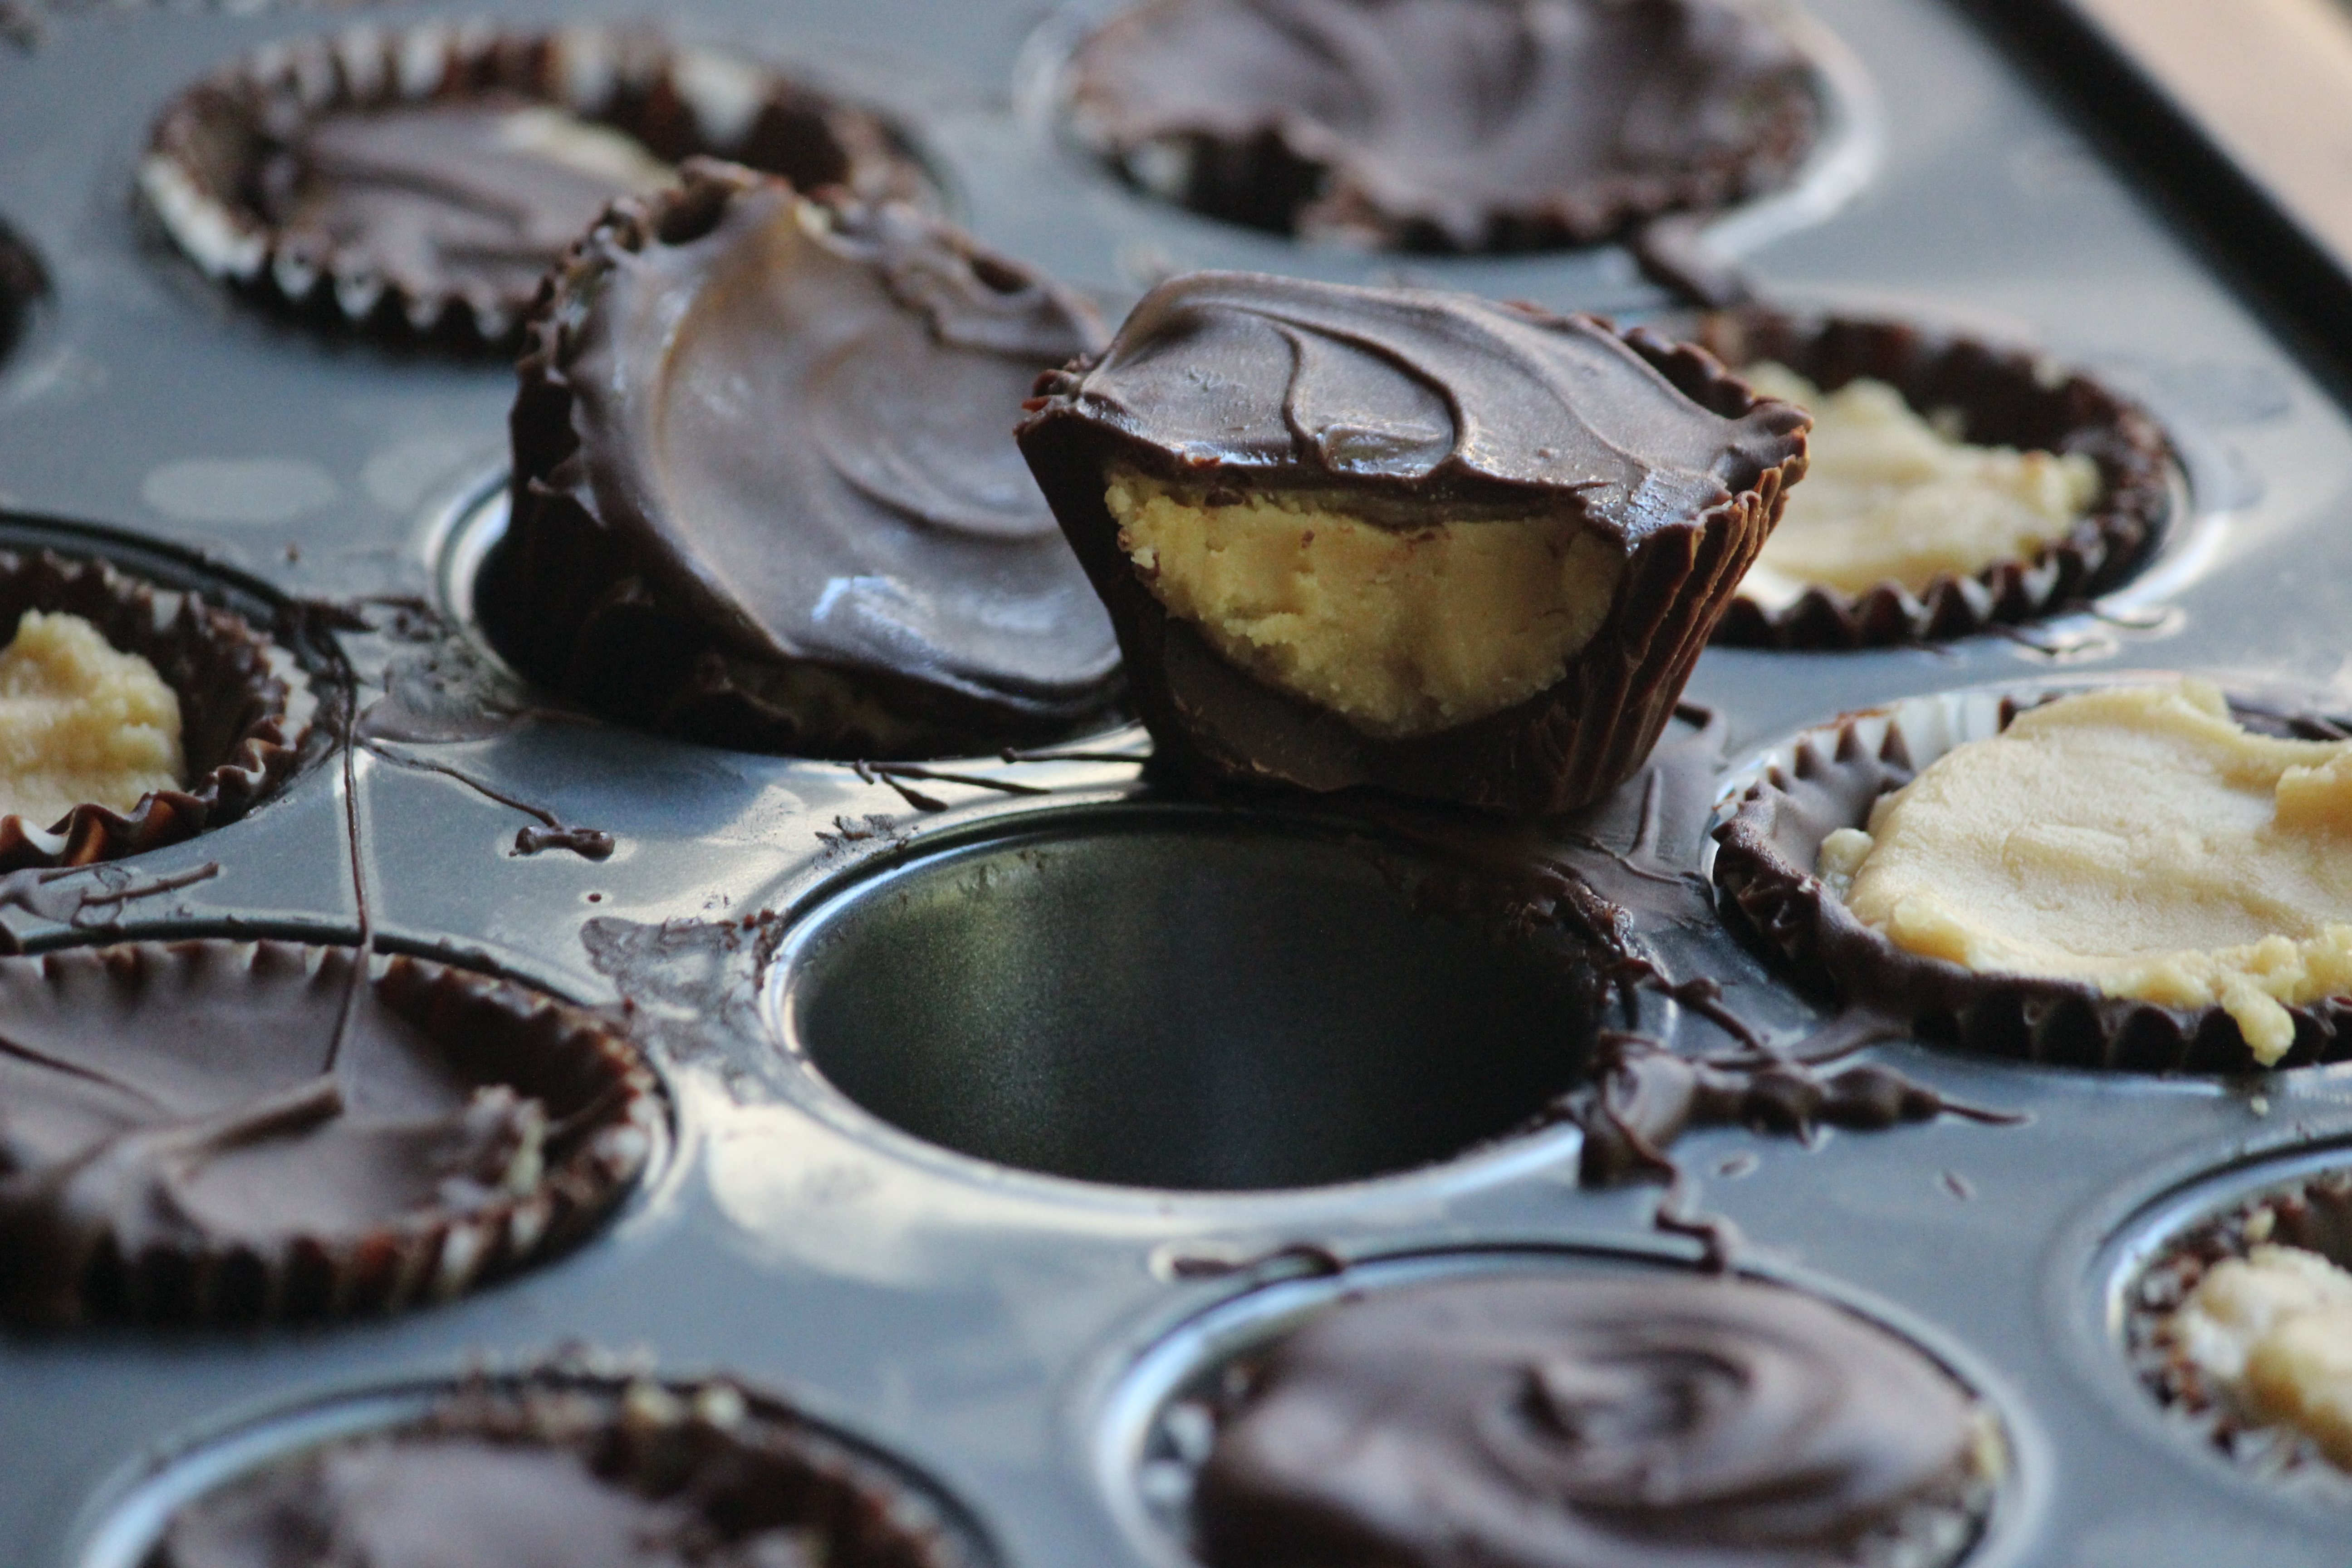
I followed the Raw Chocolate PB Cups recipe from Sarah @ The Sweet Life but did cheat and use semi-sweet chocolate chips & homemade pb. Still ooey-gooey goodness! Next time I think I’ll try sprinkling the top chocolate with a tiny pinch of sea salt prior to freezing. The contrasting taste of salt & sweet would make these sublime! (I used 1 & 1/4 cup of choc chips and was able to make 16 cups. Make sure to reserve enough chocolate for the top layer!)
IMG_6016
IMG_6003

These would make a great surprise treat after school!

Enjoy ~

sig

07-15-2013

Chocolate Icecream Shell

IMG_2281

I have always assumed it would be near impossible to replicate the shell magic you get at your local grocery store. However, when Dale Esau came home from IceCream Sundae Day at school and announced “Mom, we had the coolest MAPLE SYRUP on our icecream…it hardens when you put it on the icecream!” I knew I had to find a way to make this. (And, yes, I knew I had to fess up that it wasn’t maple syrup he’d been eating!)

What I couldn’t believe was how incredibly simple it was to replicate!

Melt chocolate with coconut oil and you have one of the easiest syrups you’ll ever make. The secret is coconut oil solidifies once its temperature drops below 76 degrees F. So you temper the chocolate and oil in the microwave and once the ‘syrup’ touches the icecream it solidifies. And it tastes sinfully delicious, just like the stuff in the grocery store, minus all the artificial and unwanted ingredients!

Chocolate Icecream Shell
2-3 servings

2 Tbsp chocolate chips
1 Tbsp coconut oil

Combine ingredients in small glass bowl and microwave for 20 seconds. Stir and then microwave another 15 seconds. Stir well and then drizzle all over your icecream!

NOTES: This recipe does not double well, so stick with the quantities listed. Luckily, it is very simple to make should you need to eat more icecream! Also, depending upon your microwave, you may need to use less cooking time. You do not want your chocolate chips to be completely melted from the microwave. This is why you stir the final time. It all has to do with tempering the chocolate, etc. etc.

IMG_2284

Enjoy!!!

Jessica

P.S. I’m now attempting a syrup to make chocolate milk. The shell obviously wouldn’t work in milk, but as evidenced below, we had fun experimenting!

IMG_2294

06-04-2013

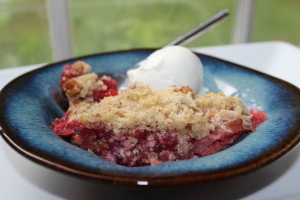
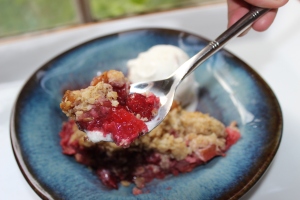
Strawberry Rhubarb Crumb

IMG_1846 IMG_1863

Hello! I know its been forever since I’ve posted. And again, my reason is time well spent with the kids. They are now 3 & 5 and so entertaining, endearing, and full of life. We went strawberry picking a few weeks ago and this recipe was a result.

The filling’s thick and gooey center has bites of sweetness and tartness and then you bite into the crumb and get the crunch of walnuts and a surprising hint of ginger that lingers softly. Be sure to make this when you are able to feed a crowd. Otherwise, its you & the pie and trust me, you aren’t going to be throwing it out. So for your summer ready beach body, I advise only making this when there are lots of people to consume it!

I suggest using spelt flour as it seems to be a suitable flour for those of us with wheat allergies but not celiac disease. If you need to avoid gluten all together, I would suggest a sorghum based gf flour mix. And if you don’t have stomach issues (lucky you!) then all-purpose flour would work fine here.

IMG_1956 IMG_1925 IMG_1929

Strawberry Rhubarb Crumb

10 servings

Crumb Topping
1 c GF oats
3/4 c white spelt flour
2/3 c white sugar
1/2 c chopped walnuts
6 tbsp chilled unsalted butter, cut into 1/2″ chunks
1 oz square crystalized candied ginger, finely chopped
large pinch of salt

Filling
3 c quartered strawberries
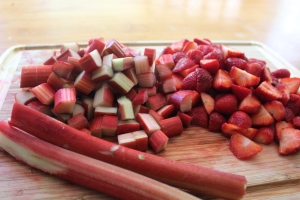
1 lb rhubarb, chopped into 1″ pieces
1/4 cup agave nectar
1/4 cup white sugar
1/4 cup brown sugar
1/4 cup cornstarch
3 tbsp minute tapioca pearls
2 tbsp triple sec
smigen salt
1 tbsp chilled unsalted butter, cut in tiny pieces

Crumb Instructions

Preheat oven to 375 degrees. Lightly butter a 9″ glass pie pan.

Combine flour, sugar and salt in medium bowl. Using fingers to incorporate, add in butter until it is crumbly. Mix in remaining ingredients. Chill in fridge as you prepare filling.

Filling Instructions

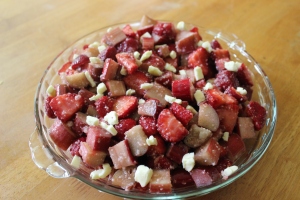
In large bowl mix together all filling ingredients except for butter. Toss ingredients well and allow to sit for ten minutes.

Place filling ingredients in buttered pie pan, then dot the top of filling with the tiny cubed pieces of butter. Next, pour chilled crumb topping all over pie filling.

Bake in preheated oven for 45-50 minutes until bubbling and golden brown on top.

NOTES: The butter, both in topping and filling, needs to stay chilled in fridge until added to recipe. Orange juice should be a good non-alcoholic replacement for triple sec. The oven broiler may be needed to reach golden brown all over. Don’t forget to watch broiler closely so it doesn’t burn!

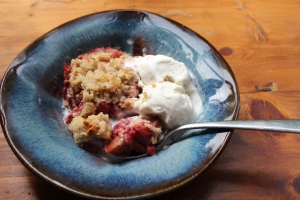
Enjoi with some vanilla icecream!

Jess

p.s…I now have a huge appreciation for food stylist and photographers. Producing a good photo from a crumbling pie with melting icecream is NOT an easy feat!

02-05-2012

Coeur a la Creme with Raspberry and Grand Marnier Sauce

DECADENT…RICH…STUNNING 

I’m a huge Barefoot Contessa fan and for year’s I’ve wanted to make Ina’s Coeur a la Creme from Barefoot in Paris but I was afraid it would be too hard to reproduce this beautiful dessert. Luckily, I was wrong! This is probably one of the best desserts I have ever eaten and it was also one of the simplest to make. I think this is what I’ll be making for my birthday in the years to come. It truly tastes amazing and I hope you will try making this at home yourself.

It’s also the ultimate Valentines dessert, so WOW your significant other this year!

I thought I’d do a photo recipe first since this is such a neat dessert to make and then I’ll have the actual recipe listed out.

Tips:
*Allow cream cheese to come to room temperature. If not, your mold may not drain very well. I allowed mine to sit out for about 2 hours.
*This makes a lot but don’t be tempted to overfill the mold. You’ll want the cream to come to a flat top so you can maintain the heart shape once you invert it.
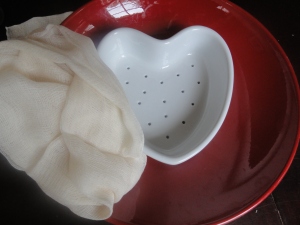
*You can find a heart shaped sieve and cheesecloth at your local cooking store. I got mine from Coastal Cupboard here in Mount Pleasant.

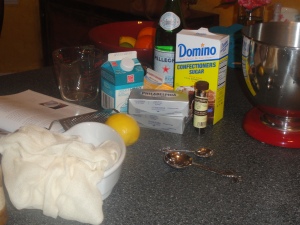
The ingredients are pretty simple…cream cheese, confectioner’s sugar, grated lemon zest, whole cream (just go for it and use the heavy full of calories stuff, some things you shouldn’t skimp on!), vanilla beans, and pure vanilla extract.

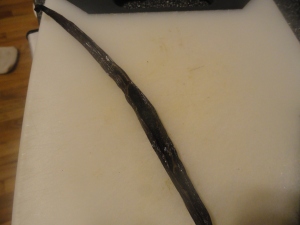
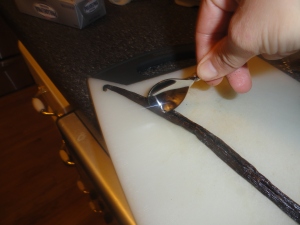
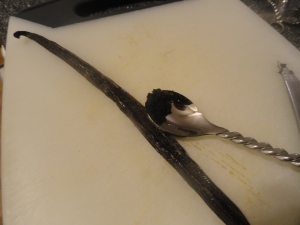
First off, you’ll want to scrape the vanilla bean so you’ll cut through one side of the bean, lengthwise. Then scrape with a spoon down the middle and sides.

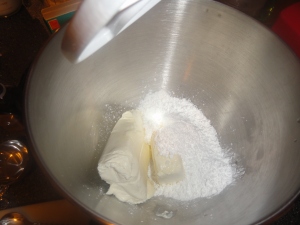
Next, start mixing the cream cheese and confectioner’s sugar…and make sure you start on low speed before going faster.  I started out on high speed and oh, the mess I got to clean up!

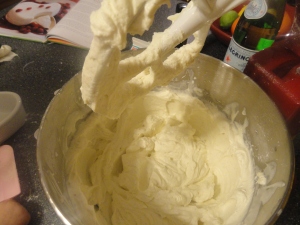
After beating for two minutes, change out the paddle attachment for the whisk (I forgot to do this) and beat in all the remaining ingredients until it looks like really thick whipping cream. Delish!!

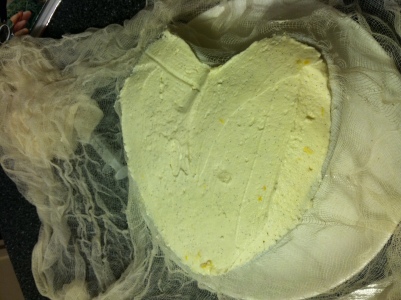
Now place your sieve dish onto a plate (to catch the drainage) and drape the cheesecloth over the sieve and plate. Pour the cream mixture into the sieve dish and level off so that you have a straight edge. Cover with the cheesecloth on top and refrigerate overnight.

And don’t worry if you’re thinking…how will I keep from eating it now? It makes a lot of cream so you’ll have plenty to taste even before it has set overnight! Trust me, there was a lot when I made it.

So the next day…you’ll make the raspberry sauce which is delightful all by itself.

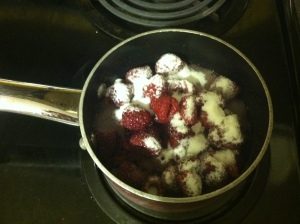
You’ll combine raspberries (I used frozen instead of fresh and it turned out just fine), water, and sugar and then boil to reduce.

For the jam, I used a homemade berry jam instead of just raspberry jam. I think any jam or preserve that is a berry will work fine. You’ll combine the reduced berries, berry jam, and grand marnier together in a food processor. Also, it makes a lot of sauce. You could half this raspberry sauce and still have plenty for the dessert. Or you could just make the whole amount and drink what you don’t use. I’m not kidding…the sauce is really tasty!

Once the sauce is made, you can chill it or you can just go ahead and plate the dessert…who cares if it gets a little warmed from the sauce?

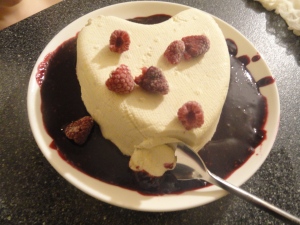
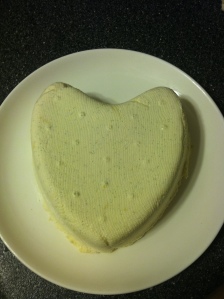
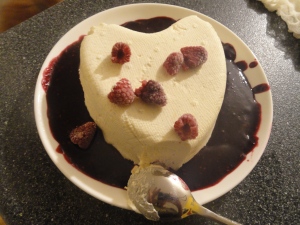
I was nervous to invert it, but it really came out fairly easy. Choose a plate with a curved lip so it will hold your sauce and after removing the cheesecloth on top, turn the mold over on top of the plate and slowly lift up. The creme will slide out and you’ll have a beautiful heart impression.

Now pour the sauce around the side, scatter some raspberries on top….and ENJOY!!!

Here is Ina’s Garten’s official recipe.

Coeur a la Creme with Raspberry and Grand Marnier Sauce
Copyright 2004, Ina Garten, Barefoot Contessa in Paris Cookbook and Food Network

Ingredients

12 ozs cream cheese, at room temperature
1 1/4 cup confectioners’ sugar
2 1/2 cups cold heavy cream
2 teaspoons pure vanilla extract
1/4 teaspoon grated lemon zest
Seeds scraped from 1 vanilla bean
Raspberry and Grand Marnier Sauce, recipe follows

Directions

Place the cream cheese and confectioners’ sugar in the bowl of an electric mixer fitted with the paddle attachment and beat on high speed for 2 minutes.  Scrape down the beater and bowl with a rubber spatula and change the beater for the whisk attachment.  With the mixer on low speed, add the heavy cream, vanilla, lemon zest, and vanilla bean seeds and beat on high speed until the mixture is very thick, like whipped cream,

Line a 7” sieve with cheesecloth so the ends drape over the sides and suspend it over a bowl, making sure that these is space between the bottom of the sieve and the bottom of the bowl for the liquid to drain.  Pour the cream mixture into the cheesecloth, fold the ends over the top, and refrigerate overnight.

To serve, discard the liquid, unmold the cream onto a plate, and drizzle Raspberry and Grand Marnier Sauce around the base.  Serve with raspberries and extra sauce.

For the Raspberry and Grand Marnier Sauce:

  • 1 half-pint raspberries
  • ½ c. sugar
  • 1 c. seedless raspberry jam
  • 2 T. orange-flavored liqueur

Place raspberries, sugar, and ¼ c. water in a small saucepan.  Bring to a boil, lower the heat, and simmer for 4 minutes.  Pour the cooked raspberries, the jam, and orange liqueur into the bowl of a food processor fitted with the steel blade and process until smooth.  Chill.