01-27-2015

Buttermilk Belgian Waffles {Gluten Free & Eggless}

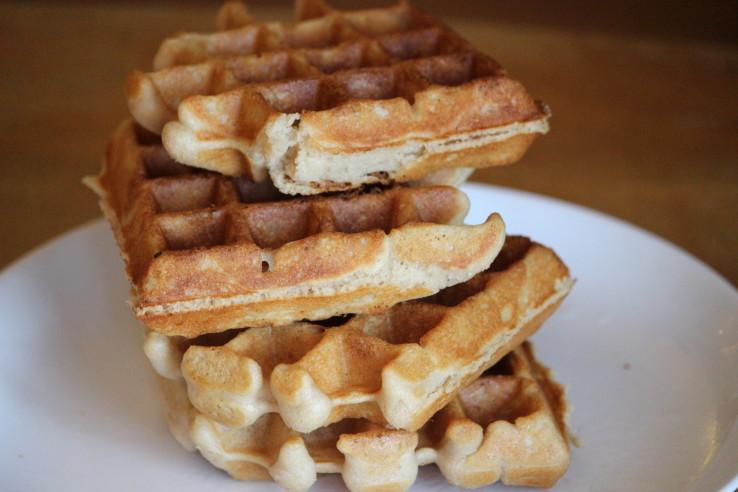
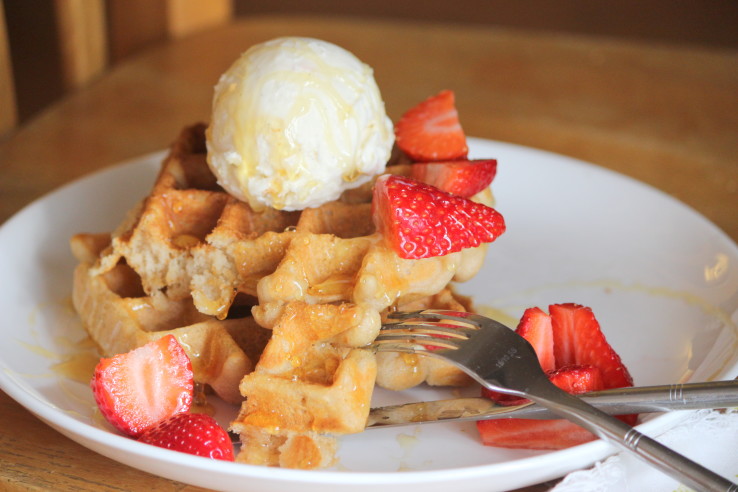
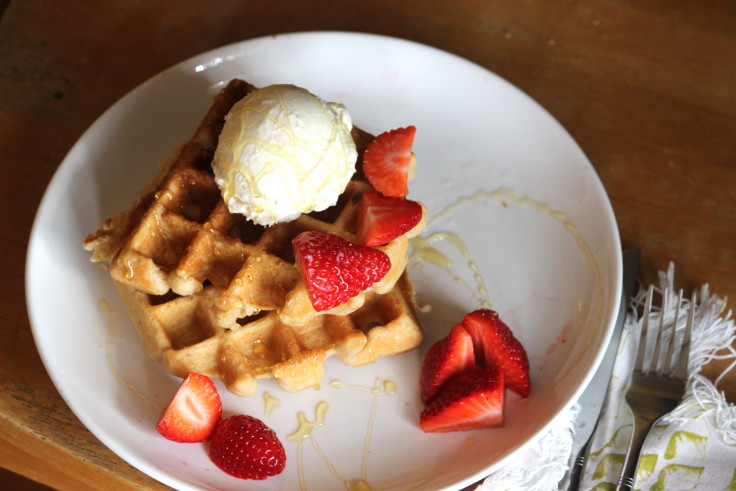
Regardless of winter’s blizzards or summer’s sunshine, my absolute favorite breakfast will always be Belgian waffles topped with vanilla bean ice cream and local honey.
IMG_9246
Seriously, isn’t that everyone’s favorite breakfast? How could anything else compete?

Unfortunately, going gluten free meant a hiatus from this way too often eaten delicacy. Every recipe I tried was missing something or had a very gritty aftertaste!

And then, it got worse…I realized I could no longer eat eggs!

And eggs are a  vital component to a light and crispy, deeply thick waffle. But there are plenty of vegan waffle recipes, so, I gave them a try.

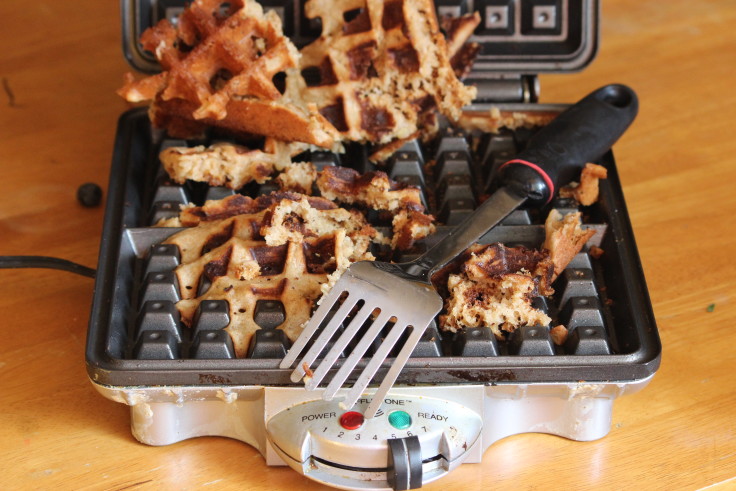
What a disaster!!! Numerous times I had to use an air compressor to remove the waffle from the waffle iron!
IMG_6534
Then a few months ago I came across America’s Test Kitchen How Can It Be Gluten Free Cookbook.

So glad I did! After months of using their  recipe as my base, I was able to perfect a waffles recipe that is eggless and doesn’t use refined sugar. Voila!

IMG_9238

{Recipe adapted from America’s Test Kitchen How Can It Be Gluten Free Cookbook}
Tips & Tricks ~

Substituting coconut sugar in lieu of granulated sugar helps produce an even browning throughout and is much healthier.
Using Ener-G Egg replacer has worked like a champ in this recipe. I did not have luck substituting flax or chia seed in waffles. You really need the extra leavening that the Ener-G Egg replacer provides. {Flax & chia substitutes work better in cookies versus bread & waffles where you are trying for a yeasty flavor.}
Most homeowner’s don’t have buttermilk readily on hand, but for this recipe, I suggest using the real deal. I tried using the cookbook’s alternate suggestion of mixing yogurt with milk and they turned out ok, just not perfect. If you try mixing milk with a tablespoon of vinegar {a normally good substitute for buttermilk} it produces a too thin batter that just doesn’t bake up correctly. 

Gluten Free Buttermilk Belgian Waffles

Yield: 4 Belgian Waffles

Ingredients

  • 6 ounces (1 1/3 cup + 1 TBSP) Gluten Free Flour Blend
  • 1 TBSP coconut sugar
  • 1/4 tsp kosher salt
  • 1/4 tsp baking soda
  • 3/4 cup + 2 TBSP buttermilk
  • 1 1/2 tsp Ener-G Egg Replacer
  • 2 TBSP almond milk unsweetened & unflavored or water
  • 2 TBSP melted butter + 1 tsp for waffle iron
  • 1 TBSP vanilla

Instructions

  1. Heat Belgian waffle iron on medium, brush iron with a tiny bit of butter as needed.
  2. In a small glass bowl, combine egg replacer with either almond milk or water. Combine well until no lumps remain and set aside.
  3. In a large mixing bowl, combine flour, sugar, salt and baking soda. Whisk to combine.
  4. Measure buttermilk in a glass measuring bowl and heat in microwave for 20 seconds, until room temperature.
  5. In a medium size bowl, combine egg replacement mixture, buttermilk, melted butter, and vanilla.
  6. Whisk liquid mixture into the dry mixture and continue to whisk for 1 minute. The batter will be thick and no lumps will remain.
  7. Once your waffle iron is preheated, spoon a 1/3 cup of batter onto each waffle iron square and cook until beeping occurs.

IMG_9251

Enjoy ~

sig

07-29-2014

Fluffy Light Spelt Biscuits

IMG_6695

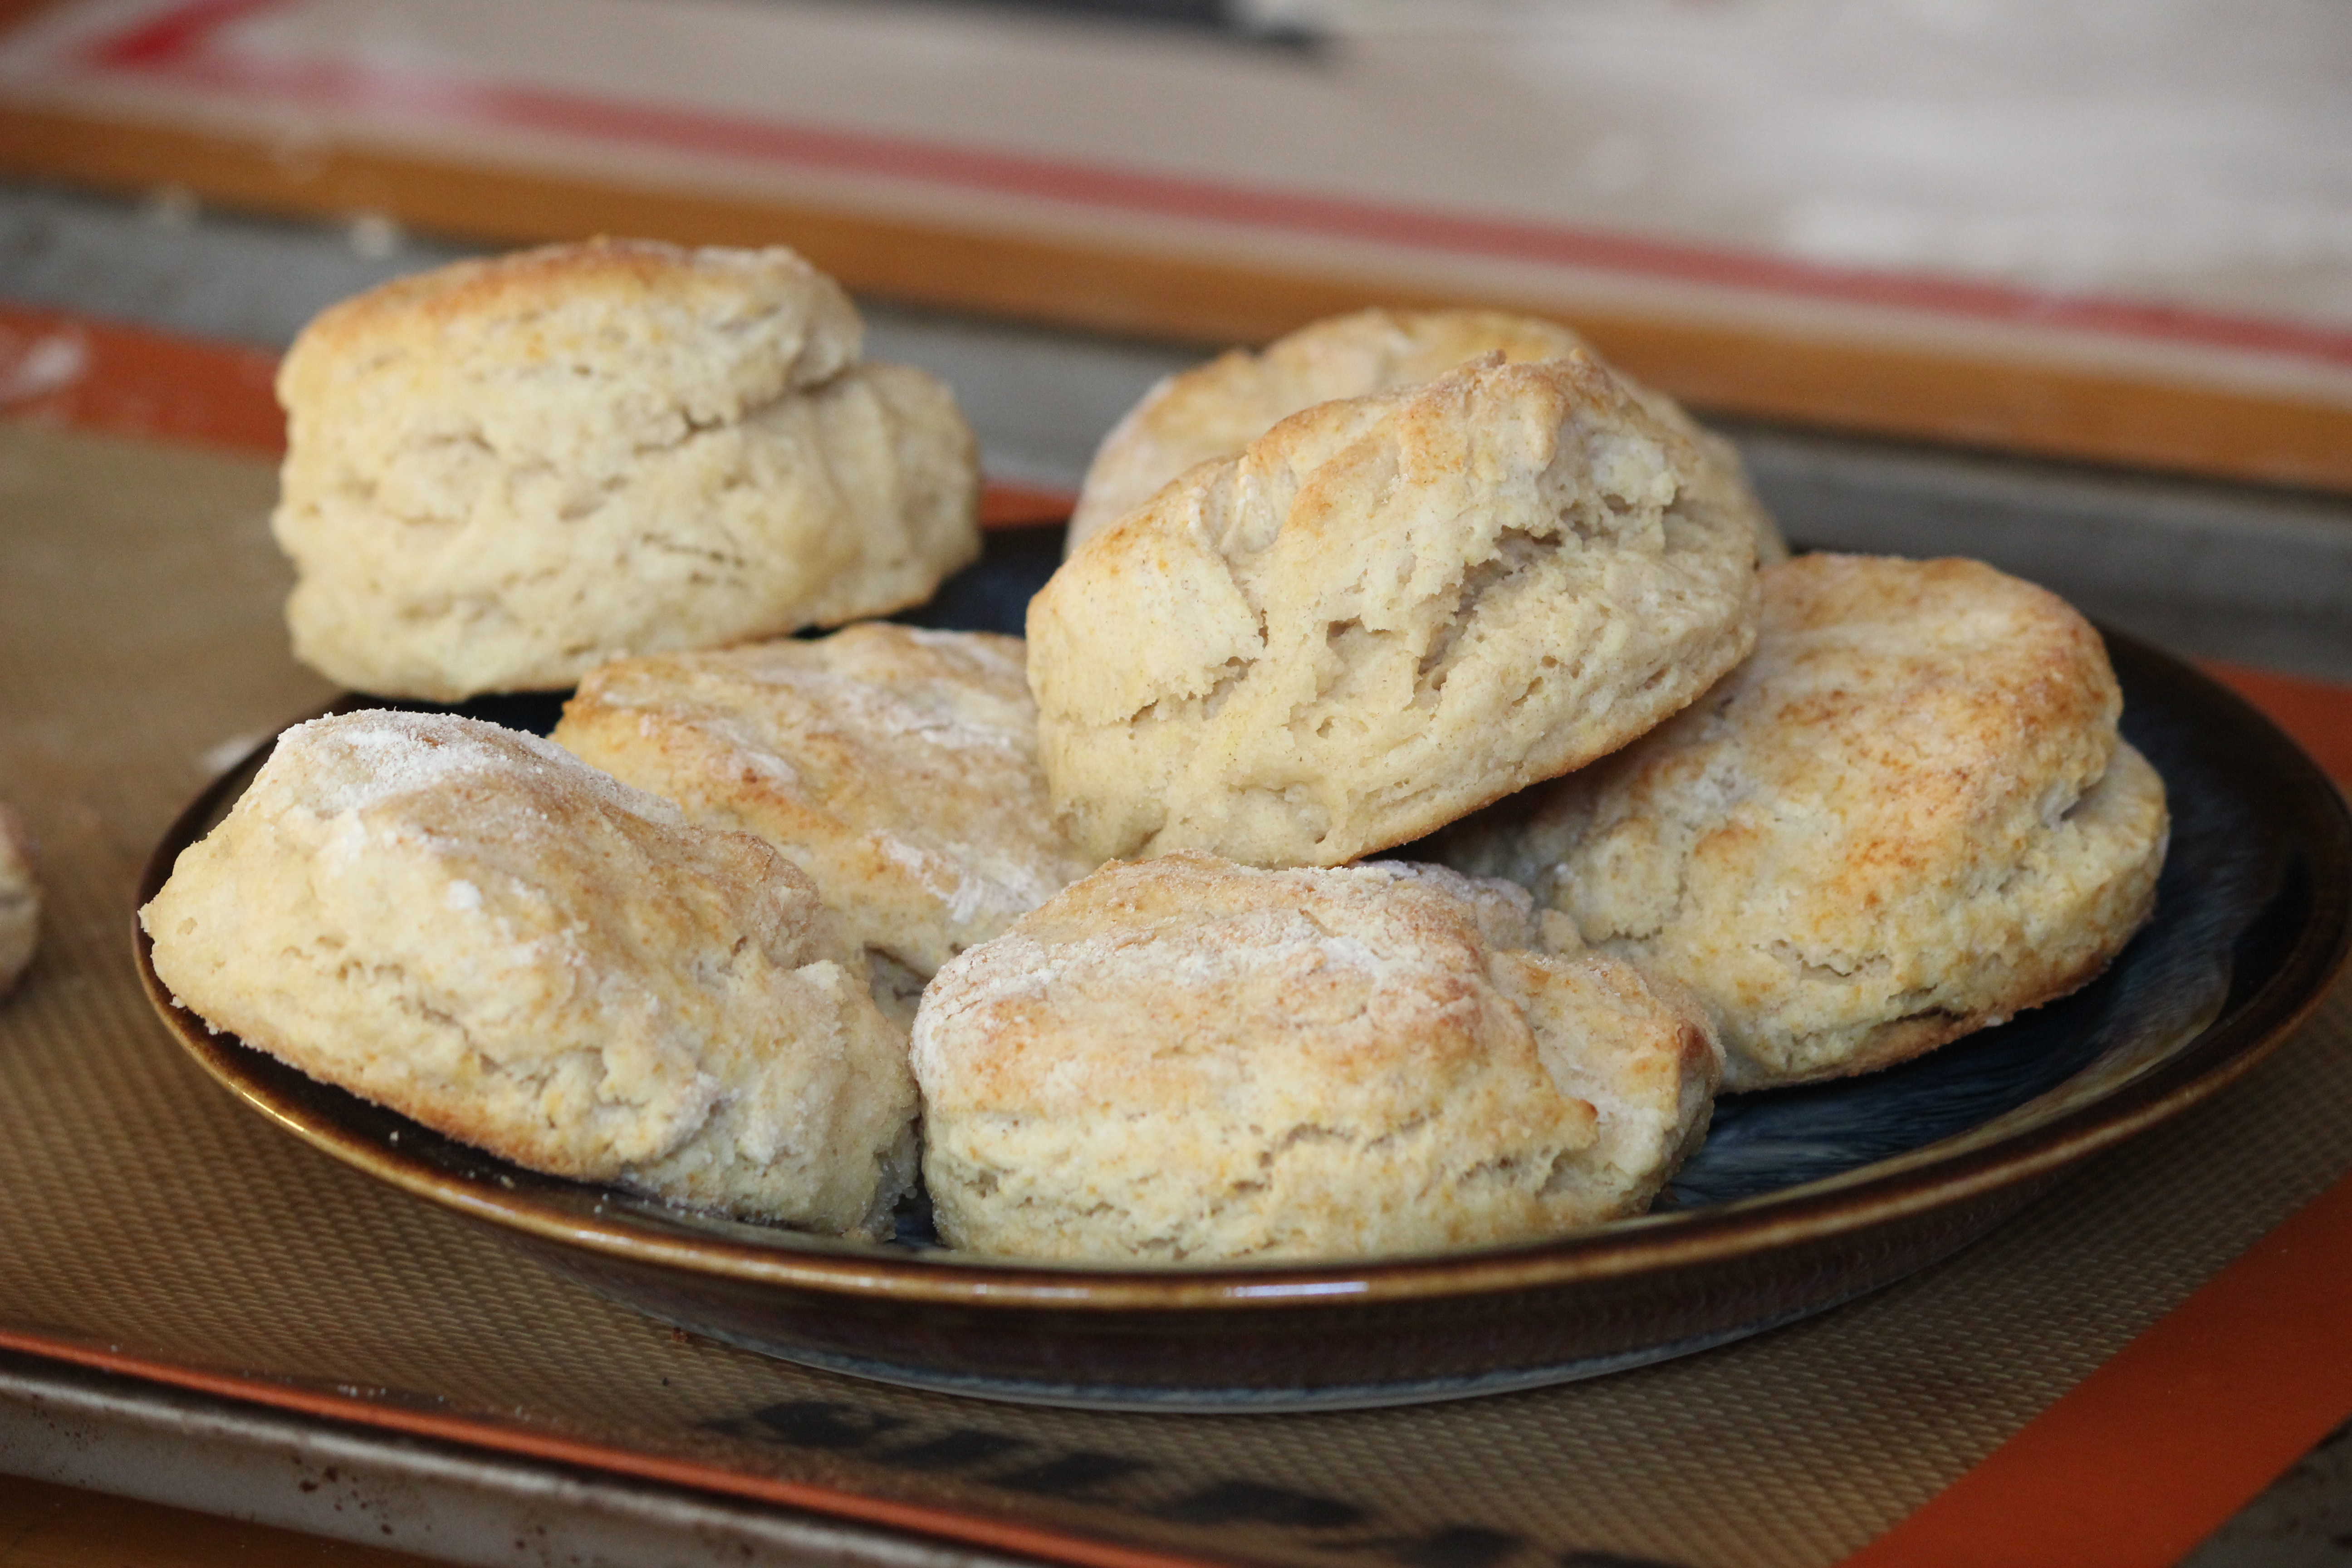
I wonder what it was like when the 49’ers struck gold…did they do air kicks while shrieking out “Eureka”? Because that’s what I did when I took my first bite of these delicious biscuits. They are that scrumptious!

Baking with spelt can be tricky. Sometimes it leads to hocky puck dense biscuits or the opposite end of the spectrum…cookies that  spread all over the baking sheet. But these turned out pretty close to perfect and I think a lot of that has to do with keeping the butter properly chilled and using the correct techniques to ensure as much steam as possible gets trapped inside the baking biscuits.

I’m pretty sure that my grandma’s would agree with me that making biscuits is an art form and these tips & tricks below will help you get it just right so you can do your own air kicks!

Enjoy ~

sig

Tips & Tricks

The chilled, almost frozen, butter leads to more steam being produced in the baking process which leads to more tender & fluffy biscuits. And folding the biscuits like a letter is what produces lots of different layers in your biscuits. Also, if you twist the cutter instead of going straight down your biscuits will not rise very well. And placing the biscuits so close together traps more steam as well.

Fluffy Light Spelt Biscuits

Prep Time: 35 minutes

Cook Time: 12 minutes

Total Time: 47 minutes

Yield: 6-8 biscuits

Ingredients

  • 2 cups white spelt flour (VitaSpelt recommended)
  • 1 TBSP baking powder
  • 1/2 tsp kosher salt
  • 5 TBSP chilled butter
  • 1/2 - 2/3 cup milk

Instructions

  1. Preheat oven to 450 degrees F. Line a baking sheet with parchment paper or silpat liner.
  2. Take chilled butter out of fridge and with a paring knife, cube into 1/2" pieces. Place cubed butter into freezer for at least 5 to 10 minutes.
  3. In a large bowl whisk together the flour, baking powder, and salt. Using a fork or pastry blender cut the butter cubes into the flour until it resembles coarse crumbs. Place bowl into the freezer and allow the flour & butter mixture to chill thoroughly for 15 minutes.
  4. Using a wooden spoon, mix the milk into the chilled flour, starting with just 1/2 cup of the milk. Stir gradually until the flour begins to pull together and dough is completely sticky, adding additional tablespoons of milk as needed. I used a full 2/3 cup of milk but it is always best to start with less milk and add more as you go.
  5. Sprinkle a generous amount of flour onto a pastry mat or wooden surface. Place dough onto floured surface and then sprinkle another generous amount all over the top of the dough. Using the palm of your hand, pat out the dough until it is approximately a 1" thick rectangle/letter shape.
  6. As you work with the dough, don't be afraid to sprinkle extra flour on top and sides as needed. You don't want to dry out the dough but at the same time, you don't want it so sticky that it sticks to your hand.
  7. Now fold the rectangular dough up the same way you would a letter. So the bottom third up onto the middle, then fold the top dough onto the middle portion. Pat down again to a 1" thick rectangle/letter shape. Repeat the fold process one more time. Pat the dough down to a final 1" thickness.
  8. Using a 3" round biscuit cutter, press biscuit cutter straight down without twisting it. Place biscuits directly onto the lined baking sheet, spacing only 1/2" apart.
  9. Bake for approximately 12 minutes, rotating halfway through, until golden brown.


07-08-2014

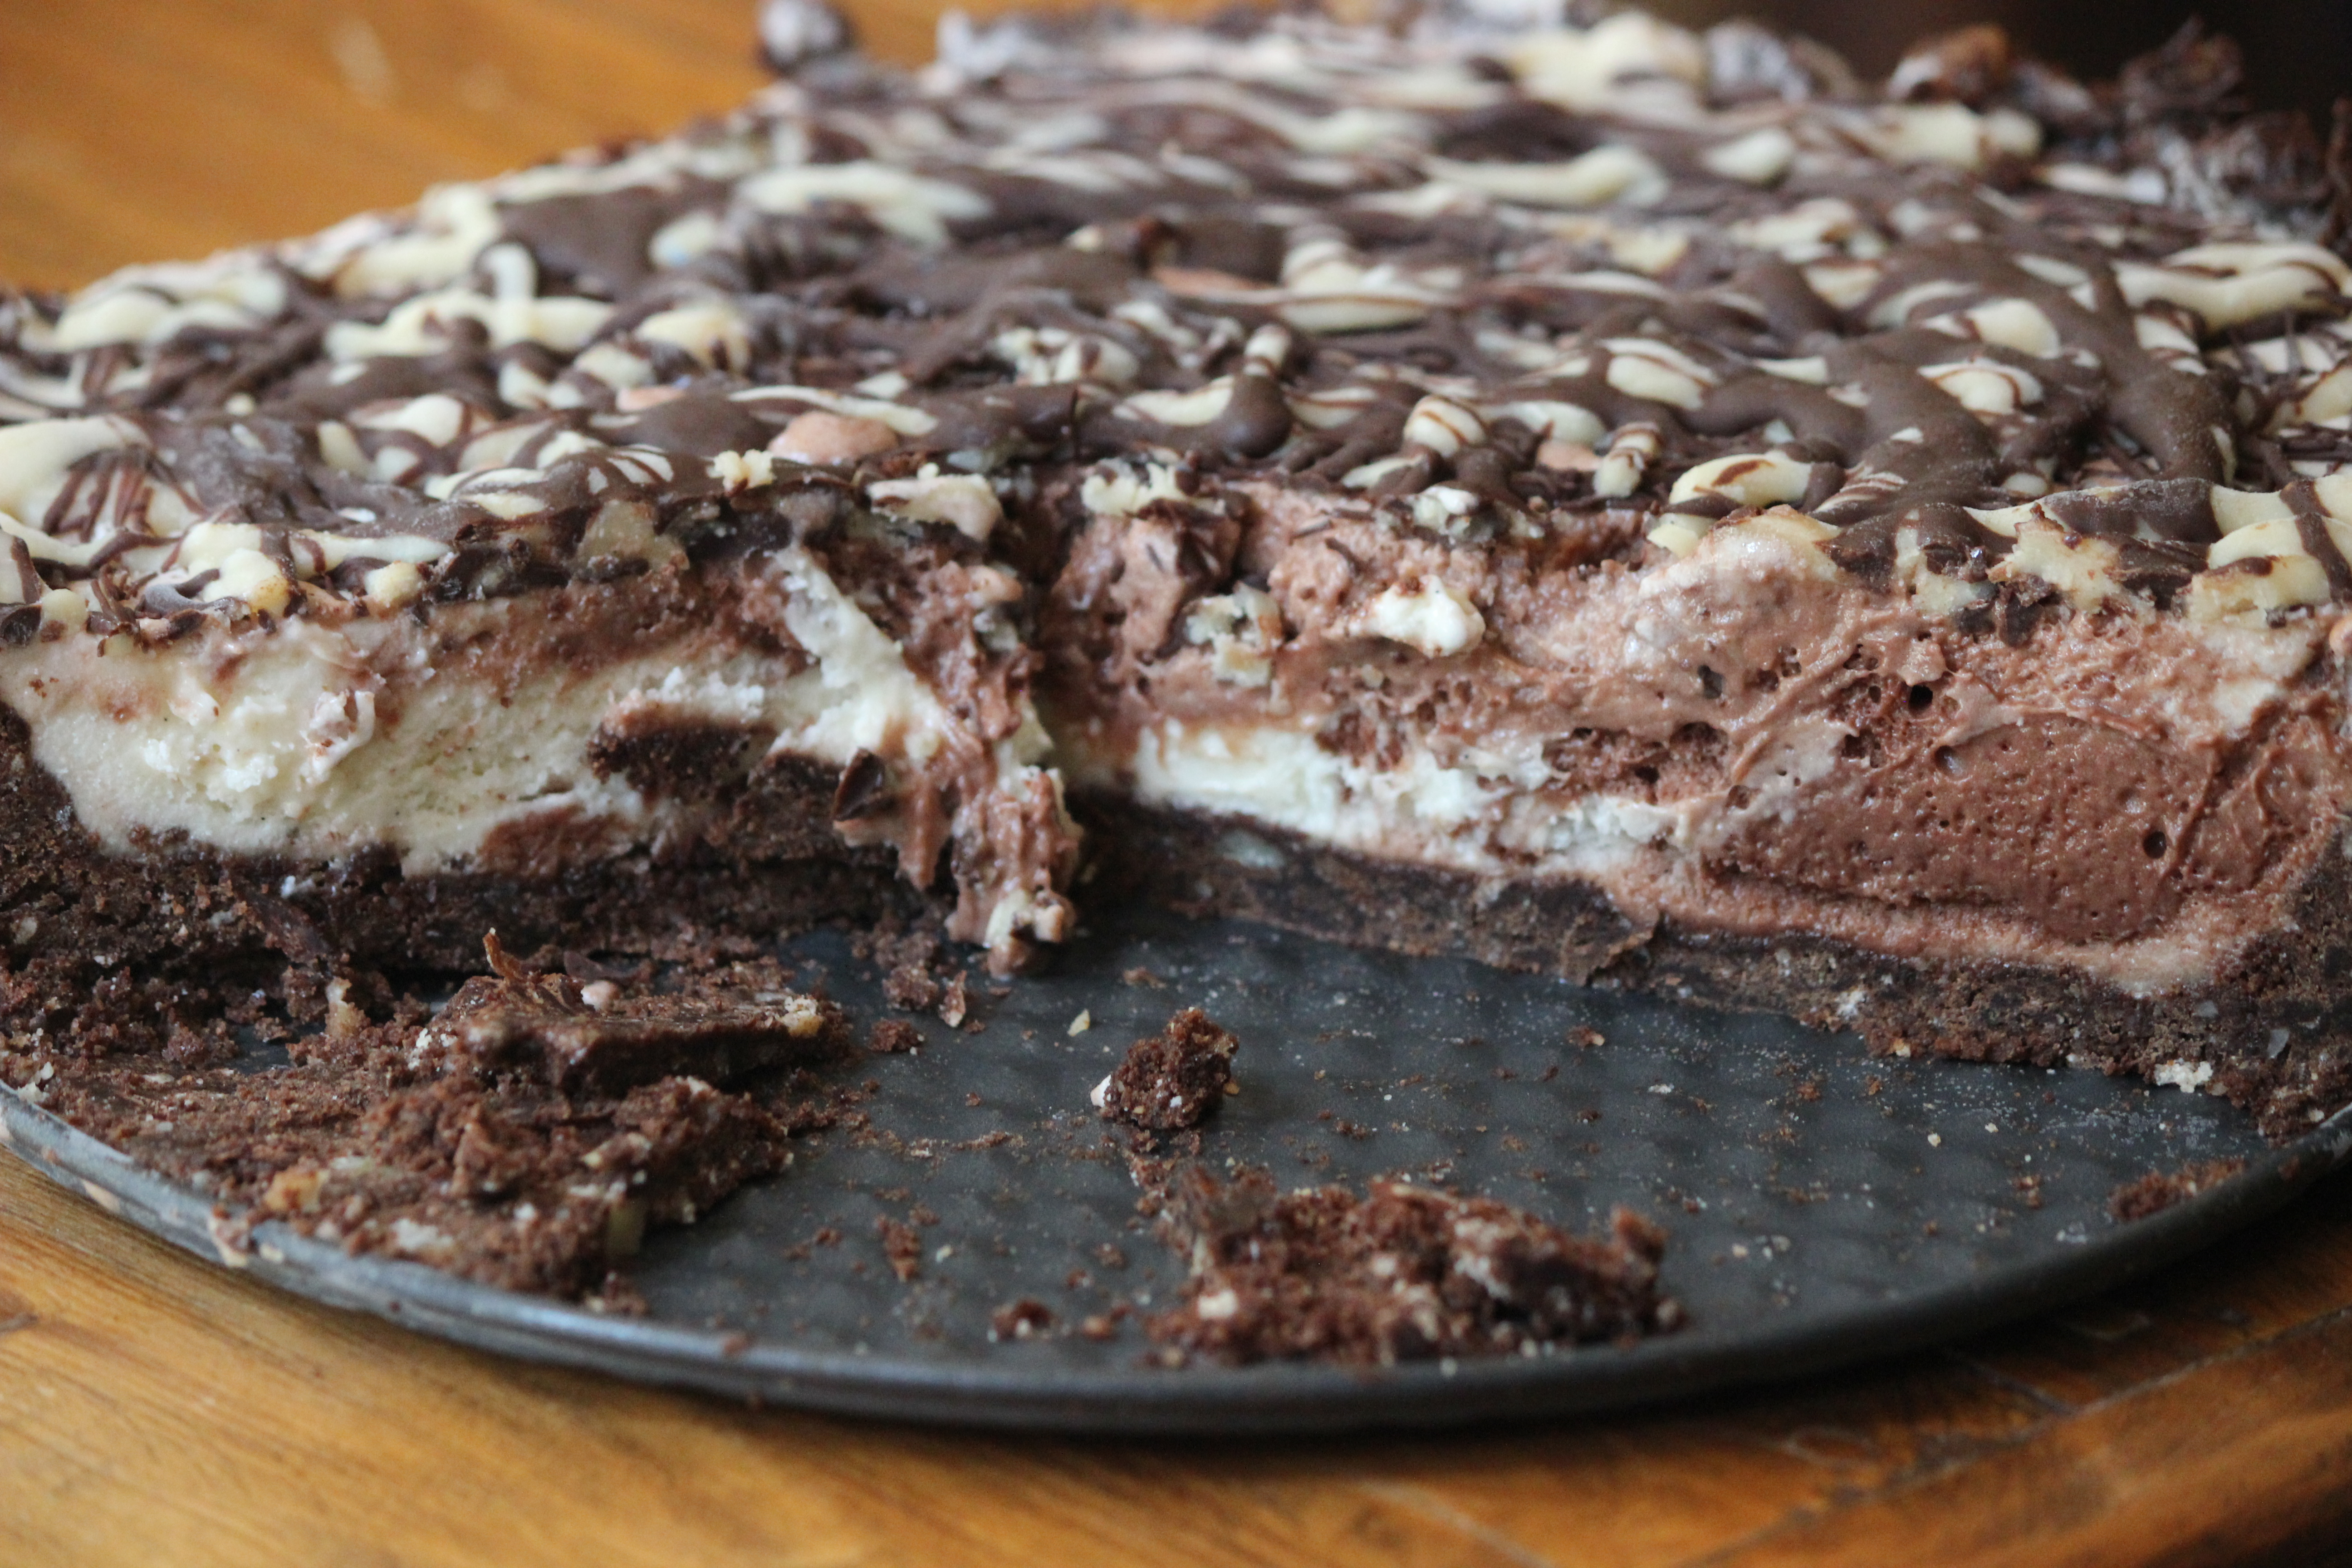
Brownie Ice Cream Pie

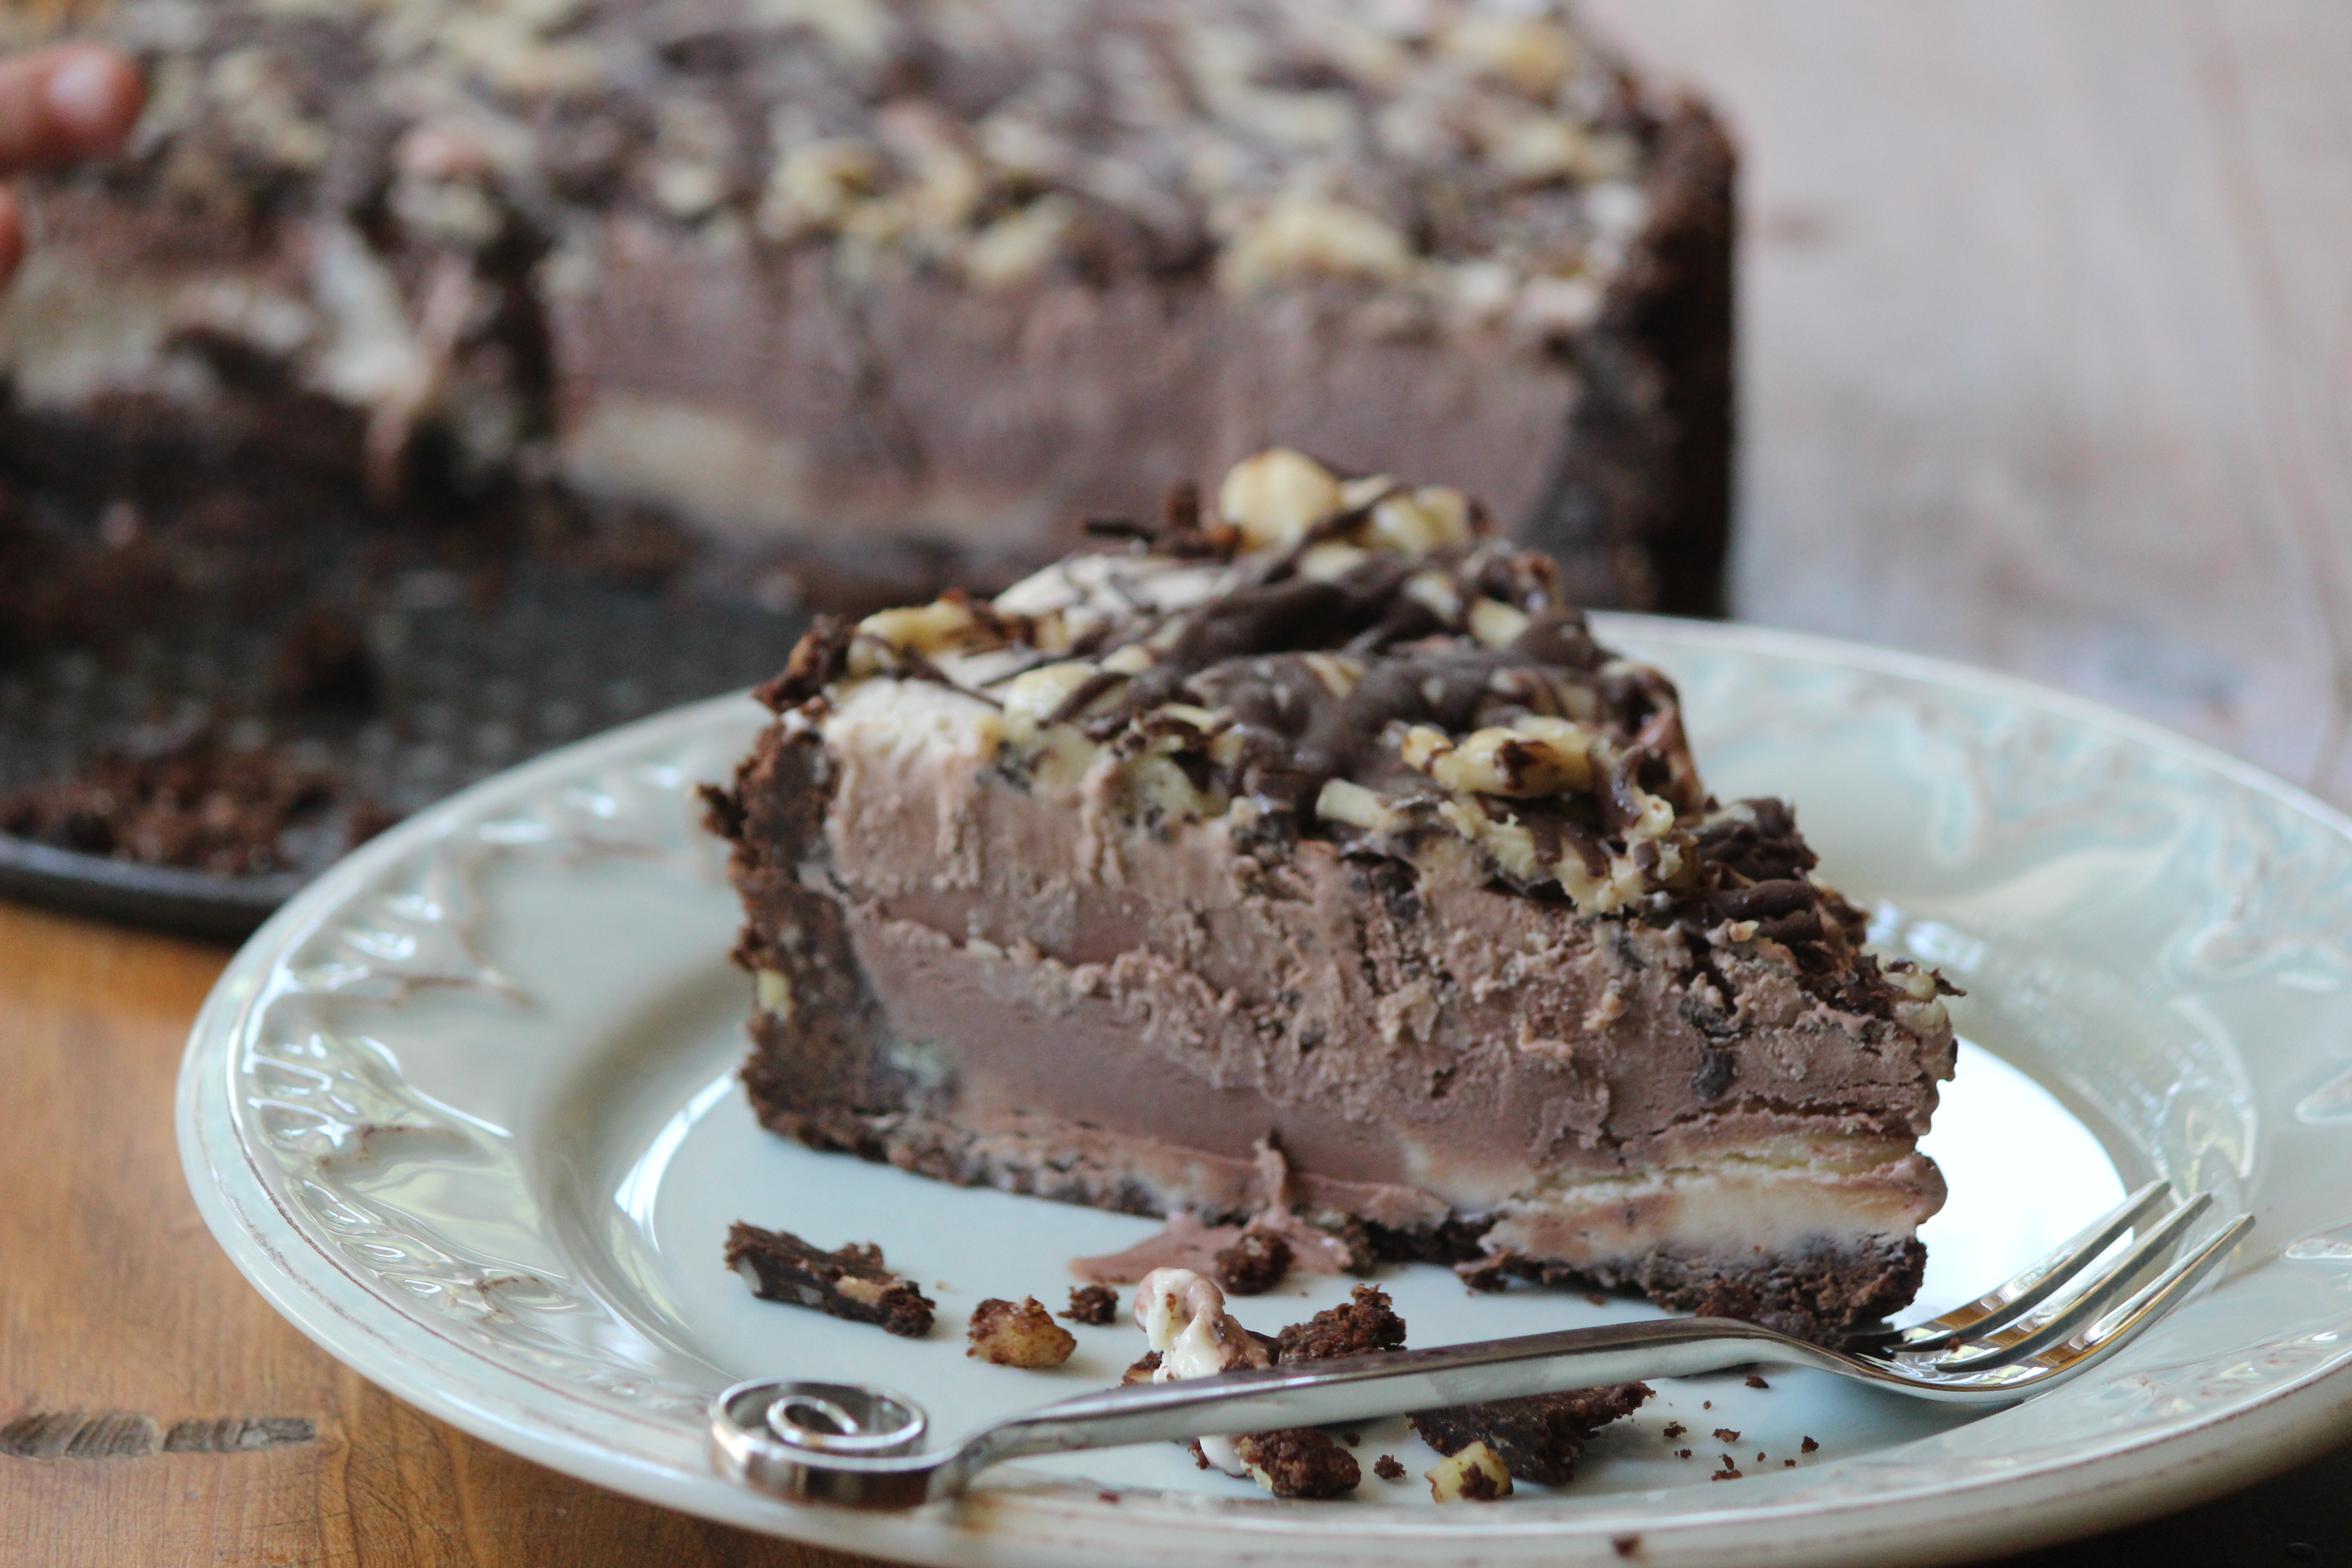
Ever made brownies that were just a tad crumbly or have more cookies on hand than you should could eat? Or, ever purchased way too much ice cream for the 4th because of that buy one get one sale?

IMG_6633

Well here, my friends, is the solution!

This was inspired by a much cleaner, more holistic Dessert Pizza by Angela at Oh She Glows. My version is definitely not clean eating or refined sugar free or any vegan thingamadoey. One day I do hope to try out Angela’s Dessert Pizza but yesterday I needed to use up some brownies and the over indulging ice cream that wouldn’t stop enticing me. It didn’t hurt that it was also Jared’s birthday and I was able to make a birthday dessert for him with ingredients I already had on hand.

IMG_6628

Ingredients
1 batch of already made brownies or chocolate chip cookies
1 pint chocolate ice cream, slightly chilled (not frozen)
1 pint vanilla ice cream, slightly chilled (not frozen)
1 batch Peanut Butter Shell Drizzle (from Oh She Glows)
1 batch Chocolate Ice Cream Shell
coconut oil

Recipe
Using a teaspoon of coconut oil, lightly grease the bottom & sides of a springform pan.

Crumble brownies or cookies onto bottom of springform pan. Using your palms, press the mixture down firmly and spread to sides of pan.

In a glass bowl, stir together the chocolate and vanilla ice creams until swirled together. Pour ice cream mixture onto the top of the brownie crust. Place ice cream pie into freezer and allow to freeze for 10-15 minutes.

Make one batch each of the peanut butter drizzle and chocolate ice cream shell. Place the peanut butter drizzle into a plastic zipper top bag and snip the corner. (This makes for easier drizzling! The chocolate syrup can easily be drizzled with a fork.)

Alternating between the peanut butter and chocolate toppings, drizzle each sweet concoction onto the top of the ice cream pie. Once all the toppings have been used up, place the pie back into freezer for at least 4 hours for everything to set nicely up.

Scrumptious!

resize


Enjoy ~

sig


07-03-2014

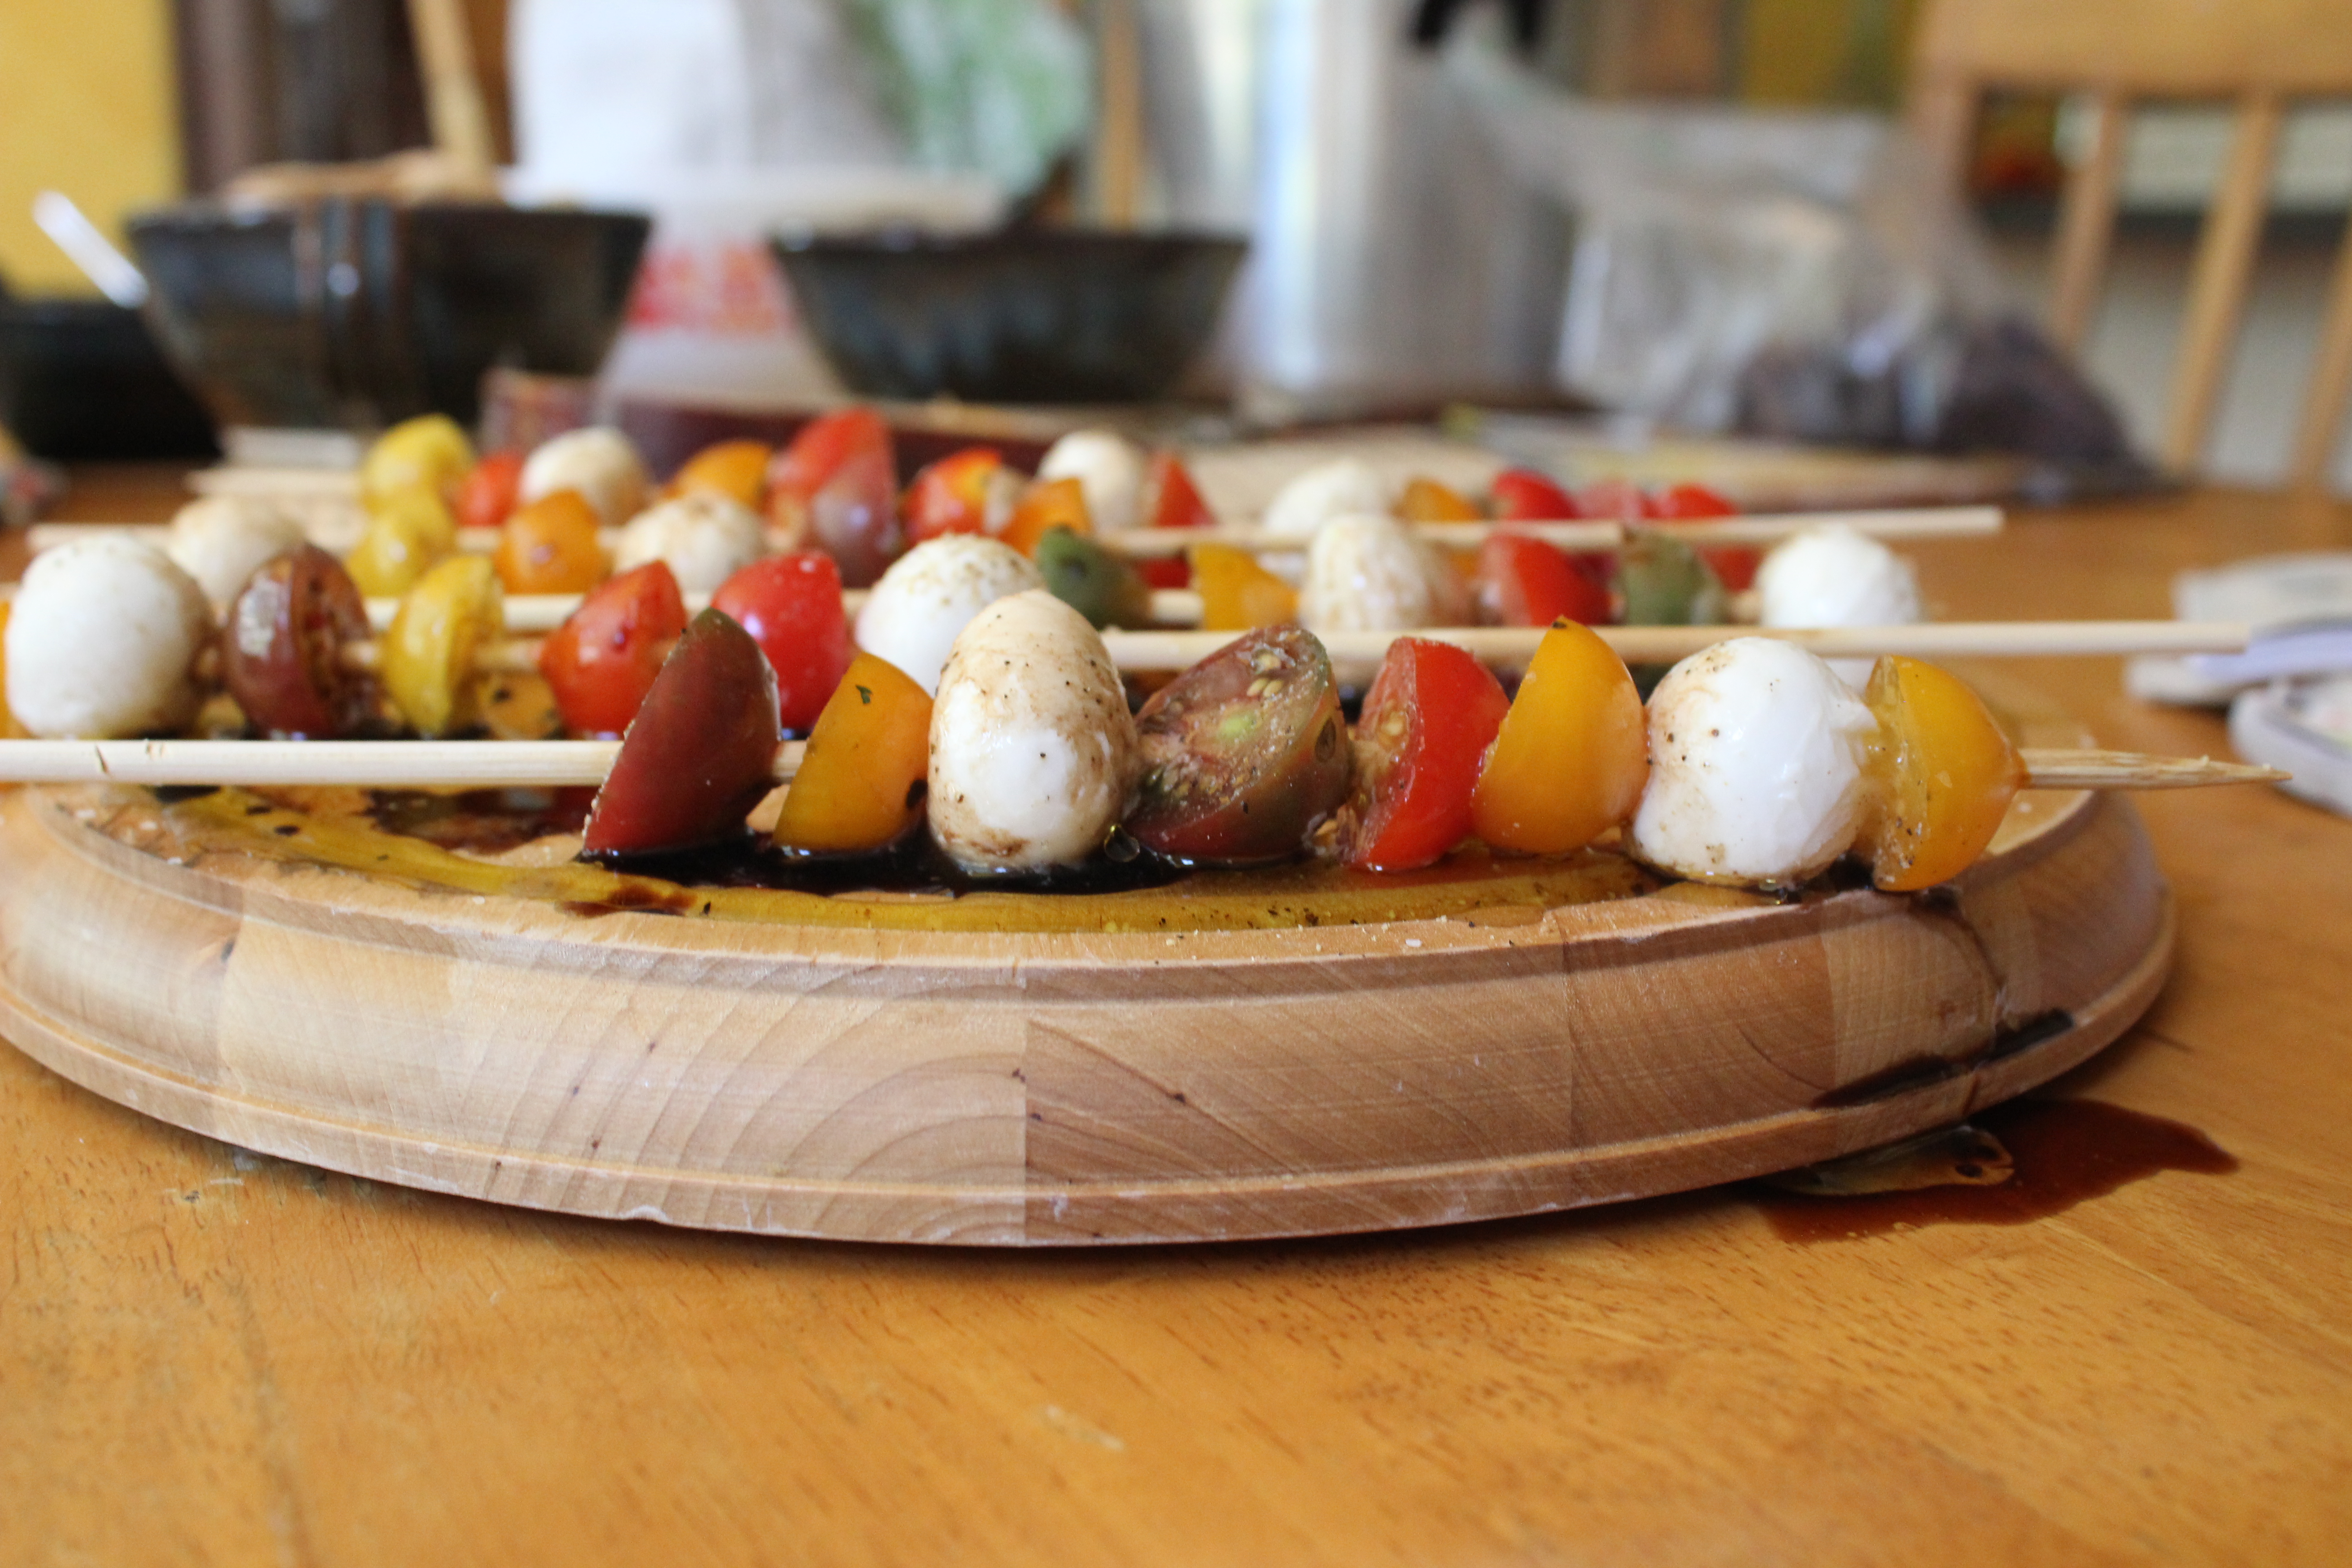
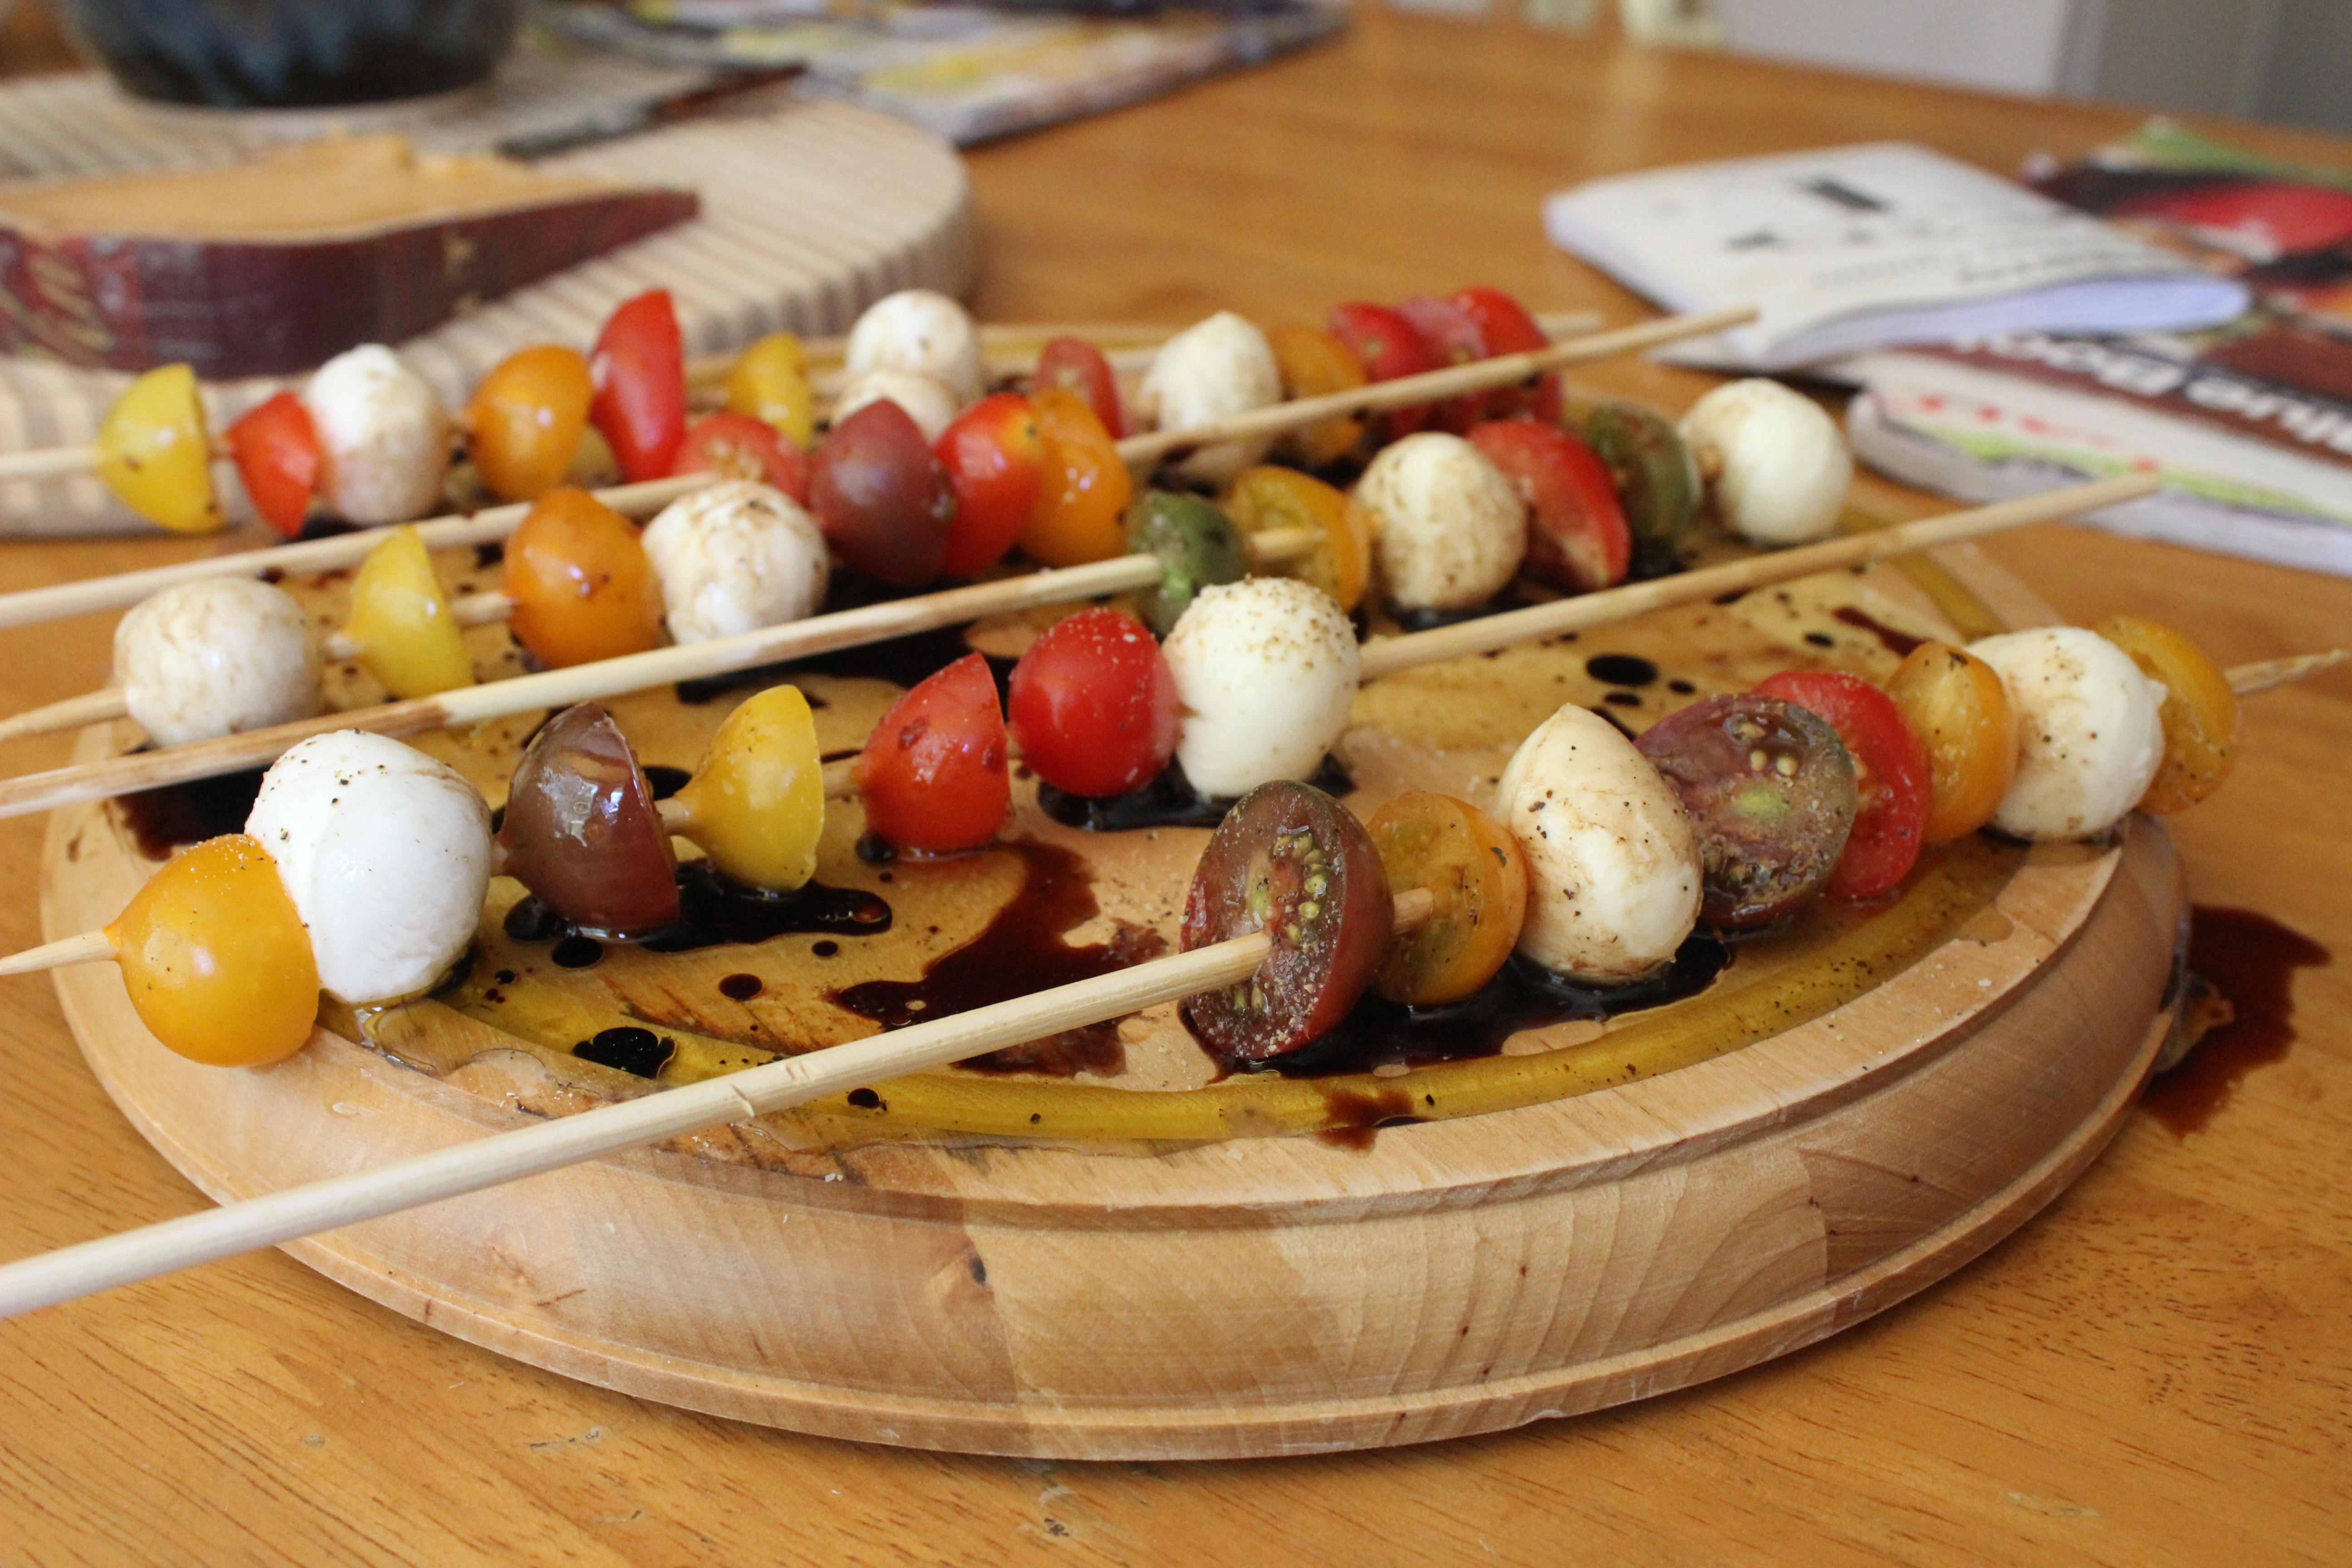
Heirloom Cherry Tomato and Mozzarella Skewers with Balsamic Vinegar

Looking for a quick & easy appetizer for the 4th of July? This tasty hor d’oeuvre is so simple to put together that I feel silly even typing up a recipe. But hopefully these tips & tricks will make this dish sublime!

IMG_2587


Ingredients
2 pints heirloom cherry tomatoes (a mix of different hues if possible)
1 lb of fresh mozzarella balls
extra virgin olive oil
balsamic vinegar
kosher or sea salt
fresh ground black pepper
fresh basil leaves (optional)

Recipe Tips & Tricks

Slice cherry tomatoes in half and place in glass bowl along with the mozzarella balls. Drizzle with a tablespoon or two of olive oil and then sprinkle on a generous teaspoon or two of kosher salt & fresh ground black pepper. Allow the ingredients to sit for 5 to 10 minutes.

What you are doing is helping draw the water out of the tomatoes and adding a salty brined flavor. This is what is going to make the dish out of this world! If you don’t salt & pepper the tomatoes for just 5 minutes prior to assembling, they just aren’t going to taste the same.

Using skewers, alternate adding tomatoes & mozzarella as you see fit! Add in whole leaves of basil for a great caprese salad appetizer. Or, you could chiffonade (aka…slice it pretty!) the basil and scatter on top but I think you’ll have more punch by leaving the basil leaves whole.

Next, drizzle olive oil & plenty of balsamic vinegar all over the concoction. Finally, add a generous sprinkling of kosher salt & fresh ground pepper. Make sure to sneak a taste to ensure the flavor is vibrant. If not, guess what…add more salt & pepper and another splash (or two) of balsamic vinegar!

IMG_2589Happy 4th of July!! I hope everyone has a great time celebrating, shooting off fire works, and eating plenty of sweet summertime food!

sig

05-05-2014

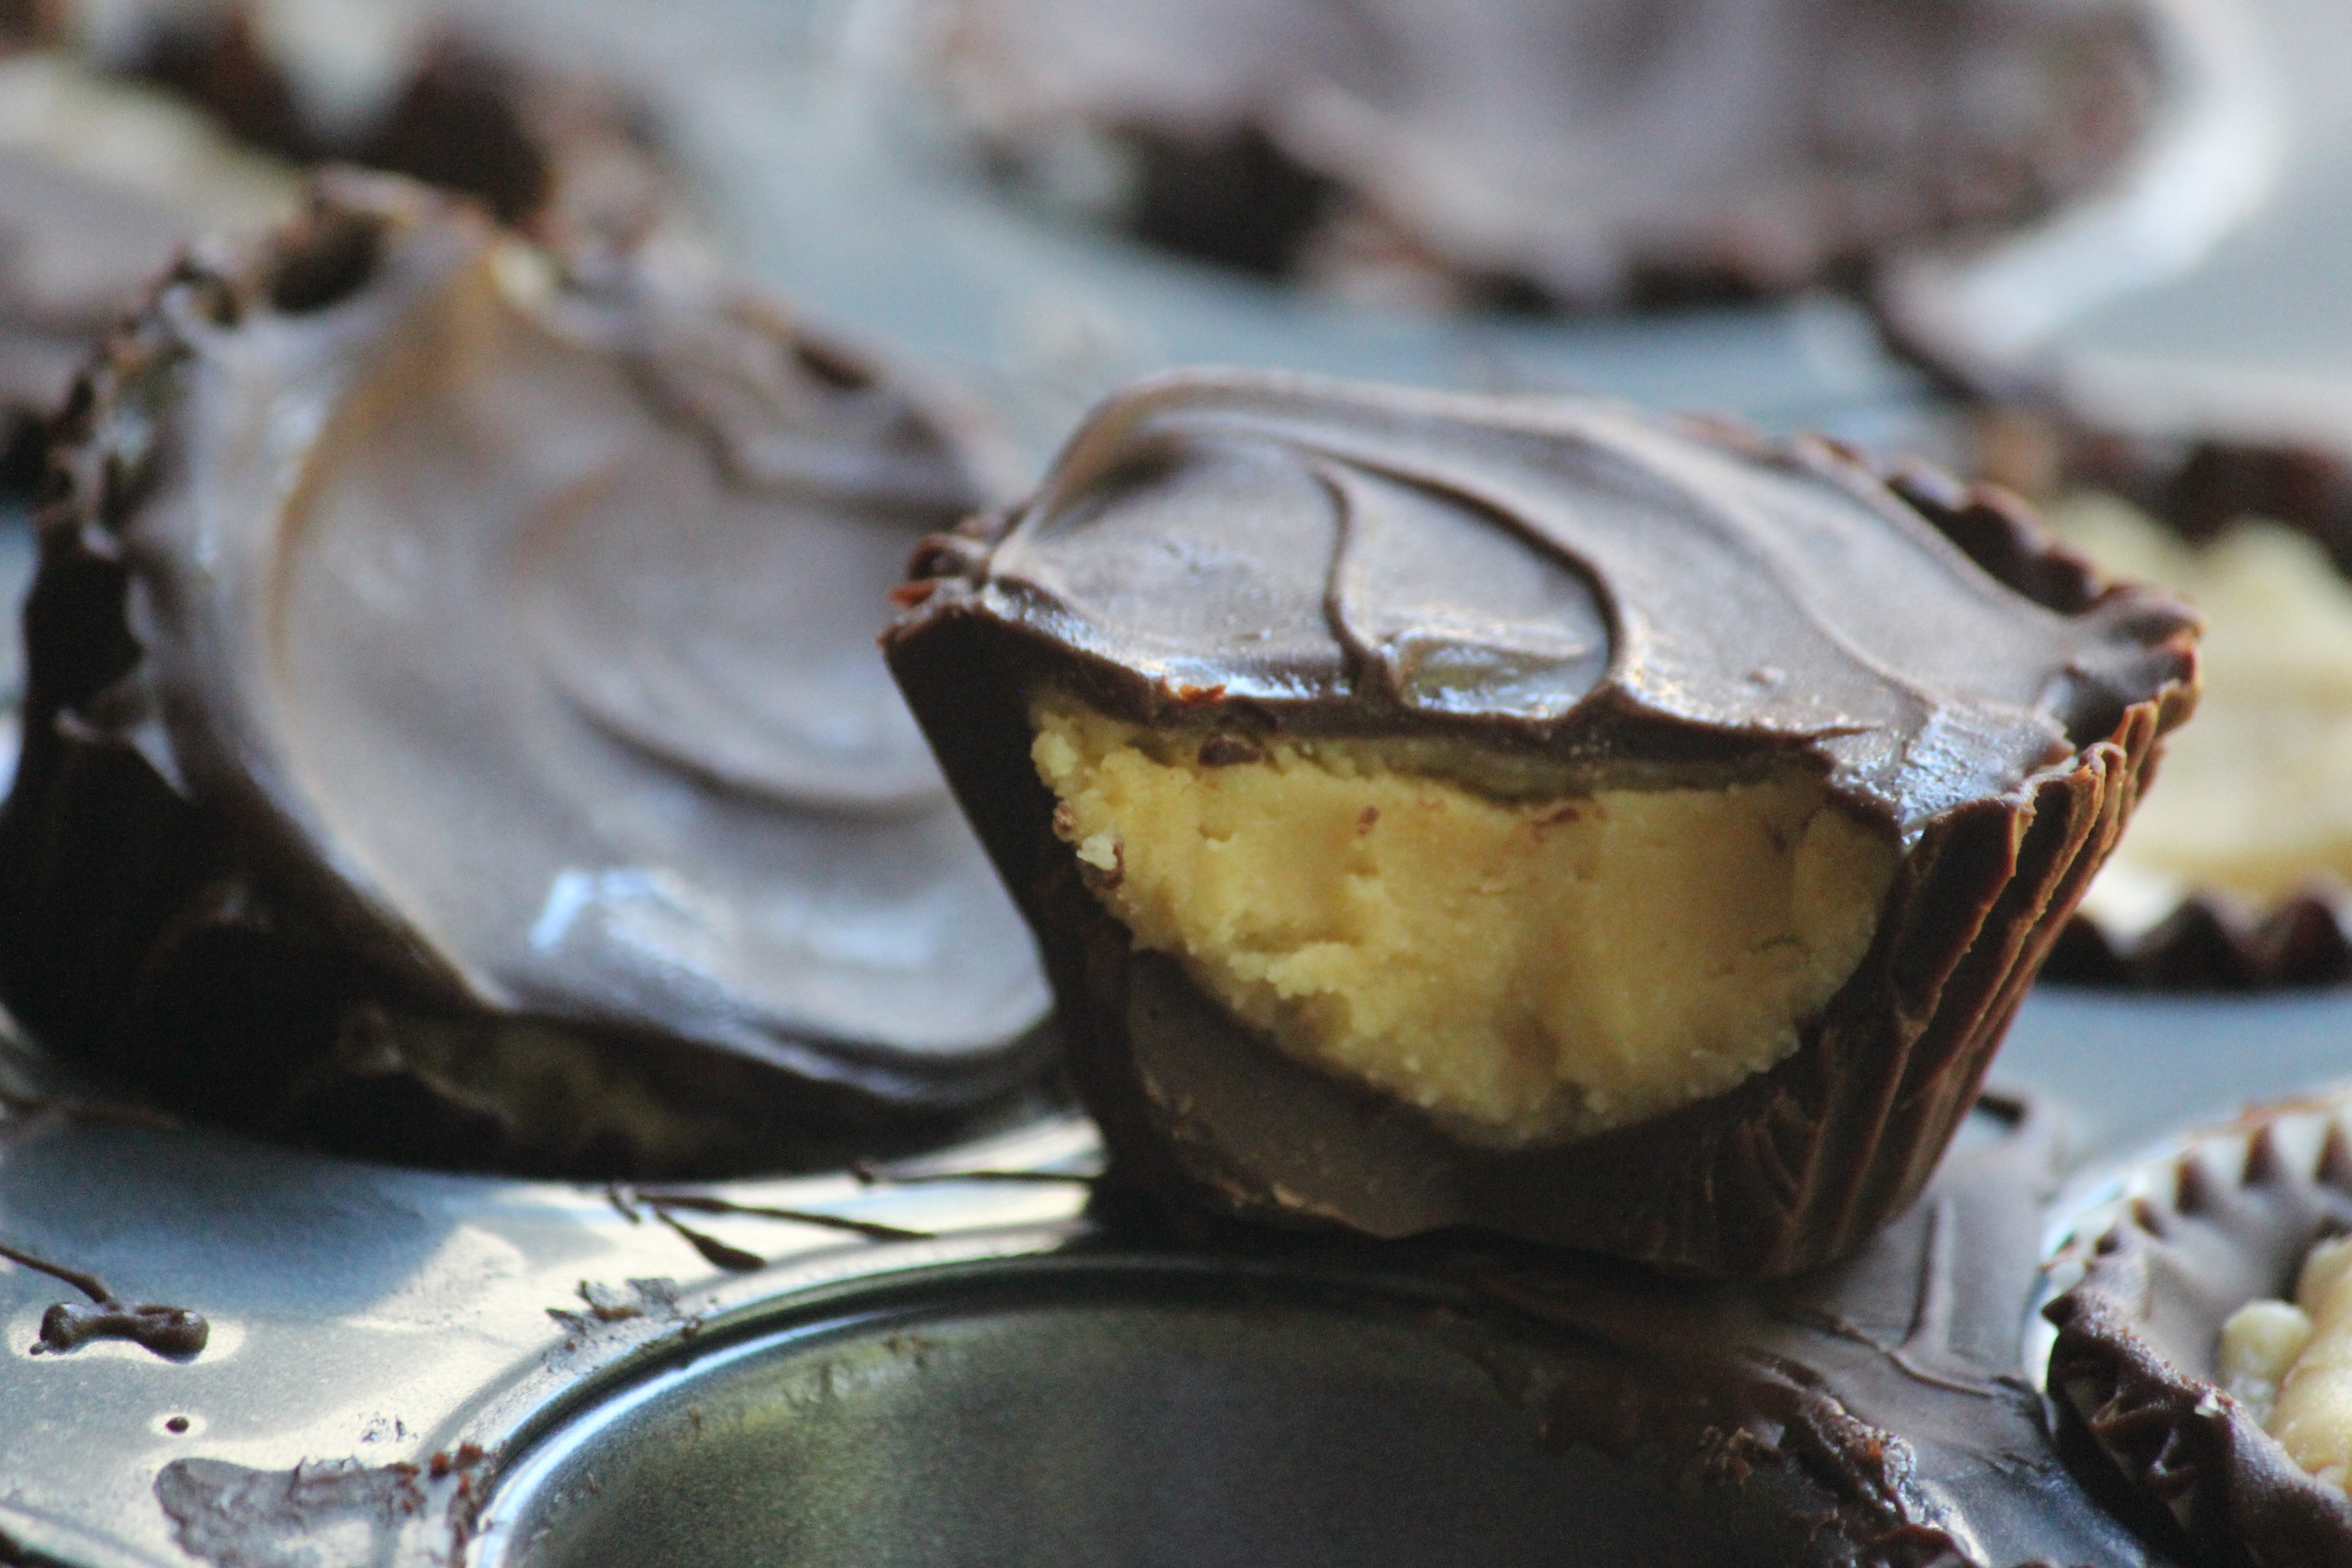
Gourmet Chocolate Peanut Butter Cups

It sure is hard being a food blogger’s kid!

I need to remind my kids constantly how lucky they are that baking and making unique eats is daily enjoyment in our house.

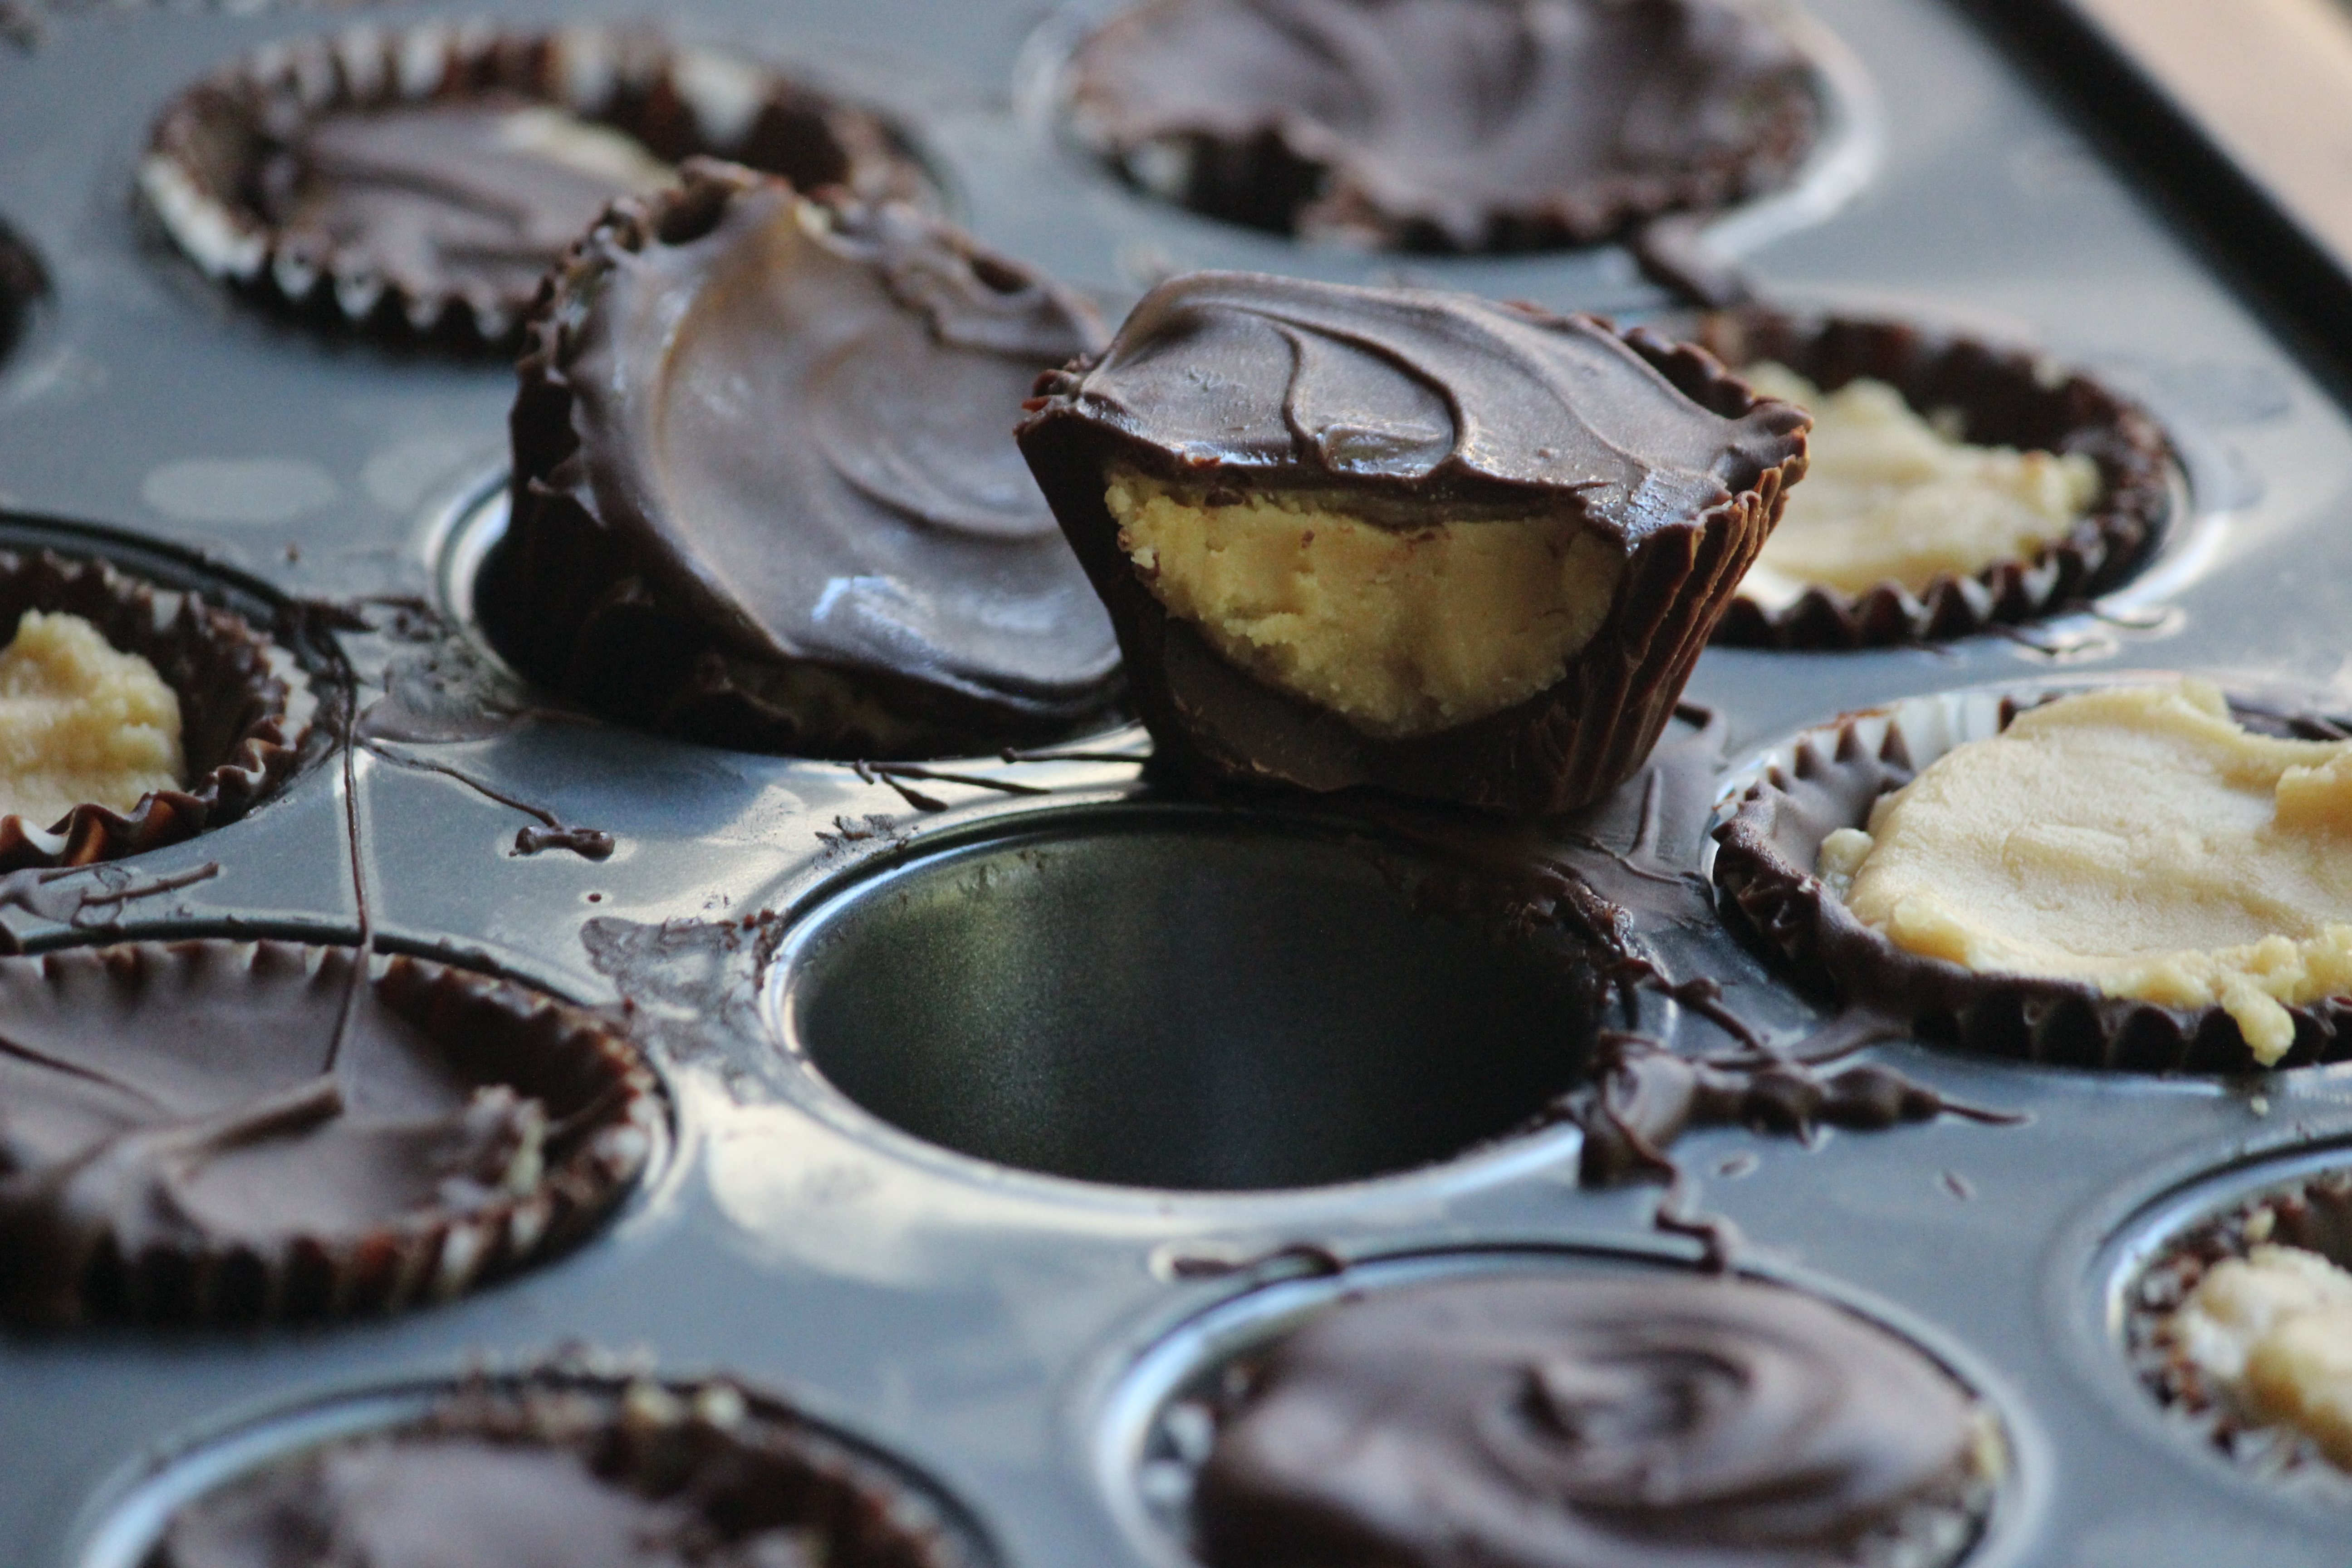
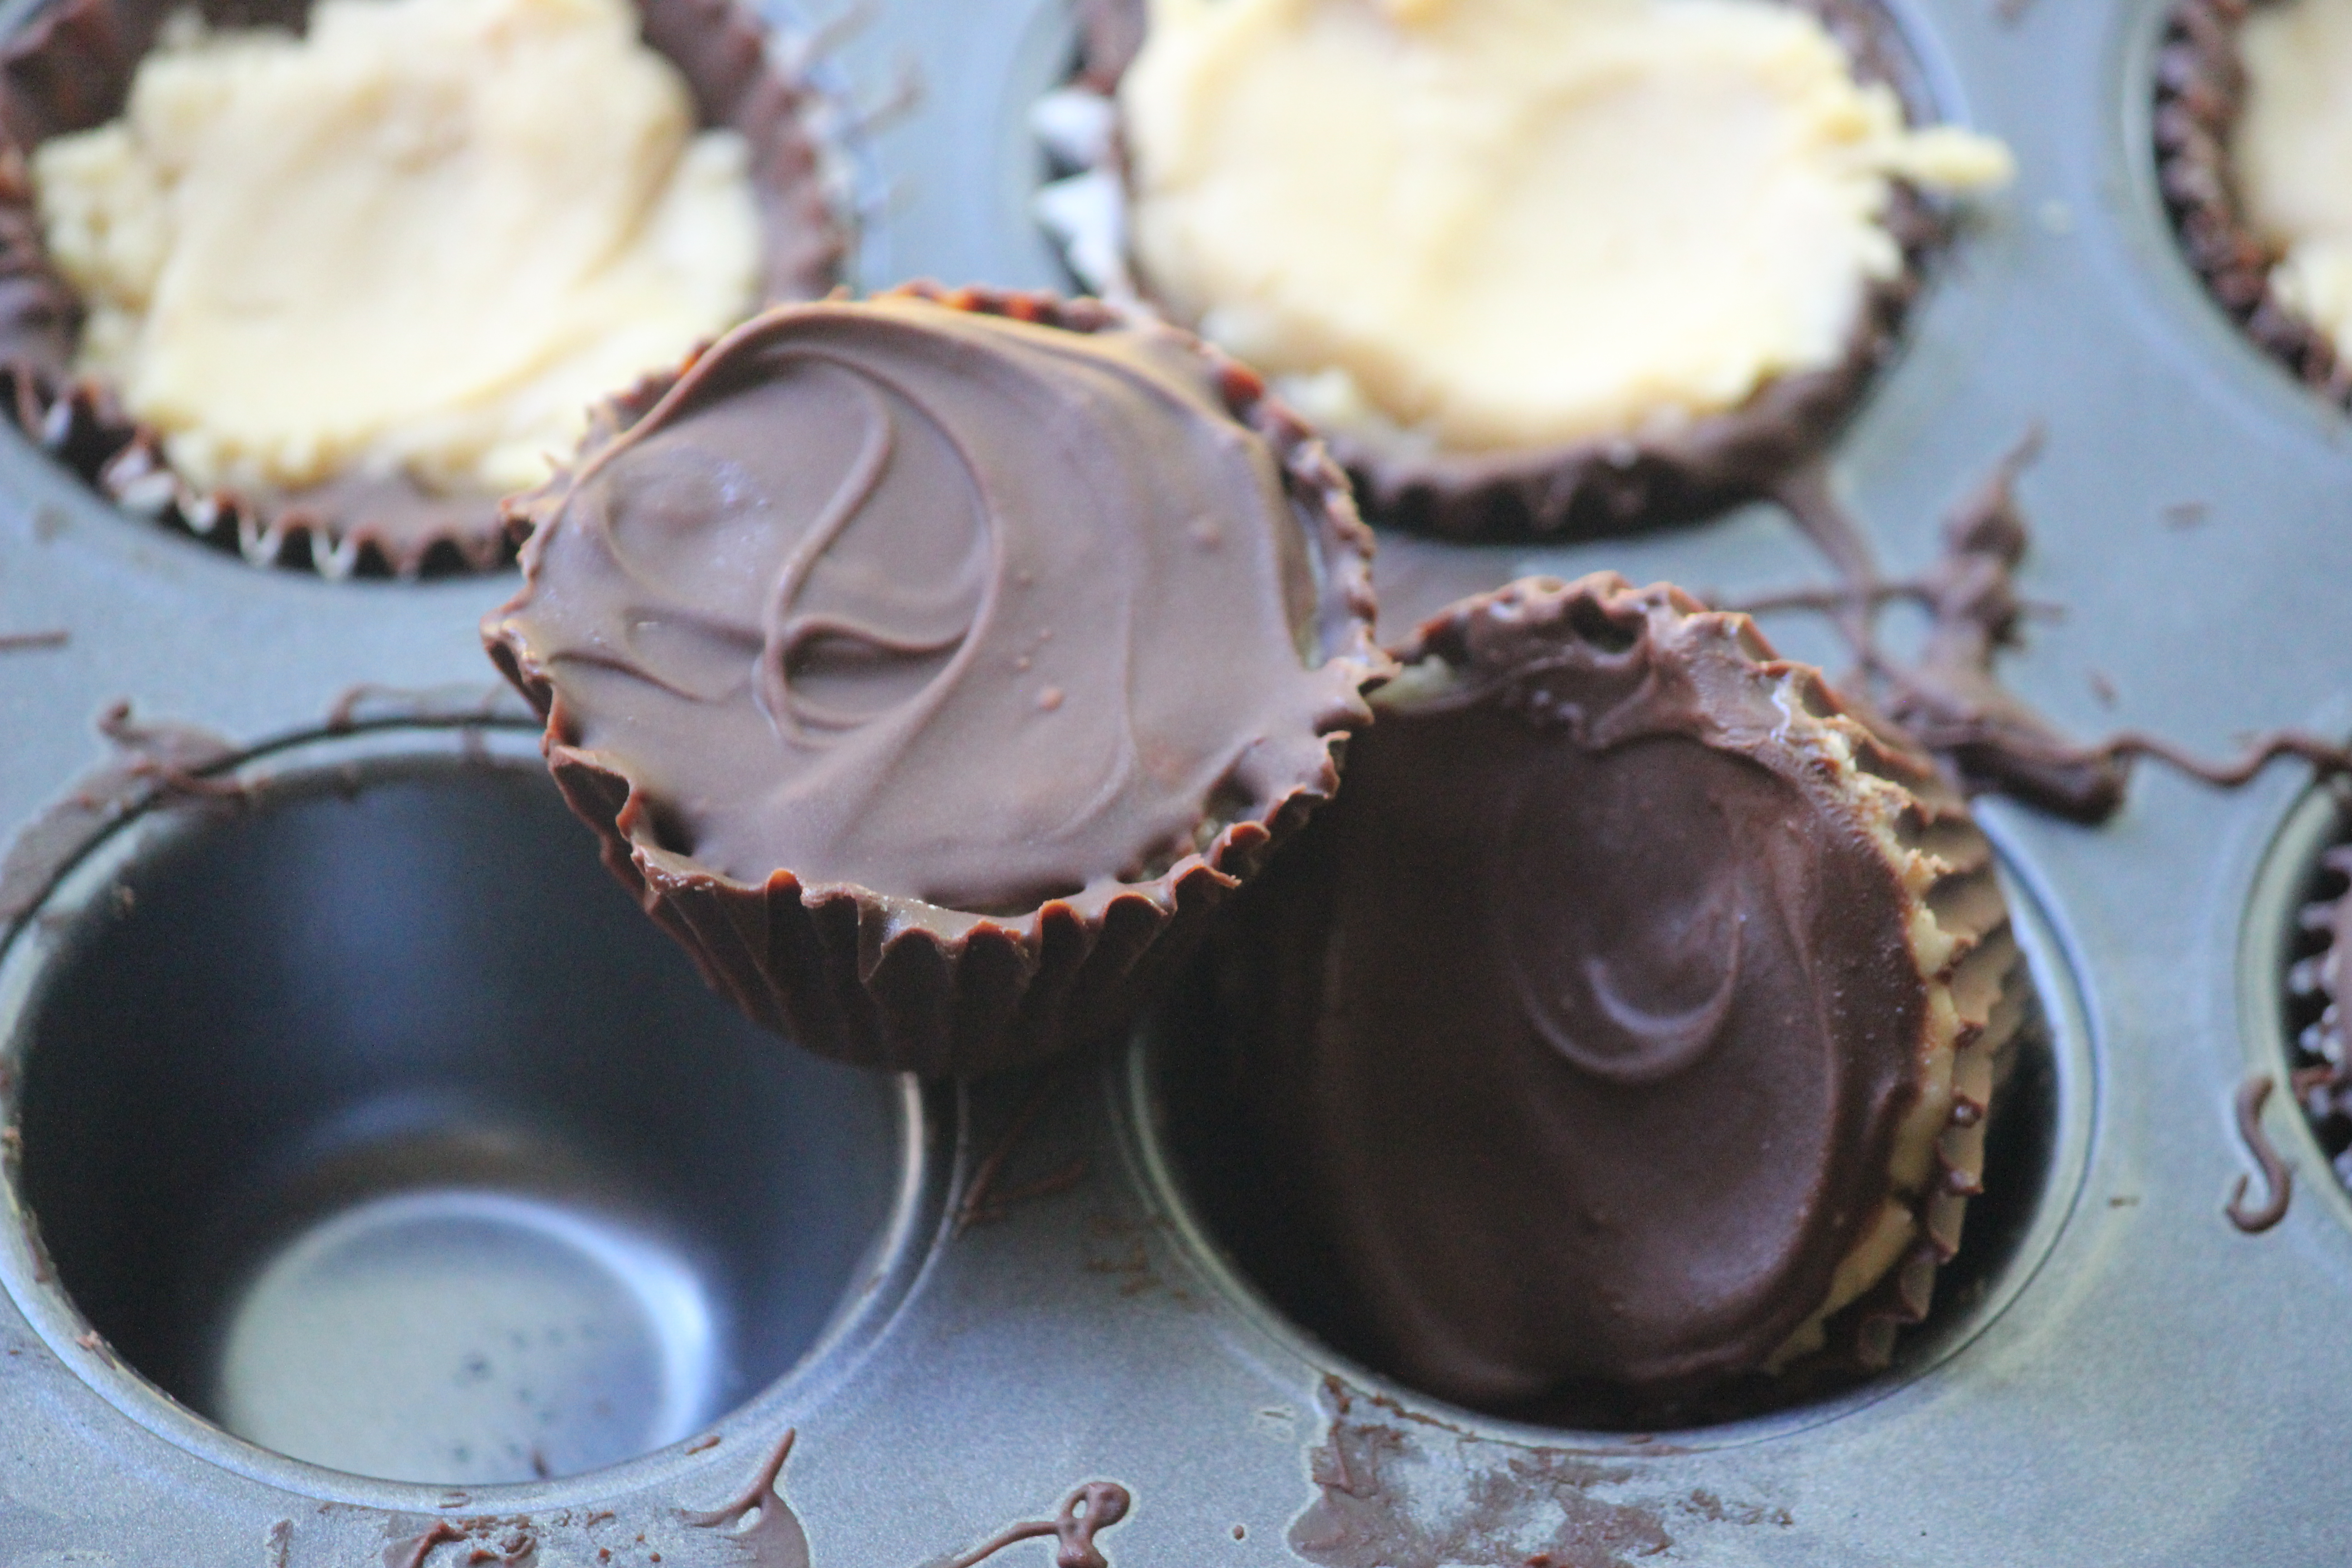
Yesterday we made these. If you aren’t salivating, you should be. So rich, so creamy, so delish!

IMG_6015
I followed the Raw Chocolate PB Cups recipe from Sarah @ The Sweet Life but did cheat and use semi-sweet chocolate chips & homemade pb. Still ooey-gooey goodness! Next time I think I’ll try sprinkling the top chocolate with a tiny pinch of sea salt prior to freezing. The contrasting taste of salt & sweet would make these sublime! (I used 1 & 1/4 cup of choc chips and was able to make 16 cups. Make sure to reserve enough chocolate for the top layer!)
IMG_6016
IMG_6003

These would make a great surprise treat after school!

Enjoy ~

sig

04-02-2014

Spelt Cornbread Muffins

When it comes to gluten free & egg yolk less baking, there are lots more failures than successes, it seems. At least in my kitchen there are! This past weekend I managed to glue the waffle maker stuck, no joke, when I tried to make yolk-less waffles!

But recently, I have had lots of luck replacing whole wheat pastry flour with a mixture of spelt & tapioca flours.

IMG_5747


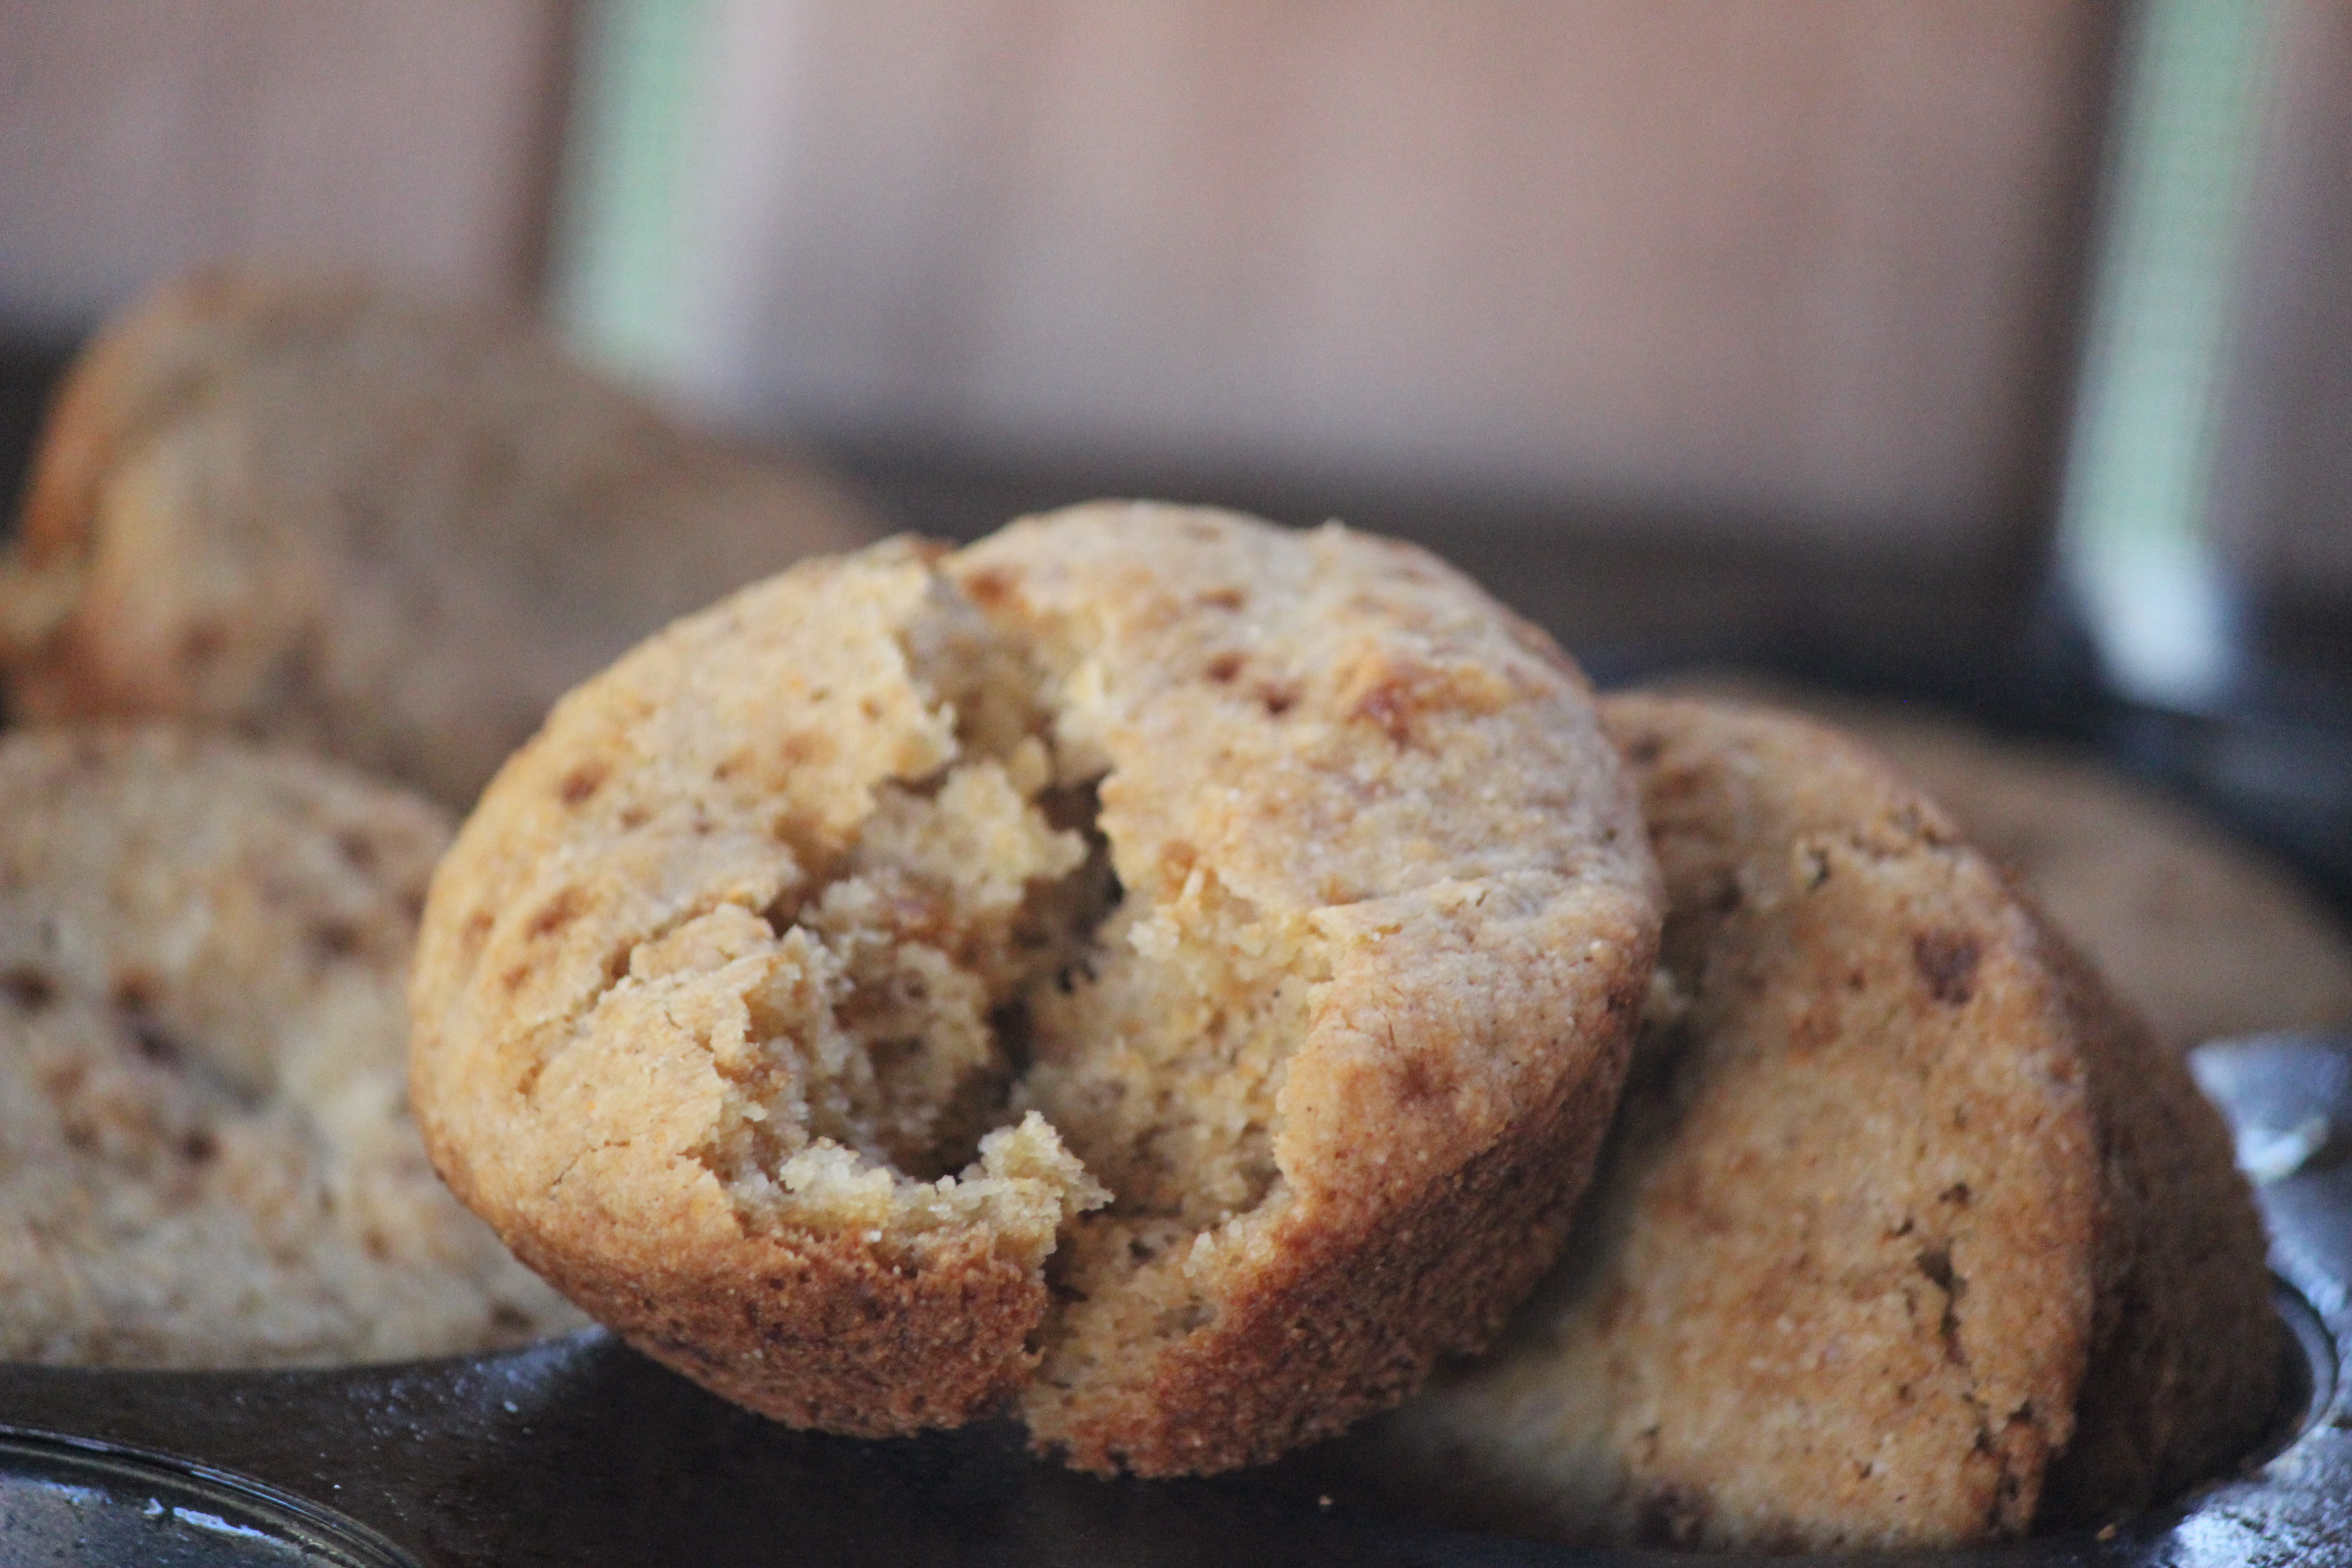
These cornbread muffins were so delightful after numerous failures in the kitchen. They have a tender crumb, are moist, and have great corn flavor. I found the recipe in a vegan cookbook, as I’ve decided baking egg-yolk-less would be easiest if I simply followed vegan recipes. This is from Isa Does It and will be a recipe I use frequently. The only difference I made was substituting spelt & tapioca flour for the whole wheat pastry flour she calls for.

Tips & Tricks ~
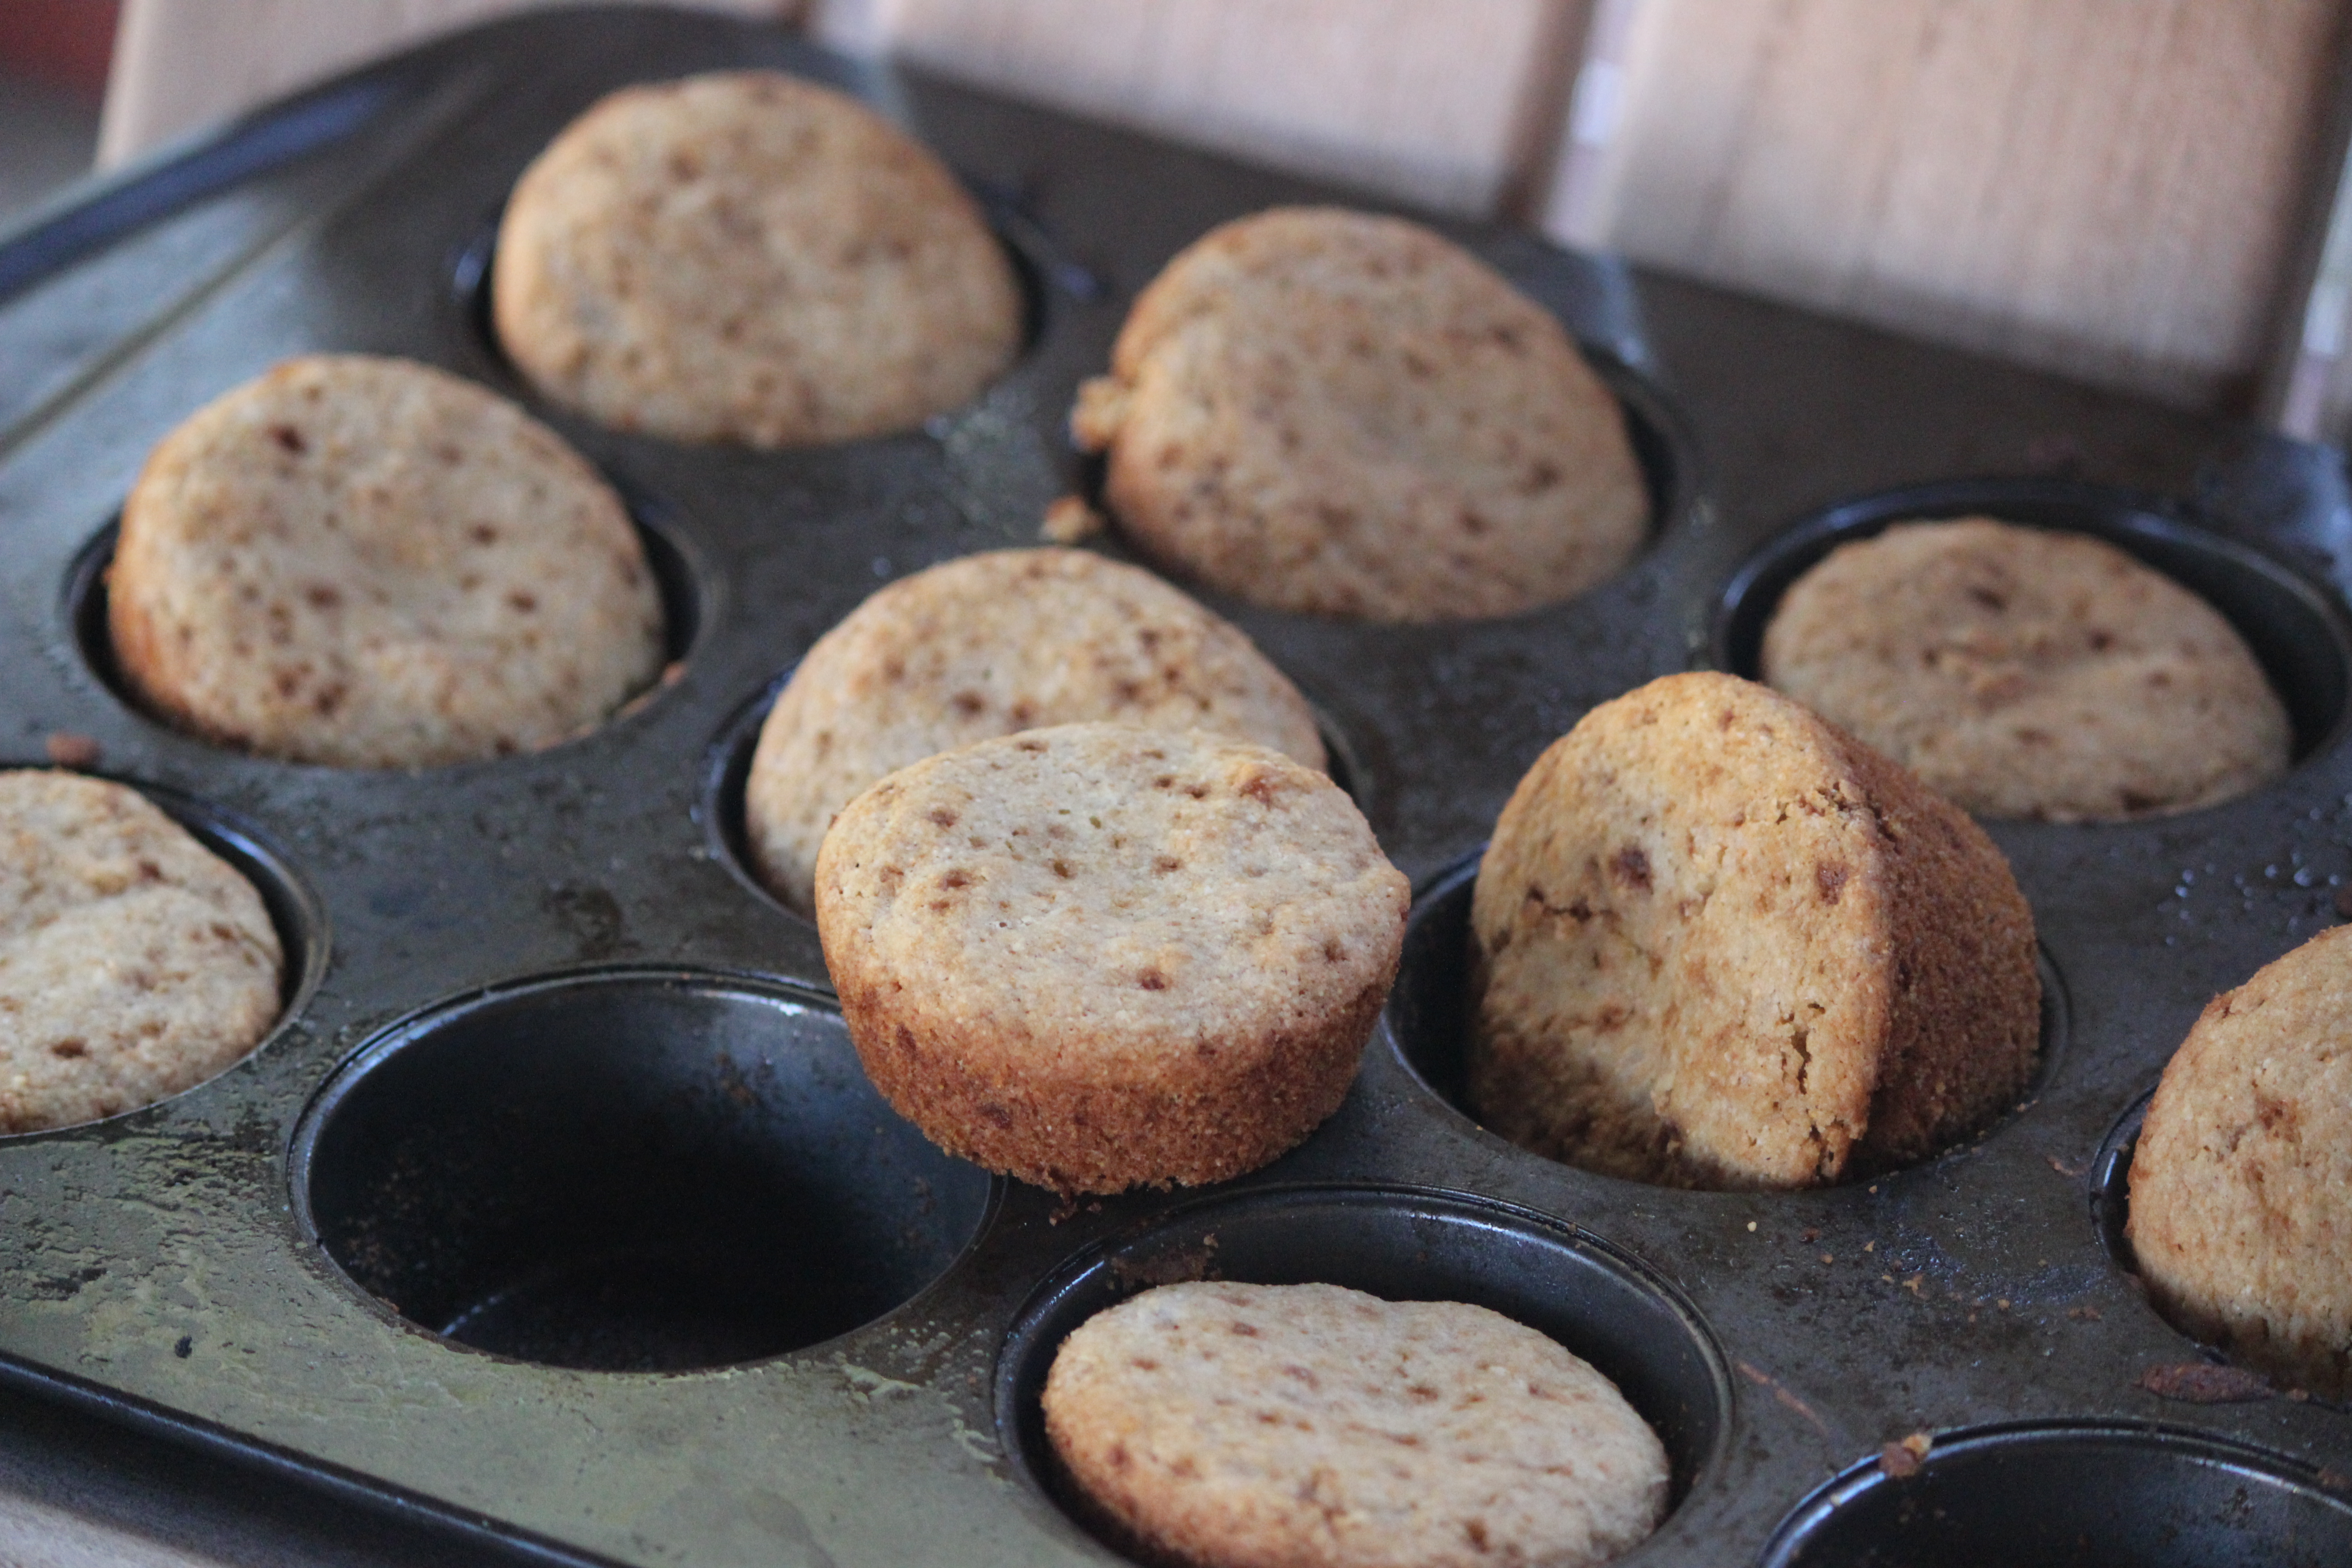
I am just guessing here…but I think baking these directly in the muffin pans sans muffin liners is what creates the crust you are seeking in corn muffins. If you oil the pan well, you should have no problem in the clean-up! Use white (or sometimes called light) spelt flour to have a less dense muffin.

Spelt Cornbread Muffins
1 cup almond milk
2 teaspoons apple cider vinegar
3/4 cup + 2 tsp white spelt flour
2 Tbsp tapioca flour
1 cup self rising corn meal
1/3 cup coconut sugar
2 tsp baking powder
1/2 tsp baking soda
1/2 tsp kosher salt
2 Tbsp refined coconut oil, melted
2 Tbsp unsweetened applesauce
1 cup corn kernels (optional & if using frozen, thaw first)

Preheat the oven to 350degrees. Lightly coat a 12 cup muffin pan with canola oil or cooking spray.

In a small bowl, combine the milk and vinegar, setting aside for atleast 2 minutes to curdle.

In a medium bowl, mix together the flours, cornmeal, sugar, baking powder, baking soda, and salt. In the small bowl of milk, stir in the melted coconut oil and applesauce. Make a well in the bottom of the dry ingredients. Pour liquid ingredients into the well of dry ingredients. Mix together the dry & wet ingredients just until the dry ingredients are incorporated. Be careful to not overmix as this minimizes how much muffins rise.

Fill muffin pans with batter and bake in preheated oven for approximately 18 minutes. Remove from oven and insert a spoon around the edges to help muffins be easily removed.

IMG_5746

Enjoy! And may we all have more successes in the kitchen this week than failures!

sig


03-11-2014

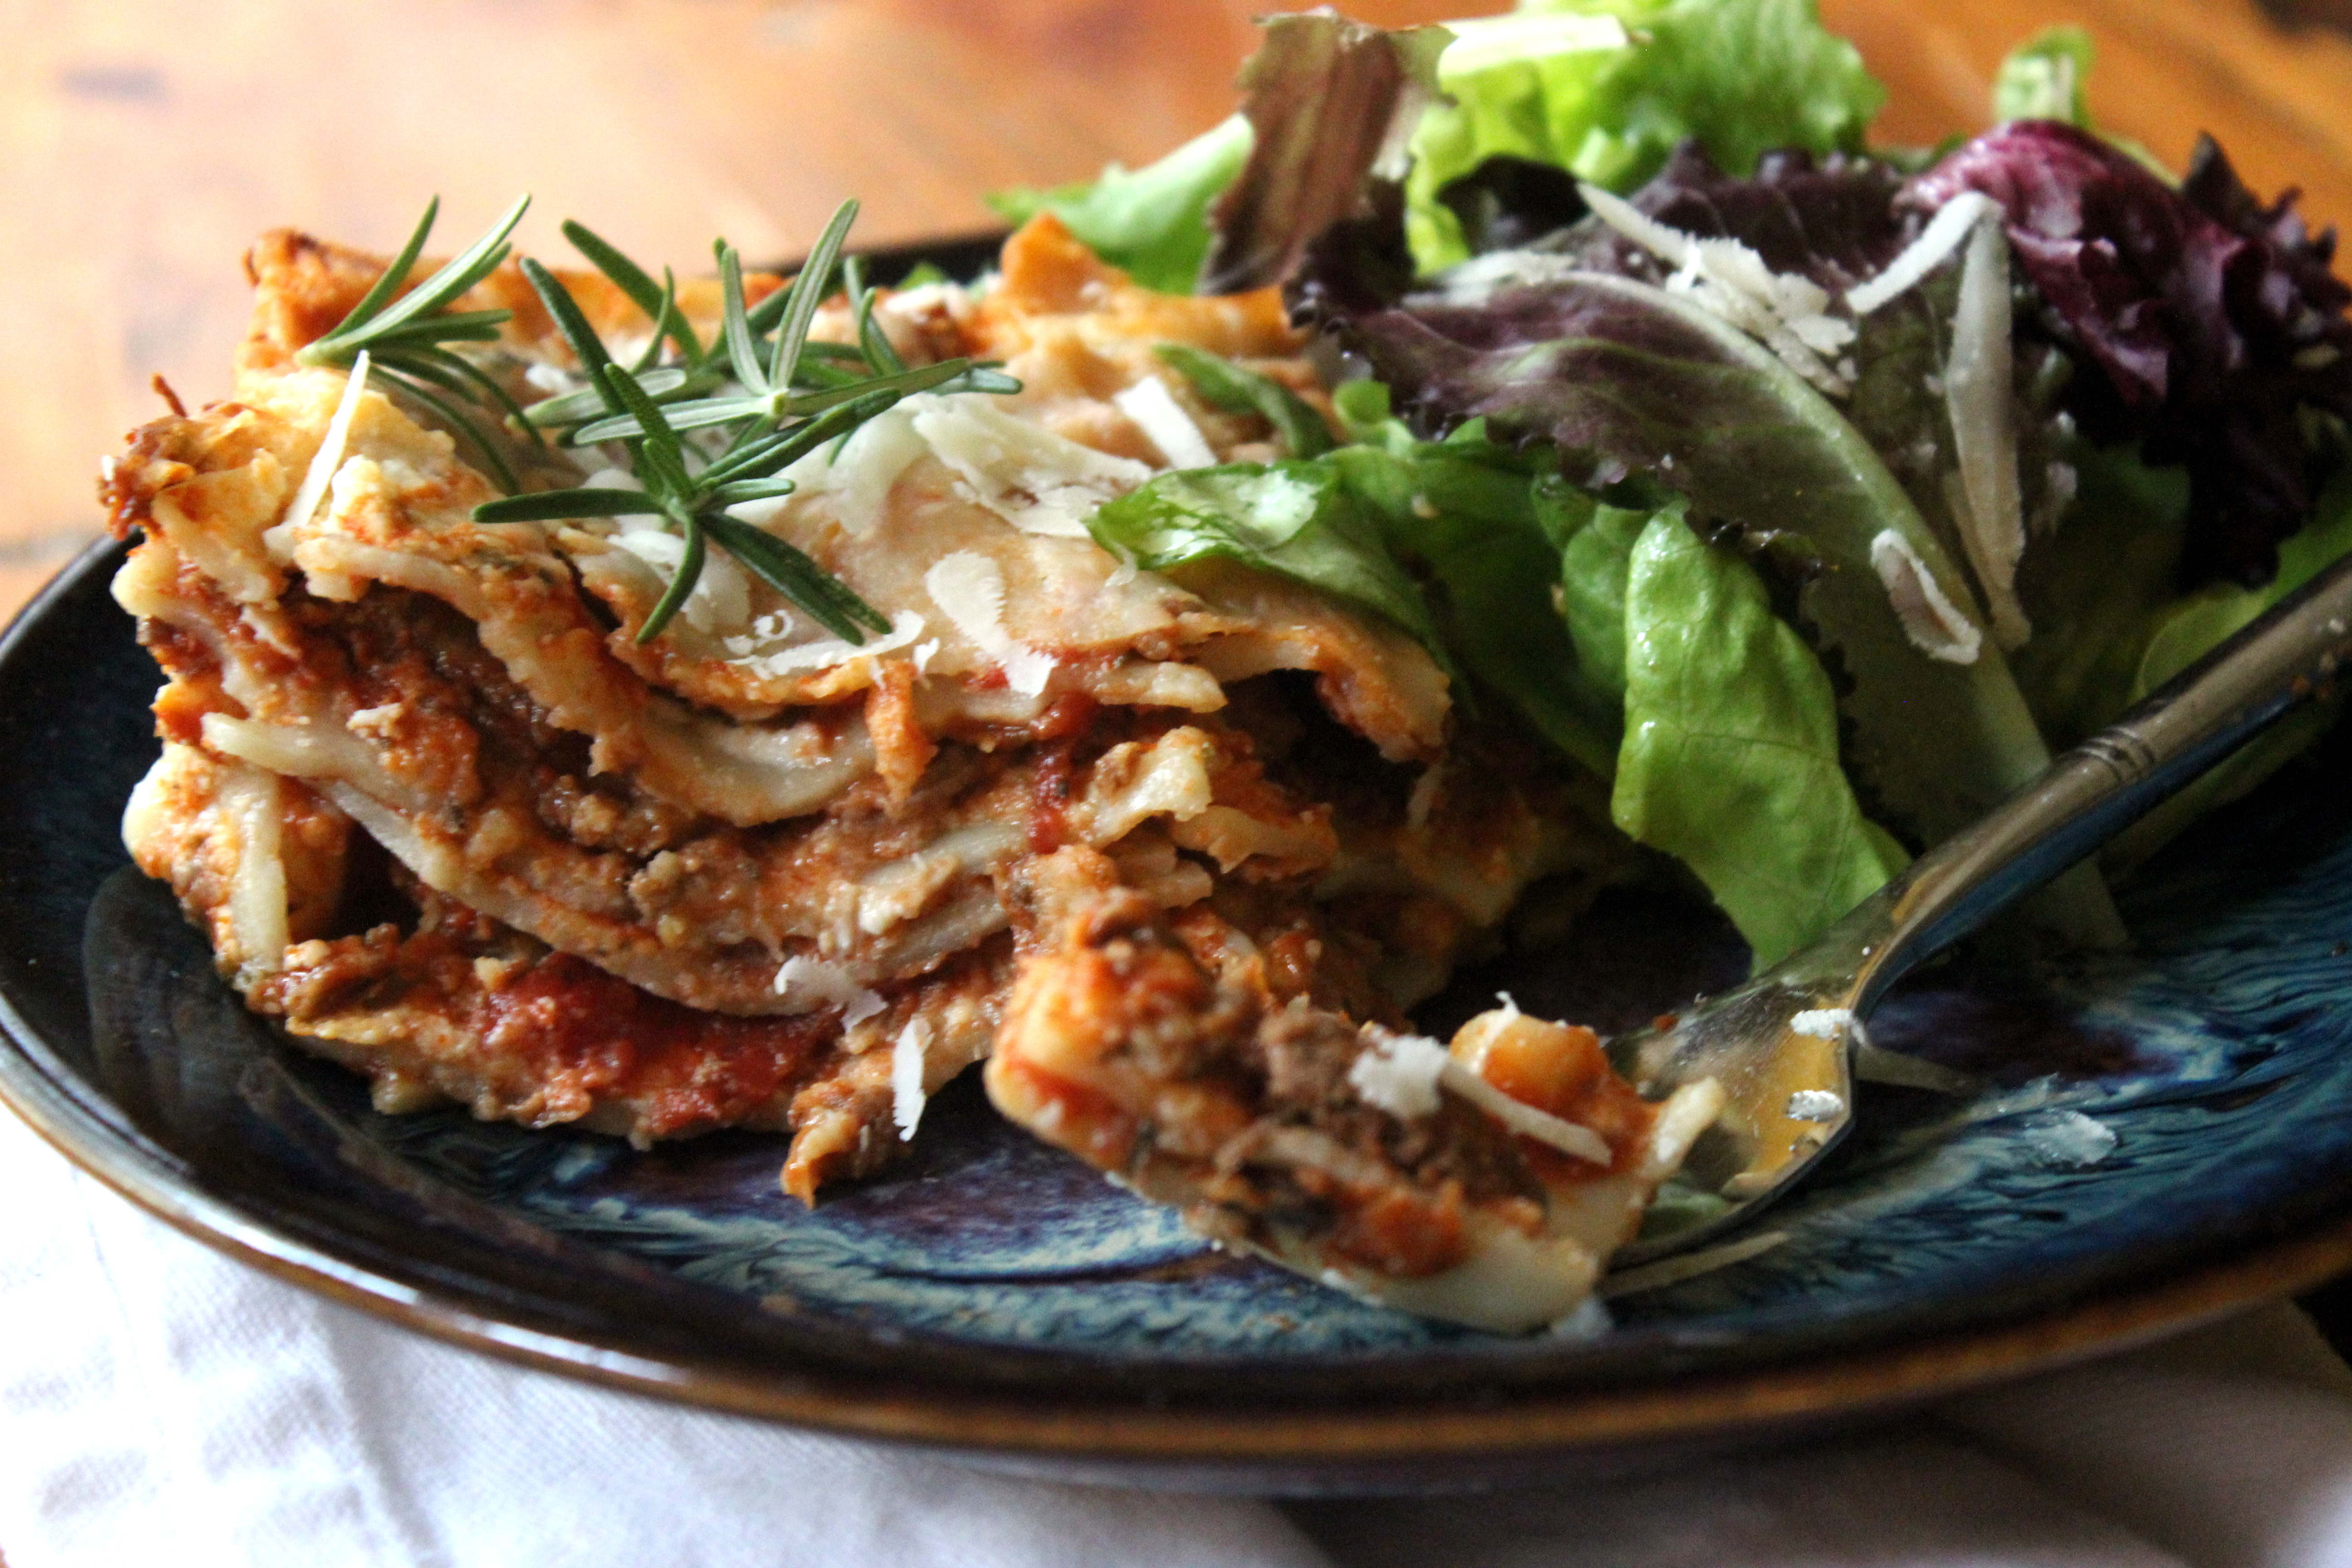
Sweet Italian Lasagna

I’ve wanted a great, not just decent, spaghetti sauce for ages and have finally crafted one that we love! What’s even better is that I also tried it in a lasagna and the gluten free noodles (Tinkyada) held up perfectly! I was so surprised because the few times I’ve tried rice spaghetti, they became pure mush. But these rice lasagna noodles were fantastic!

The sauce is thick, flavorful, and uses the tomatoes I canned last summer. I am always excited to use tomatoes from my own garden! If you don’t have home canned tomatoes, no worries, just use whole tomatoes with their juice.

IMG_5460


Tips & Tricks ~ I personally cannot stand the fatty oil that sausage produces. So using paper towels, I continually wipe away the oil in the pan as it appears. This way you aren’t cooking the sausage in the oil. For a faster cooking time, substitute the stew meat with 1lb of ground beef. You won’t have the great texture that stew meat provides but will be able to use the sauce almost immediately. Just taste after 20 minutes of simmering to see if flavors have melded enough. Also, seasoning with a tiny bit of salt & pepper a few times while simmering creates a more flavorful sauce. If you wait till the very end to add salt – you end up with a recognizable ‘salty’ taste.

Inspiration for these recipes came from Gluten Free Recipe Box

Spaghetti Sauce

1 lb beef stew meat, cut into bite size pieces
1 lb sweet italian sausage
1 cup chopped sweet onion
3 garlic cloves, minced
1 tbsp italian seasoning
1/2 tbsp dried tarragon
12 oz tomato paste
8 oz tomato sauce
32 oz homemade canned tomatoes or whole tomatoes with juices
1 1/2 tsp coconut sugar
1 tbsp balsamic vinegar
1 bay leaf
1-2 cups water
olive oil
kosher salt & fresh ground black pepper

In a large dutch oven, cook ground sausage until browned. Remove sausage from pan and set aside in a separate bowl. Wipe pan down to remove excess oil and lightly brown the bite size pieces of stew meat. Once browned, remove stew meat from pan, adding to the bowl of ground sausage.

Wipe dutch oven down again, and heat two teaspoons of olive oil over medium heat. Add onions and sprinkle with a pinch or two of kosher salt. Saute onions, stirring often with a wooden spoon, for 5-7 minutes, until turning soft and just beginning to brown. Add garlic, tomato paste, and dried herbs; sauteing for an additional minute. Add meat back to dutch oven and then add all other ingredients, through the bay leaf, and add 1 tsp kosher salt and 1/2 tsp ground pepper. Stir well and if the sauce looks too thick, add up to 2 cups of water. 

Bring sauce to a slow simmer and cook for 2-3 hours, stirring occasionally, until stew meat is tender.

Yields: ~ 8 cups sauce

Lasagna Recipe

Tips & Tricks ~ This is a great dish to have kids help with! They can grate the cheese & sprinkle it over the lasagna, pour the sauce where needed, and of course, be in charge of the lasagna noodles. And you’ll be left with 1 or 2 extra noodles…kids love to eat these!
Using fresh herbs in the ricotta is my secret ingredient for this lasagna. The herbs provide a fresh vibrant taste to the lasagna that you can’t replicate with dried herbs. I’ve also found that the less sauce you use, the better. This allows for a more firm set of the lasagna. But no fears if you use more – it might be a bit runny but still as delicious.  And any hard cheese (such as Gouda) can be exchanged for the Parmesan.

1 box of gluten free lasagna noodles (strongly recommend Tinkyada)
3 cups of spaghetti sauce
8 oz ricotta
fresh rosemary & oregano chopped (apprx 4tbsp total)
kosher salt & fresh ground black pepper
1 1/2 cup shredded mozzarella
1/2 cup freshly grated Parmesan or Gouda cheese
olive oil

Preheat oven to 350degrees.

Bring large pot of water to boil, adding a tbsp of oil and a tsp of salt. Add lasagna noodles, cooking for 10 minutes and then drain.

While lasagna boils, in a small bowl stir together the ricotta with fresh herbs and a dash of salt and a few turns of the pepper mill.

Using olive oil, ‘grease’ sides  and top surface area of lasagna pan.

Add a little sauce to the bottom of your baking dish. You don’t want a lot of sauce on the bottom, just a thin covering – primarily of the sauce versus the meat. Spread 1 layer of lasagna noodles and then using a spatula spoon/spread a thin layer of ricotta over the noodles. You may need to use your fingers to spread it all over. Sprinkle with mozzarella and a few sprinkles of the grated Parmesan. Now add another layer of spaghetti sauce, noodles, ricotta and cheeses. Repeat layers until you have a final bit of sauce on top which you cover with the last of your mozzarella and Parmesan cheeses.

Bake at 350 for 45 minutes, until cheese is nice & bubbly and browned all over.  Allow to sit for 10 minutes before cutting.

Enjoy!!

sig

03-03-2014

Grocery Store Gift Card Giveaway (WINNER UPDATE)

*Winner Update*

I was impressed with all the different and delish sounding ways ya’ll cook pork! I never realized how boring my pork dishes were till I started reading the entries.

The winner, chosen at random, is Lee with “I prepare pork loin in the crockpot. I combine 1 can of whole cranberry sauce, 1Tbsp. of Dijon mustard, 1/2 onion, chopped, 1 Tbsp. of brown sugar and a splash of apple cider vinegar. The cranberry compote is wonderful as a “gravy” on mashed potatoes!”

Congratulations Lee! Be on the lookout for an email from me. Thanks to the rest of you for all these wonderful recipe suggestions! I can’t wait to give them a try.

************

As I mentioned the other week, I did not win the Food Lion Frugal Cook-Off but I did have lots of fun! I got to meet a lot of neat bloggers, had a great teammate, and got to experience a Top Chef type challenge.

IMG_1234
(my teammate Katie & I)

IMG_1399
(our herb crusted pork chop dish)

A new video from the event…https://vimeo.com/87511429

A fun video of Katie & I answering questions while we cooked. As you can tell, they did a great job pairing us together!  https://vimeo.com/87436536

Now to the point of this post…Food Lion was very generous in not only sponsoring the event but also providing a $100 gift card for each blogger to share with their readers!

To enter the contest, please share a comment below answering the question…what is your favorite way to cook pork? I will pick the winner next Monday morning.

Good Luck!

sig


02-26-2014

A Fresh Design & A New Business

Welcome to a whole new design for this site, a new web address (I lost ‘wordpress’ and added ‘the’), and a NEW BUSINESS!

I am thrilled with the new design and have to sing the praises of Jana from Little Web Writing Hood who was great to work with!

And for my first foray into the entrepreneurial world…I am starting a business where I teach people how to can & preserve food. I greatly enjoy the aspect of taking something that either I’ve grown or is from a local farm and getting to turn that into something that will last me for months. There is nothing like making spaghetti sauce in February with tomatoes that you canned last summer. If you’ve never tried canning before, I promise it is doable.


After years of fielding questions on canning, I’ve decided to offer canning parties where in the comfort of your home you & your friends get a hands on experience of ‘putting up’ food. In a festive environment you will be gaining an essential life skill and you’ll leave with at least 2 jars of canned goods.

Canning is not rocket science, but unless you’ve grown up doing it or watching your mom do it…you probably feel a bit nervous and worried about giving your family botulism! So, I’m here to unwrap the science of it. To help you feel confident that this is something you can do at home on your own. I am going to begin with offerings of “Pickles & Preserves” and “Canning Tomatoes” parties. And if there is a different produce you’d like to put-up, I can show you how do that too. Take a look at my Canning Parties page and if you have questions or would like pricing you can email me at thelocalgoodness@yahoo.com.

I’m excited!!

sig

02-22-2014

Food Lion Frugal Cook-Off Update

This week was filled with many ups & downs but the high light was Food Lion’s Frugal Cook-Off.

Group Shot 2

(I’m the one in glasses, Katie’s on the far left)

Imagine Top Chef where the contestants have $15 and 45 minutes to prepare a meal consisting of a protein and two sides. But….you have no idea what your meat is and the mock store is very limited. I had been a bit apprehensive about what our meat would be and we lucked up with pork chops. As you may recall, cooking pork chops is not my specialty! My teammate & I did not win…but we had such a FUN time! And I learned quite a lot.

1. I cannot imagine how many cameras, video recorders, and other equipment there must be for TV cook-offs because just for this cook-off there were SO many! I walked in and felt like I was on a TV set. Here’s a fun teaser video of us all: https://vimeo.com/87181067

2. Knowing that pork should be pulled out of the oven at 138 degrees is only helpful if you actually check the meat’s temperature. Our pork chops were an astonishing 199 degrees!!!! when I checked. Wow. And even after finding out they were that overcooked I still tried to convince my wonderful teammate Katie that we should broil them to achieve a nice crispy exterior. Thankfully, a cooking pro from the store came over and hinted that perhaps we should just plate at that point.

3. Plating your food is WAY harder when you are on a time crunch. When I plate food for blog pics, I can take all the time in the world. No one is yelling out 2 minutes 1 second remaining. And, I had no idea that you should think about how things are going to look plated when you are determining what to  buy in the mock-up store. I mean, yes…I had thought the roasted carrots on our plate would add some nice color contrast to the sauteed spinach…but, our plate wasn’t quite as exquisite as what I had pictured in the beginning.

4. 45 minutes goes by WAY faster when you are under a time limit than when you are leisurely cooking at home. And, does anyone know how to get roasted vegetables to brown if you are using a sil-pat pan?

With all that said, I had the most wonderful time and the real reason behind that was meeting this fantastic group of bloggers. It was so nice to meet people face to face and learn about blogs that I had no idea existed. And my teammate Katie from The Perks was an absolute gem. I found someone in Charleston that composts!!! And she gardens (obviously…there is probably a good chance if you compost, you probably garden as well). The video team actually thought we were friends prior to the cook-off because of how much fun we were having together. I think I could write a post simply on how much fun it was hanging out with her.

You should check her and all the other lovely ladies out at the following blogs:

·       Megan Baker – Fried Green Pickles http://friedgreenpickles.blogspot.com/
·       Brittany Greer – Counting my Cupcakes http://www.countingmycupcakes.com/
·       Lisa Caplinger – Charleston Treasures http://www.charlestontreasures.net/
·       Valerie Kirkland – LiveFit Journey http://www.livefitjourney.com/
·       Sydney Gallimore – Queen of the Food Age http://queenofthefoodage.com/
·       Katie Perkinson – The Perks http://katiesperk.blogspot.com
·       Shelby Hanchey – Recent Somethings http://recentsomethings.blogspot.com

I will be back next week with a give away, recipes, and shout-outs to Food Lion and Charleston Cooks!. This post has already gotten so long. Food Lion so generously put together the cook-off and I want to share information with you that I learned about their store. They are making great strides in improving their quality of produce and store brand groceries. I was very impressed. And Charleston Cooks! hosted the event and CLEANED UP ALL OUR DIRTY DISHES!!! We had lots.

Thanks for reading this very long post and if you have a tip for roasting veggies with a sil-pat, I’d love to know your tricks.

sig