08-19-2013

The Beginning of the End

IMG_2830

I like to categorize my kid’s lives into 4 distinct phases.

Phase I: Birth to PreSchool
Phase 2: Kindergarten to High School Graduation
Phase 3: College to Wedding Day
Phase 4: Being Married

In less than 48 hours, my son will enter kindergarten and don’t get me wrong…I am beyond EXCITED for this new journey. But I can’t get past the feeling that this is it. Everything he has to know in order to be a responsible, independent, caring, and fun adult has to be learned in the next 13 years. So to say I am stressed out is more than an understatement.

But the things I am stressed about, I am pretty sure no one else is even thinking about…

There’s his shorts…do you know how difficult it is to find shorts for boys??? It is SO hard to find shorts that are elastic waist (we haven’t conquered buttons yet) and actually fit well. For whatever reason, I am convinced that if his shorts come down in the back and show his underwear or heaven forbid, a little crack, then he’s going to be made fun of in school.

Then, there’s all these back to school eve dinners that my friends have. Really??? You’re making me feel kind of lame right now…I can’t get that organized!! Not only do they decorate the table beautifully and make a yummy meal, but they also pick a Bible verse as a theme for the school year. How do they possibly pick just 1 verse to cover everything? And when am I suppose to sit down with my husband and find out what he thinks are good lessons for them? And then, how do they get their kids to sit still at dinner, because at my house it’s more like two banchee indians running wild around the table. (And if you are hosting a back to school eve dinner, my hats go off to you. You really do inspire me!)

And then I’m stressed about all this stuff he has to take to kindergarten. For example, when is the best day to take the stuff…the first day, at the meet the teacher meeting, some other day? And what about those red & green folders I searched all over for, just so he could bring home paperwork in folders that are his favorite colors. Do they just take all the items and put them in a closet? Because, if he takes the whole bounty of items to school in a paper bag (our current plan) then does that mean he may end up with folders not in his favorite color. (I know, I know…just typing this out makes me realize how hysterical I sound!!) But really, why can’t they include instructions such as…In his book bag, please include the following items. In a separate grocery bag, please include the other items. And please bring all items in at the meet the teacher meeting. Those detailed instructions would be much preferred by moi.

So my current plan for these next 48 hours is to spend a lot of time in prayer, I obviously need it.  I’ve got to get over my fears of him being made fun of, have confidence that, special dinner or not, my husband and I will help guide him as he navigates this new journey, and to be able to just let go of all these trivial concerns and instead enjoy these last few days of simple childhood.

I’m hoping you are much less stressed about kindergarten and school than me!!

Jess

IMG_2331

07-15-2013

Chocolate Icecream Shell

IMG_2281

I have always assumed it would be near impossible to replicate the shell magic you get at your local grocery store. However, when Dale Esau came home from IceCream Sundae Day at school and announced “Mom, we had the coolest MAPLE SYRUP on our icecream…it hardens when you put it on the icecream!” I knew I had to find a way to make this. (And, yes, I knew I had to fess up that it wasn’t maple syrup he’d been eating!)

What I couldn’t believe was how incredibly simple it was to replicate!

Melt chocolate with coconut oil and you have one of the easiest syrups you’ll ever make. The secret is coconut oil solidifies once its temperature drops below 76 degrees F. So you temper the chocolate and oil in the microwave and once the ‘syrup’ touches the icecream it solidifies. And it tastes sinfully delicious, just like the stuff in the grocery store, minus all the artificial and unwanted ingredients!

Chocolate Icecream Shell
2-3 servings

2 Tbsp chocolate chips
1 Tbsp coconut oil

Combine ingredients in small glass bowl and microwave for 20 seconds. Stir and then microwave another 15 seconds. Stir well and then drizzle all over your icecream!

NOTES: This recipe does not double well, so stick with the quantities listed. Luckily, it is very simple to make should you need to eat more icecream! Also, depending upon your microwave, you may need to use less cooking time. You do not want your chocolate chips to be completely melted from the microwave. This is why you stir the final time. It all has to do with tempering the chocolate, etc. etc.

IMG_2284

Enjoy!!!

Jessica

P.S. I’m now attempting a syrup to make chocolate milk. The shell obviously wouldn’t work in milk, but as evidenced below, we had fun experimenting!

IMG_2294

06-04-2013

A New Parenting High

I know, I know…I haven’t posted in 6+ months and here I am this am with 2 posts!!!

I guess since many people consider me a ‘foodie’, I often hear comments like…”your kids must eat so well” or “wow, how do you get your kids to eat their veggies?” Well lets be honest…

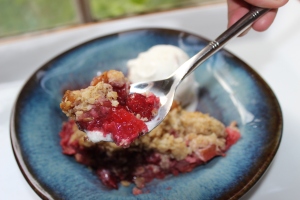
This am my 3 year old started the morning with icecream (couldn’t take those strawberry crumb pics and not share some of the goodness) and then we moved on to the next best nutritious food possible for breakfast …. pizza! Why not? And, I didn’t just give them leftover pizza. I actually baked them a pizza for breakfast.

How’s that for an accomplished mom? At least they really enjoyed it!!

IMG_1979 IMG_1980 IMG_1977 IMG_1985


Happy Tuesday!

Jess

06-04-2013

Strawberry Rhubarb Crumb

IMG_1846 IMG_1863

Hello! I know its been forever since I’ve posted. And again, my reason is time well spent with the kids. They are now 3 & 5 and so entertaining, endearing, and full of life. We went strawberry picking a few weeks ago and this recipe was a result.

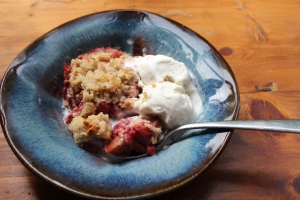
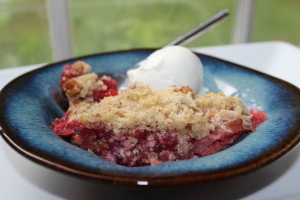
The filling’s thick and gooey center has bites of sweetness and tartness and then you bite into the crumb and get the crunch of walnuts and a surprising hint of ginger that lingers softly. Be sure to make this when you are able to feed a crowd. Otherwise, its you & the pie and trust me, you aren’t going to be throwing it out. So for your summer ready beach body, I advise only making this when there are lots of people to consume it!

I suggest using spelt flour as it seems to be a suitable flour for those of us with wheat allergies but not celiac disease. If you need to avoid gluten all together, I would suggest a sorghum based gf flour mix. And if you don’t have stomach issues (lucky you!) then all-purpose flour would work fine here.

IMG_1956 IMG_1925 IMG_1929

Strawberry Rhubarb Crumb

10 servings

Crumb Topping
1 c GF oats
3/4 c white spelt flour
2/3 c white sugar
1/2 c chopped walnuts
6 tbsp chilled unsalted butter, cut into 1/2″ chunks
1 oz square crystalized candied ginger, finely chopped
large pinch of salt

Filling
3 c quartered strawberries
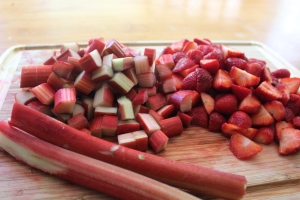
1 lb rhubarb, chopped into 1″ pieces
1/4 cup agave nectar
1/4 cup white sugar
1/4 cup brown sugar
1/4 cup cornstarch
3 tbsp minute tapioca pearls
2 tbsp triple sec
smigen salt
1 tbsp chilled unsalted butter, cut in tiny pieces

Crumb Instructions

Preheat oven to 375 degrees. Lightly butter a 9″ glass pie pan.

Combine flour, sugar and salt in medium bowl. Using fingers to incorporate, add in butter until it is crumbly. Mix in remaining ingredients. Chill in fridge as you prepare filling.

Filling Instructions

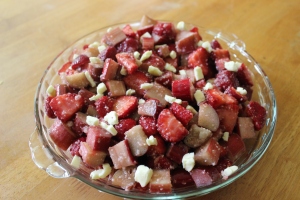
In large bowl mix together all filling ingredients except for butter. Toss ingredients well and allow to sit for ten minutes.

Place filling ingredients in buttered pie pan, then dot the top of filling with the tiny cubed pieces of butter. Next, pour chilled crumb topping all over pie filling.

Bake in preheated oven for 45-50 minutes until bubbling and golden brown on top.

NOTES: The butter, both in topping and filling, needs to stay chilled in fridge until added to recipe. Orange juice should be a good non-alcoholic replacement for triple sec. The oven broiler may be needed to reach golden brown all over. Don’t forget to watch broiler closely so it doesn’t burn!

Enjoi with some vanilla icecream!

Jess

p.s…I now have a huge appreciation for food stylist and photographers. Producing a good photo from a crumbling pie with melting icecream is NOT an easy feat!

11-12-2012

Jars of Clay

For the past ten weeks I have been attending a Bible study led by Joanne Ellison from Drawing Near to God ministries. The following thought process was inspired from a recent lesson. This isn’t a light & fluffy post. I hope it touches each of your hearts, because none of us are without suffering through loss and heartache in this life.

But we have this treasure in jars of clay to show that this all-surpassing power is from God and not from us. We are hard pressed on every side, but not crushed; perplexed, but not in despair; persecuted, but not abandoned; struck down, but not destroyed. II Corinthians 4:7-9

Why do bad things happen to good people? What about all the loss, suffering, and tragedy that seem to be the norm for so many? Why why why, we constantly ask. And how are we suppose to continue to live in the midst of all the despair that tragedy can so easily bring.

We wonder why God has forgotten us, why He has not answered our prayers in the way we want them answered. But what if, there were ten times, a hundred times, more worse stuff that could happen to us, that never does because God does intervene. I could be completely wrong here. I really have no idea why He allows the bad stuff to happen. But consider this…

As Christians, we are (or should be) like jars of clay, molded and sculpted by Him to be who He wants us to be. And in our innermost being….that is where He, God, dwells in us. We are now the tabernacle, the tent of the Old, which houses not only His presence but His light.

And to be the jar that shines His light, we need cracks to fully showcase that light. For, unless there are cracks in a closed jar, the light only shines dimly. Perhaps that is why God allows some of those bad things happen to us…

For if  you are a fully formed jar of clay, the best way to see the flame deep inside you is through cracks in your hardened exterior. But the only way to get those cracks is to be broken, going through difficult and trying times. Because when we are broken, that is when His light shines the brightest through us.

My husband’s brother committed suicide 2 years ago. At first, the loss seemed insurmountable. There are moments, it still does. But I believe that the only reason we are moving through, moving past, is from the presence of God in our lives. Not that we haven’t been mad and angry with Him. Not that we haven’t wanted to wash our hands of Him. But it’s His peace that brings us sleep on a restless night, His grace that prompts uplifting words from strangers – in the moment they are needed most, and it’s His abounding love that encourages us to ask the hard questions and finally settle on believing through faith, not through understanding.

His light that shines through us from this brokenness hopefully encourages others who go through tragedy themselves. It shines bright so that hurting people can find the hope that is desperately needed to continue to live with joy, happiness, and excitement for all life brings.

Its not easy, after going through tragedy, to look forward to what tomorrow brings. Trust me, I know that wholeheartedly. But its an encouragement to look at others who have spent plenty of time in the trenches but still find joy in the future.

~ Jessica

11-06-2012

Take your child to vote today

Hello long lost friends….I really am out here in this world. I’ve just been taking a sabbatical from blogging to spend more time with the kids. And its been nice. But I do miss blogging and my head is often thinking “Oh, that would be a cool blog post”…

So today is the day. YAY!!!

Or actually, tomorrow is the day. You see, tonight while we are sleeping in sweet slumber a magical fairy will descend upon our twisting roads and picks up ALL those pesky VOTE FOR ME signs.

Obviously, I’m in la la land. But if you are feeling in the mood to remove a sign or two or even more, and you live in the Lowcountry, you can actually receive money to an awesome local restaurant….Triangle Char & Bar. How cool is this….for each political sign you bring in for recycling, they give you a $1 credit to be used there.

I’m not a very political person and lately have been questioning if voting even matters. Who knows?  But it is a really neat experience to share with my school age child and I do firmly believe that some votes really do matter…like your school board vote or if you live in California, voting for GMO labeling.

So get out there and exercise your right to vote today! And if it isn’t too much of a challenge, take your child with you so they can learn about the democratic process. And if you live in California….PLEASE vote for GMO labeling!

Have a great day!
Jess

09-11-2012

Cranberry & Almond Granola Bars

I thought you might be tiring of the same ‘ol descriptive words…amazing or yummy or delicious! So I thought I’d go all crazy and call these granola bars…Most Delicious!

These are SOoooo good that the hardest part is to stop eating the granola mix before you bake it. You know, so you could actually end up eating the finished product!

This recipe is inspired from Smitten Kitchen Thick & Chewy Granola Bars. I really liked how flexible her recipe was but I wanted to try making these without any corn syrup. I also lowered the sugar and omitted the salt so we could be justified when we eat half the granola bars in one sitting! And I require the peanut butter as it really helps the granola bar stay uncrumbly and contributes to the chewiness factor. Plus, I threw in coconut to counteract the lowered sugar.

And oh yeah, these are gluten free!

The list of characters….

Makes 16 granola squares

Ingredients

2 cups quick cooking oats, gluten free if necessary
1/2 – 2/3 cup organic sugar
2 cups nuts (I think slivered almonds are best and very kid friendly…but feel free to shake it up!)
1/2 cup dried fruit (myself, I’m a big cranberry fan)
1/2 cup shredded coconut
1/3 cup ground flax seed (optional)
1/4 cup peanut butter
5 tbsp unsalted butter, melted
1 tbsp H2O (I do not remember much from chemistry but I love using this abbreviation for water)
a little less than 1 oz of each: honey, maple syrup, and molasses (1/3 cup in total when all three are combined…just fill 1/3 measuring cup up with some of each)
Instructions

Preheat oven to 350 degrees. Butter a piece of parchment paper large enough to extend over a 9″x9″ baking pan. You want to be able to use the sides of the parchment paper to lift the baked granola out of the pan prior to cutting.

Place 1/3 cup of the oats into a food processor and chop until the oats reach flour like consistency. You are basically making oat flour. If desired, you could just use store bought oat flour but I like the do-it-yourself method.

In a large mixing bowl, combine the oat flour with remaining 1 and 2/3 cups oats and all other dry ingredients. In a separate bowl, stir together the melted butter, peanut butter, water, and the 1/3 cup mixture of honey, maple syrup, and molasses. (I hope the 1/3 cup makes sense…basically just put a tad of each into a 1/3 measuring cup).

Now comes the fun part! Pour the moist ingredients into the dry ingredients and mix together until well combined. You can use a plastic spatula, wooden spoon, or your hand for this part. I use my hand…easier to eat the stuff as I go along!

Now, STOP eating the granola and leave some for the granola bars!!!

Spread into the buttered parchment paper/baking pan.  And then press down the granola with your hands or a large spatula as much as possible. This is really important to help the granola bars stick together. Bake for 20 minutes, until slightly darkened on top. Remove from oven and once again, with a spatula, press the mixture down to help with the adhesiveness.

Do not remove the parchment paper from the pan for at least 30 minutes. This also helps the bars to  seal together. And if it’s really humid out, after letting the bars reach room temperature, place them into the fridge and allow to cool further for an hour or so more.

I’m telling you this so Kashi & Nature Valley will be jealous of how well your home made granola bars stay together!

Now, once you are ready to eat these bad boys, use a serrated knife to cut these in a sawing motion. Oh wait, you’ve already stolen a little bite…don’t worry…I have too when they come right out of the oven, but it’ll just be our secret!

Store bars in the refrigerator or freezer in a resealable bag. If frozen, simply allow the granola bar to sit out at room temperature for about 5 minutes. They’ll be cool, calm, and so satisfying!

Also, you can substitute chocolate chips for the dried fruit or drizzle chocolate on top if desired. I’ve found that cranberries and slivered almonds are my favorite way to go. When I’ve tried adding chocolate, the bars were still good but almost a little too rich or intense. So you may want to reduce the peanut butter a little if you add chocolate. Also, if you aren’t into dried fruit or chocolate then feel free to use all nuts. The basic amount is 2 to 3 cups total of nuts and dried fruit.

I’m really not kidding about how addictive these are. It is so hard to eat just one, so hard to put that spoon down once all the ingredients are combined…you just CAN’T STOP! Or, at least I can’t!

I hope ya’ll like these as much as my family does!

Love,

Jessica

09-06-2012

Wheat, oh wheat, what have you done to me?

Good morning! I am writing this at 6:07am. Wow, such a bright start to the morning. Many of you may be on the computer this early on a regular basis, but trust me….I am not. But my little Stella likes to wake at 5:45 just about every morning. Normally, I fight this for about 30 minutes. But this morning, I just went ahead and got up at the crack of dawn. If anyone has some magic tricks up their sleeves of how to get her to sleep in, I’d love to know!

But I digress, already! Kiddos’ wake up times is not what I am trying to write about.

So if you’ve known me for longer than 5 minutes there is a very good chance that you’ve heard about my “delicate stomach” and if you are unfortunately a close friend or a family member, then you’ve probably been tortured by listening to me try to diagnose my problem myself. And if you’re one of my sisters or my husband…well, let’s just say they are probably beyond THRILLED that I’ve finally found what is making my stomach not a very happy camper.

It’s wheat ya’ll. Or to actually be much more specific, it’s gluten that is found in wheat, barley, and rye. So drumroll here….I am going Gluten Free!

I’ve been GF for a week now (how awesome is it, that we gluten intolerance people have a cool abbreviation to stick to our name!) and I’ve already seen a big improvement, and I’m hoping I will continue to see more improvements…like maybe the mild acne that drives me crazy will clear up too?

Now, to why I thought YOU wanted to know all about my stomach issues… I am hoping that there are some readers out there who can help point me in the direction of tried & true, trusted & knowledgeable books, blogs, and cookbooks that’ll help me get creative when cooking & baking.

I’ve already checked a gozillan GF cookbooks out at the library, THANK GOD for libraries. And I’ve been looking at quite a few blogs. But I’m not kidding myself…I’m not the first person out there with this….so I know there are plenty of you who know which books are the most helpful and which blogs have the best tasting GF recipes.

Thanks for taking the time to help a ‘new to GF’ girl out! I really appreciate it!!!

Jess
09-04-2012

Au revoir summer 2012

Today’s the first day of pre-school and our oldest one, Dale Esau, is starting 4K!

And, I’ve learned some VERY shocking news…Next year, we’ll have to be at elementary school by 7:25AM! Are you serious? I guess that means my half sleeping on the couch from 6:30-8:30ishhh is probably not going to be happening so much in 2013. Therefore, I need to really appreciate these lazy morning hours, while I have ’em!

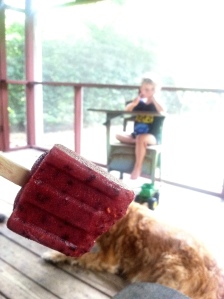
This summer we’ve had our share of lazy morning (okay, okay….all day) hours! We’ve been busy enjoying all the things summer brings… like popsicles, icecream, kettle corn at the farmer’s market, jaunts to the beach and pool, and playing tourists in our town.

So I wanted to share some photos with ya’ll of what we’ve been up to. I know I’ve posted extremely little and I’ve missed it. But there was just so much fun to be had with the computer turned off, that sometimes it was too hard to turn the computer on. This business of summer is winding down with our re-entrance into school and schedules, so here’s to hoping I’ll be blogging more often.

Sharing…is there anything more precious between siblings?

Road trip enthusiasm!

Inspecting dirt for worms, seriously…what we spent every single day doing this summer!

Catching fish together…the crazy outfit on DE is a make-shift trash bag poncho!

I’ve pickled probably 16 pints of okra so far and am hoping to put some more up this week. I LOVE pickled okra!

Berry Licious Lime Yogurt Popsicles

For the first time ever, I was able to can tomatoes from our garden!

Dale Esau planted these, unbeknownst to me, when I was working on another part of the garden. It was a pretty cool surprise to see them sprout and flourish. Since he planted them, they were his favorite veggie to eat all summer!

Chocolate Toffee Cupcakes for my birthday!!!

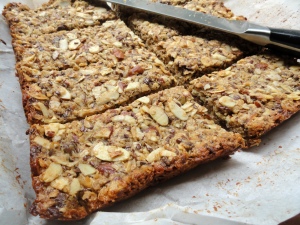
I cannot wait!!! to share with ya’ll this granola bar recipe. It is so delish, so addictive, and so gluten free!!!

Is there anything else that says summer better?

I hope you & yours had a fantastic summer!!! Here’s to being thankful for football season, falling leaves, pumpkins, and relishing this last year of sleepy mornings on the couch!

Love,

Jess
08-02-2012

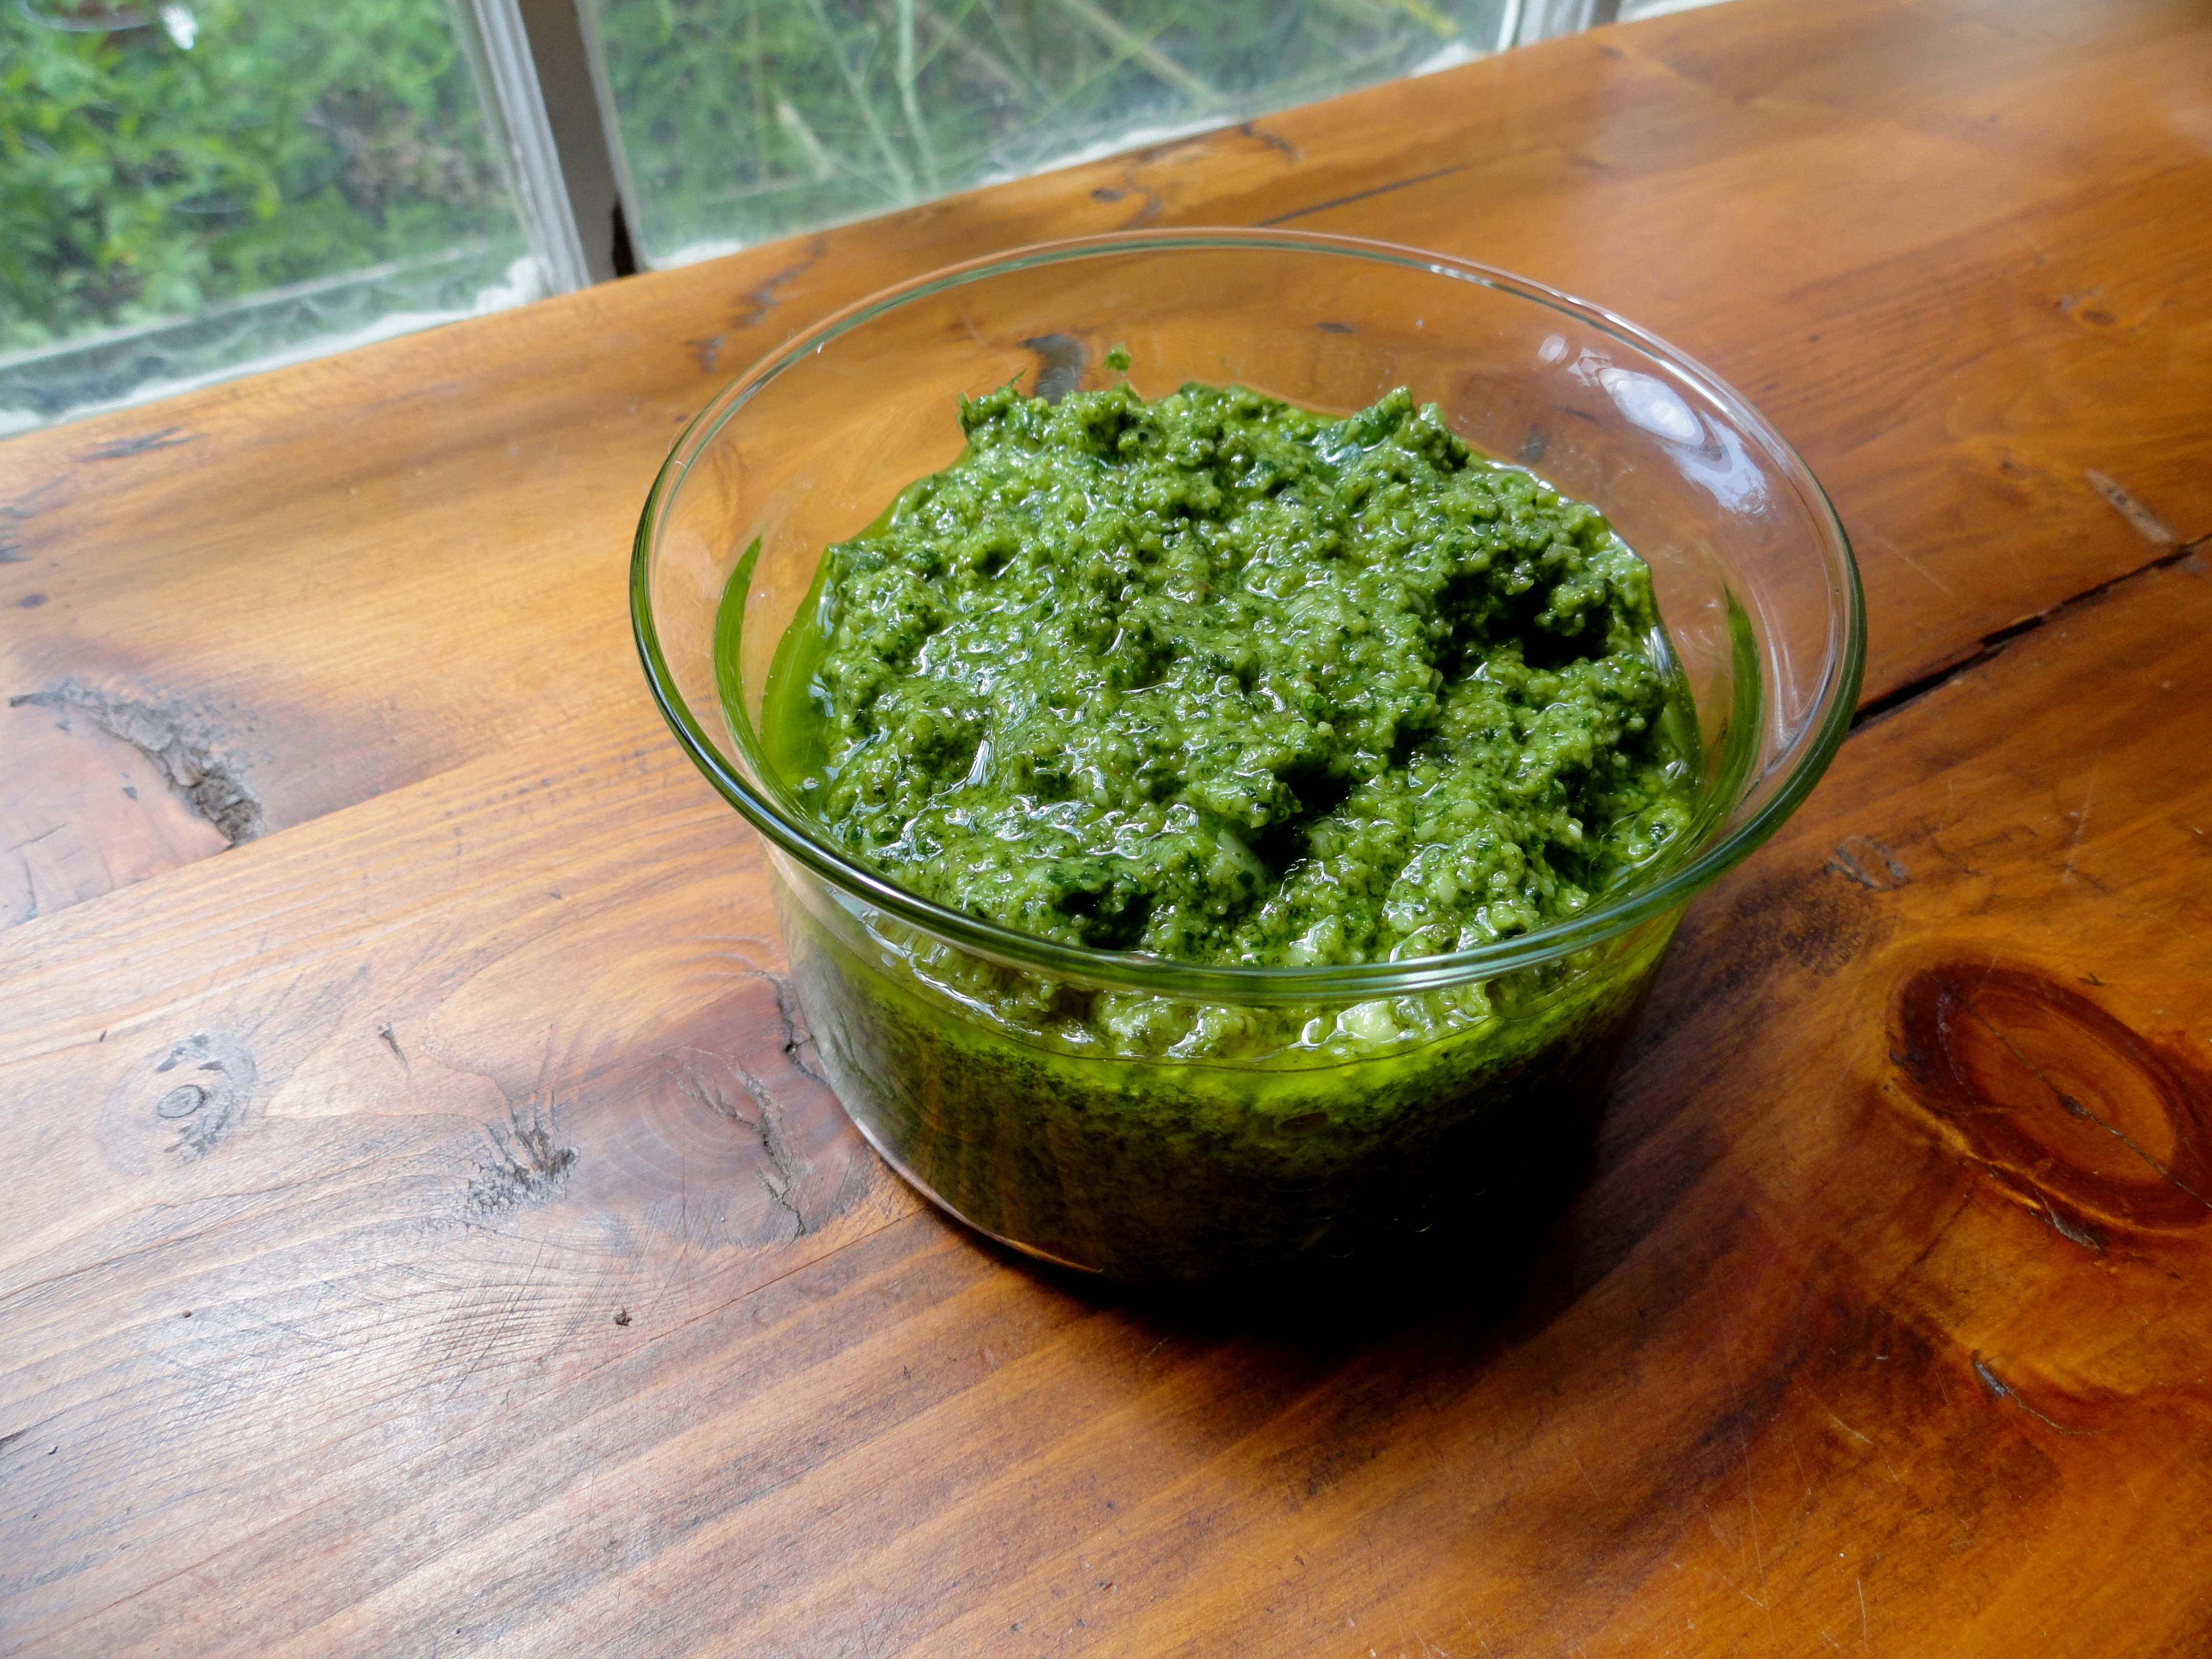
Pesto Pesto Pesto

Let’s see if this equation is correct…

French fries and pizza sauce can count as a serving of vegetables, rightttttttt?

So then, pesto can count as a veggie too? I hope so, because right about now (with the heat & the humidity) there isn’t a whole lot of cooking being done in the Paulsen house.

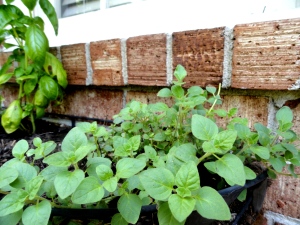
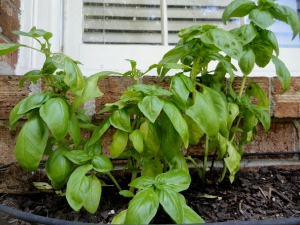
We’ve been eating our way through such massive amounts of pesto that I need to find a way to get my basil to grow faster. Even with 8 basil plants, I have to supplement the recipe with other herbs besides the most common ingredient. Luckily, the kids don’t care…so we’ve added arugula, mint, oregano, and even rosemary. My most favorite addition is the arugula. Probably because I can get a huge bag of it at the Farmer’s Market and produce a lot of pesto that way.


Here is my favorite way to make pesto. It is super flexible, so feel free to add more herbs, skip the nuts to watch calories, or play around with the olive oil portion until you get a consistency you like. The biggest difference in my pesto recipe is that I recommend sauteing the garlic for a few minutes to reduce the heartburn/acid reflux (getting old, aren’t I?) that raw garlic seems to bring about.

Ingredients

5 cups green herbs, arugula, and/or spinach
1/2 cup hard nuts (be adventuresome, try something besides pine nuts)
6 garlic cloves
1 cup olive oil
3/4 cup freshly grated top quality Parmesan cheese (but guess what…any ‘hard’ cheese will work. I tried cheddar (make sure you use real white cheddar) the other day and it was pretty good)
kosher salt & fresh ground black pepper

Preparation

Place peeled garlic cloves in a food processor and chop slightly. (Or chop by hand. I use my processor to chop so that I don’t have to dirty up a cutting board. Oh, lazy me.) On medium heat, saute the minced garlic for 2 to 3 minutes. Place garlic back into food processor.

Add nuts to the garlic, and chop/blend/puree in your processor until finely chopped. Add herbs, a teaspoon or so of kosher salt, and grind the pepper until you get tired of grinding. Next, start your food processor, and add the olive oil through the side spout. Or, you can do as I sometimes lazily do, and just dump the olive oil on top of the herbs and puree/blend. But if you want to watch how much olive oil you are adding, the side spout should do the trick nicely.

Now, add in the cheese and blend/puree again until you reach your desired consistency. Hmmm…at this point you taste and  think, God…how thankful I am that you made basil or arugula or anything green. (On another note, what do you think God’s favorite color is? I think green for sure. But blue is a top contender with all that sky above the basil plants!) Okay, so back to pesto!!!

You can totally make this in a blender, but I have to say, the blender I used to own was crap. Crap with a capital C. I couldn’t do anything with that blender. But some people say they love their blender. I happen to have a NINJA that I adore. It works extremely hard all summer longer blending together pesto for my family. Thank God for NINJAs and basil!

Oh, this recipe makes about 2 to 3 cups of pesto…so half the recipe if you aren’t into eating pesto as much as we are! You can freeze extra pesto in ice cube trays and just place in a resealable bag once the ‘pesto cubes’ are frozen.

Our favorite pesto dishes are obviously over pasta, but its even pretty tasty over a nice juicy steak.

Have a great Friday and stay cool!

Jess